January 31, 2011

Bite Me!

I had no problem thinking up my project this week and what movie I would base it on. I have been sharing the 'Twilight' series with my lucky family and figured with Valentines Day right around the corner I would tie it in somehow. I got out my handy dandy Gypsy and started to plan it all out. ~*Jen*~

~*Recipe*~
~*cardstock from DCWV
~*black glossy paper
~*black tissue paper
~*red and balck ribbon
~*2 rhinestones
~*Blackletter, Lacy Lables and Gypsy Wanderings cartridge
~*Helmar Scrap Dots
I picked out my paper. The black is actually glossy but you cant tell in this pic~
Laid out all my paper on my mat and loaded it into my Cricut, plugged in my Gypsy and hit cut~

This is how it looked after it was all cut out~

The card was made by welding together 2 tags from the Gypsy Wanderings cartridge~

Layered my tags and glued my words down. I made the words on my Gypsy by welding together the Blackletter Font.

Glued down some black and red ribbon. Also used some black tissue paper folded and pressed flat.

Used Helmars Scrap Dots to pop up my tag. Glued down the flourishes and stuck 2 little rhinestones at the end.

Added a 'bite' mark to give it a little drama.

January 30, 2011

Valentine Bag!


This week the SweetSassyDiva DT was asked to make something other than a card or layout for Valentine's Day. I made this cute little box and matching tag all using Platin Schoolbook and Design Studio. I cut it all out of the same red textured cardstock (from my stash). I glued white on the back of the tag and cut it out to make the back of the tag match the front. I stamped the Bee Mine stamp on the white side with red ink. The ribbon is from Michaels and the bow on the box was in my stash. I used a white gel pen to outline the "x's" and dash the hearts. I accidently folded my box up inside out.. other wise it woulda been x, heart, x, heart but oops.. it still works. Hope you like it!
Supplies:
Paper - white paper and red textured cardstock
Other - white gel pen, red ink pad, red ribbon, white ribbon, red & white ribbon, and Bee Mine Stamp from Michaels.
Thanks for stoppin' by and have a great day!

January 29, 2011

Mini Album!

Hi Jen from 3catsandabug.  I have the world's GREATEST In Laws, so I wanted to make something special for my MIL's birthday and this is what I came up with.  {Click on the picture to view it larger}  I used several cartridges for this: Mother's Day 2010, Celebrate with Flourish, Picturesque, Elegant Cakes, Straight From The Nest, Gypsy Wanderings, Story Book,  Tinker Bell and Friends and George and Basic Shapes.


The Fence was cut at 4 X 4 3/4 and the grass at 1 3/4 X4 1/4 welded


Happy was cut at 1 1/2 from Elegant Cake and decorated with stickers.


The butterfly corners were cut at 1in and the butterfly at 3.  The letters and numbers were cut at 1 1/4 and 1 1/2.


BDay was cut 1 1/2 and 1 1/4.  All the paper is K and Company, Tim Coffey's Cottage Garden and on this page matching 3D stickers. 


The banner was cut at 1 1/4 and the floral was cut at 4 1/8, embellished with brads and stickles.  I also used a Martha Steward punch and some ribbon.  Mama was cut at 2 X 5 1/2 and also embellished with stickles.


The flowers were cut at 1 and the butterfly at 2.  The vase and other butterflies were stuff I had in my drawer.


The scrolls were cut from StoryBook at 1 1/2 and the Happy Birthday was from Gypsy Wanderings at 4 1/2


It was all put together using the Cinch and 1in wires.

Altered Journal!

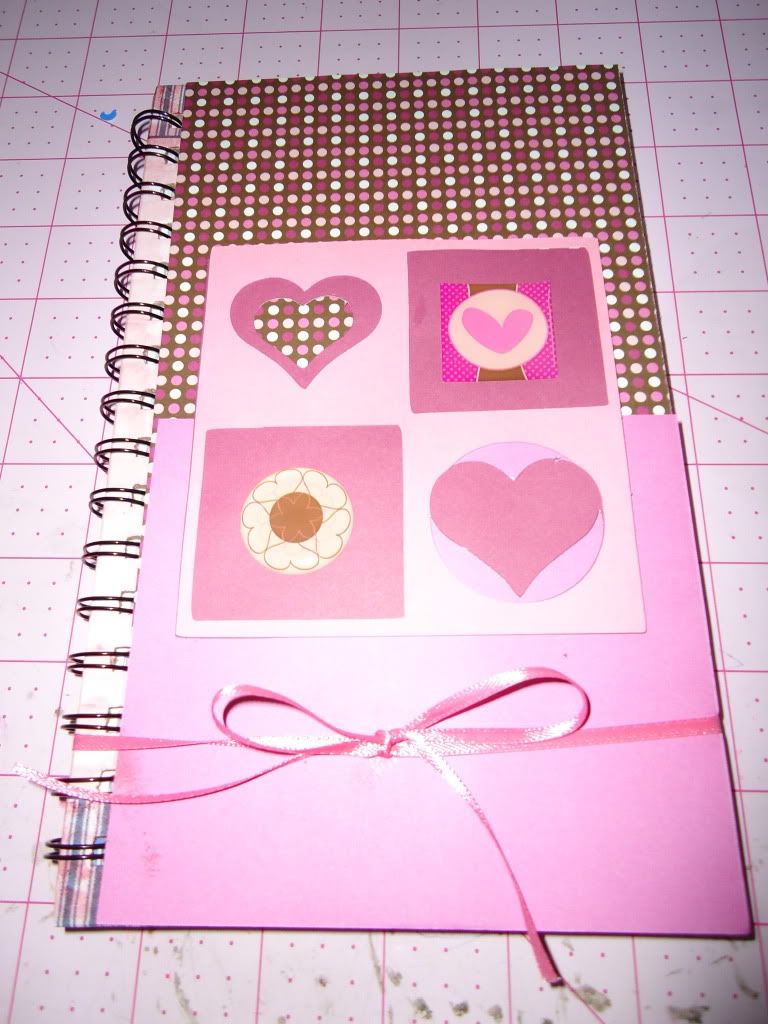
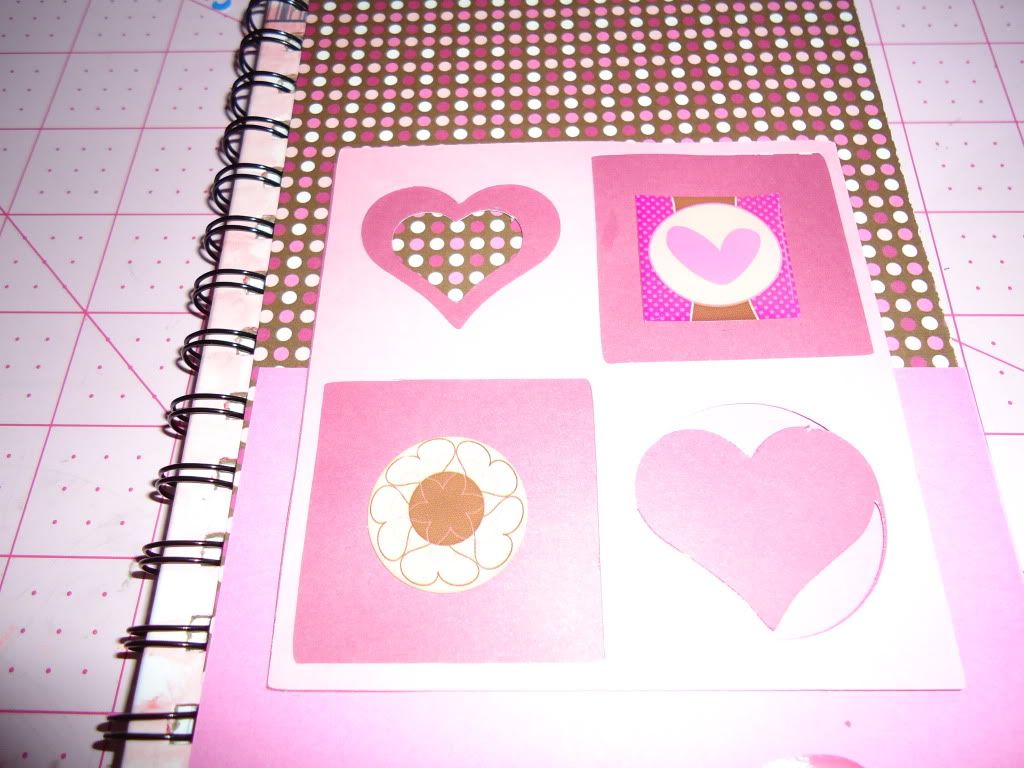
Hi Everyone, Rebecca here. This week Sweet Sassy Diva asked her DT to create a Valentine's Day project other then a card or layout. So I made this altered journal.
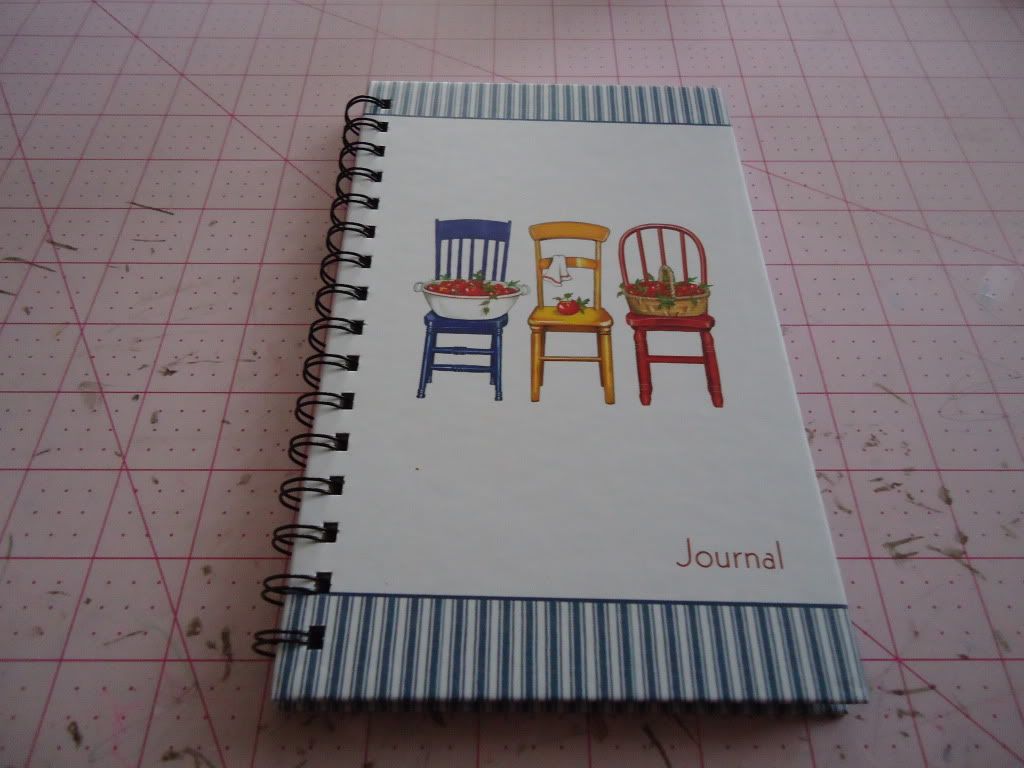
So for this project I picked up this journal at Michael's in the dollar section, WOOHOO gotta love the dollar section.
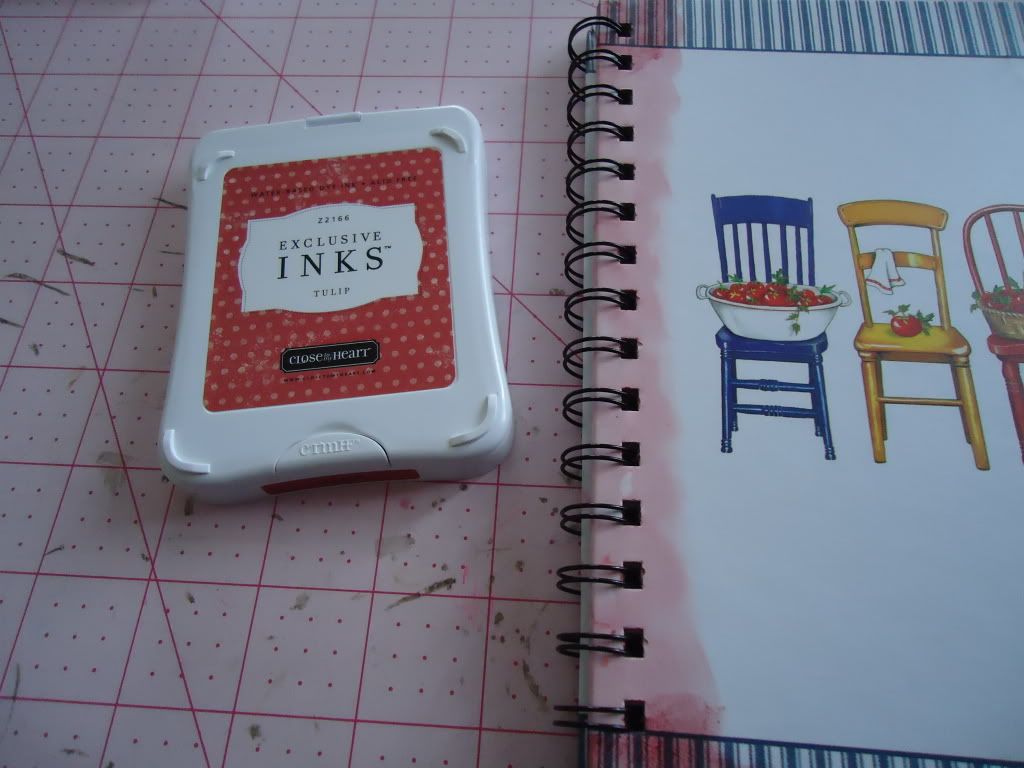
So the 1st thing I did was inked the edge with the spiral so that I could cover the rest of the cover with paper.
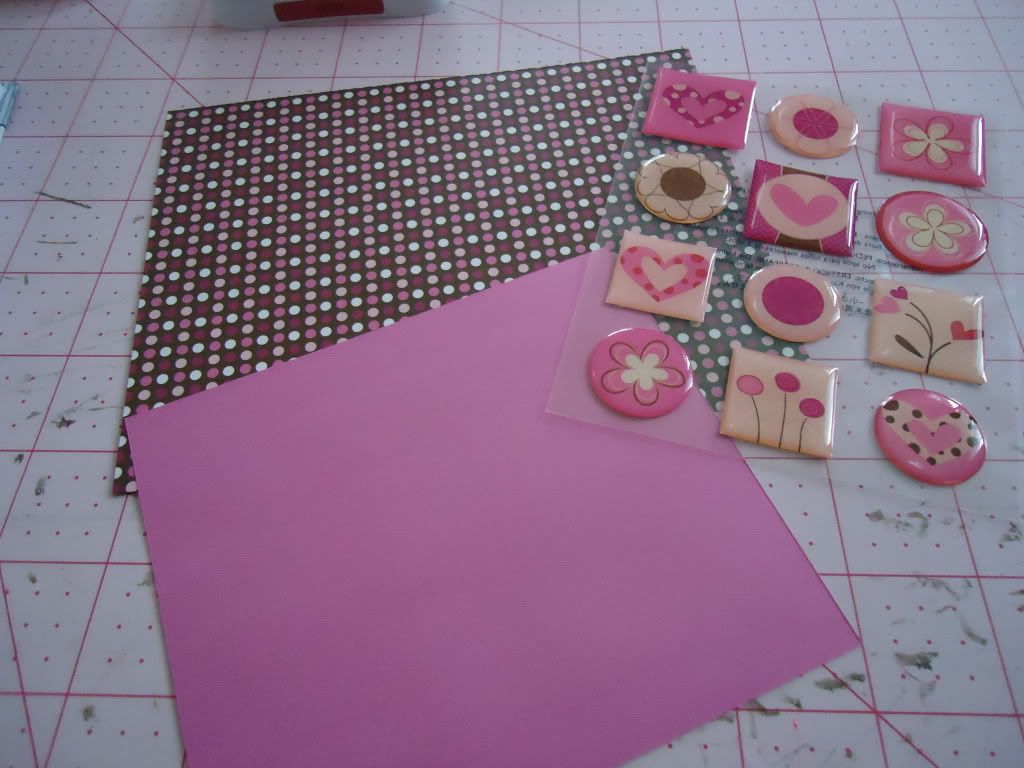
This is CM paper and stickers from the LOVE paper album kit they make. These were the left overs from the kit.
For this project I used Martha Stewart Holiday Cake cartridge. I cut the images at 4". I used the Love/Valentines image. This is how I set up the paper for the cuts, but I ended up not using the brown paper.  Instead of using the XO and Love sayings that were cut out I used the CM stickers.
Recipe
1- premade journal
CM Love paper album kit/ paper and stickers
light pink and dark pink cardstock
dark pink ink
Martha Stewart Holiday Cake cartridge
I hope you all enjoyed the project, it turned out nicely and was pretty easy to make.

January 28, 2011

CHA sneeks!


If you are on email subscription, you can watch it on the blog or youtube channel.

January 27, 2011

Toilet Paper Roll Valentine Mini!

Hey everyone! Kristin from The Crafty Kitchen here. This week our project was to make something for Valentines Day BESIDES a card or layout using our Cricut. I made an adorable Valentines Day toilet paper roll mini album using both my Gypsy and my beautiful new blue Expression, plus my favorite new Martha Stewart punches.


Recipe:


*Toilet Paper Rolls (I used 4)
*Patterned Paper
*Cuttlebug or Big Shot (for flattening rolls)
*Martha Stewart Elegant Cake Art Cartridge
*Cricut Classic Font Cartridge
*Tags, Bags Boxes and More Cartridge
*Scalloped Flower Gypsy File
*Cinch or Bind It All
*Martha Stewart String Lace and Cherish Hearts Border Punches
*Martha Stewart Heart Lock and Key Punch
*Martha Stewart Flourish Heart Punch
*Pink By Design "All Girl" and "Scripted Year" stamp sets


I have more pictures and a video showing all the pages on my blog!


I wish I could claim ownership of the gorgeous flower file, but I got it from Jen from her awesome blog. It's just like the Sizzix 3D flower die, but you can cut it with your Cricut at whatever size you want!


January 26, 2011

Love Bug!

Hello all!!  This is Carissa!!  SweetSassyDiva's design team is making something other than a card or layout with our Cricut machines!!  I received Create a Critter for Christmas and have been wanting to try it out since then!!  I went to Michael's the other day and saw these wooden frames perfect for embellishing!!  I came home and looked at the handbook and picked out the Ladybug!!  She is super cute and I love her LoveBug sentiment!!  Here is my first decoration for Valentine's Day!!

I created a cut file on my Gypsy for this project.  This is my first time saving, downloading and sharing from my Gypsy!!  Love learning new things!!!
Recipe:
Wooden frame
Create a Critter Cricut Cartridge
Glitter Cardstock
Pink, Light Pink, Black, Red and Green cardstock
Chestnut Roan Colorbox Chalk Ink
Mod Podge
Adhesive
3-D Foam Adhesive
File
This is my mat ready to cut the flowers..  I cut lots of flowers and layered as much as possible.  I'm sorry but I didn't take a picture of the flowers after they were cut.  Oops!!!


This is my mat ready to cut the ladybug and the sentiment...  So adorable!!  I cut the LoveBug sentiment twice using different colors so I could cut the word 'bug' to add another color layer.


I inked the frame first to see if I liked it but decided to cover it with glittered cardstock!  I used Mod Podge but had to improvise and use a plastic knife instead of a foam brush.  Even coating over all then apply the paper.  I put a heavy basket on top and let it sit for a while to dry.


Ink the edges of all the pieces, arrange the pieces on the frame and glue.  I used Quick-Dry Adhesive to glue everything together and to attach the smaller flowers to the frame.  Then used 3-D Dots to attach everything else to the frame.


For a copy of the gypsy cut file, you will find it in the files section, or click here!  It is labeled Valentine Frame 1/26/2011.

Have a great week!!
-Carissa


January 25, 2011

Big Ole Box of Fun!


What did you get from HSN?  I have some work ahead of me! Oh and I already have the Imagine but, that was a good guess.

Immortal Love!

Hello SweetSassyDiva followers!! I did it again! Remember my cute SEI decorated box?! Well, I decided to decorate another box using the oh so beautiful DCWV stack "Immortal Love" This is one of my favorite stacks!!!! I am a Twilight addict, so anything twilightish will be my fave!!!
The box is from Michaels from the $1 bin! All I used was one half of sheet from the stack!! A few embellishments and wallah!


Materials used:

DCWV Immortal Love Stack & Die cuts
Acrylic paint in dark red
Walmart Ribbon

Thanks for taking a peek!


January 24, 2011

Hello Kitty on the Move!

My Hello Kitty Valentines Day card is A2 size. The patterned and solid papers were "eyeballed" to fit onto the card base and Hello Kitty was cut at 4". I then tied a ribbon on the bottom and Hello Kitty is adhered using an Action Wobble. :)


Scrap'n Tote Sale!

Scrap'n Tote, in both Green and Pink, are on sale today for 20% off.


The sale is extended to Midnight tonight Central Standard Time!

Use Coupon Code: THANKYOU at Checkout

Click here! for more information or to order.

If you are interested in Scrap'n Easel they are on discount by using:
"IheartScrap'ntote" for 10% off.

If you want to place an order for both, you will have to do a separate order as only one coupon code can be used at a time.

These make great Valentine's presents or any day! :)

Winner!

The winner of the Nursery Rhymes cricut cartridge is:

Yvette said...


Love it!

Contact me by commenting on this post with your address.

I enjoyed participating in the blog hop!

Be Mine!


Hey Ladies
This is Summer from Cricut Diaries, and this week Bobbi Jo from Sweet Sassy Diva asked her DT to make a project other than a card or a LO for Valentine's Day using our Cricut or Imagine. So I wanted to make a Banner using both my E and I.
Recipe:
Birthday Bash
Create-A-Critter
Hopscotch (pattern cartridge)
2 Sheets white 12x12 card stock
2 Sheets pink glitter paper (DCWV)
Brown/Pink tulle
White Gel Pen
Clear Stickles


I started my Banner by cutting the 1st layer of the banner on my E using Birthday Bash. I cut them at 4 1/2 and when I hit auto-fill I was able to get 4 banners per 12x12 sheet. My paper was a bit thick so I also used the multi-cut option.

Then on my "I" I cut the 2nd layer of the banner (same size 4.5), the letters were also from Birthday Bash (cut at 2 inches) all colors and patterns were from the pattern cartridge Hopscotch. After my banners and letters were printed and cut I switch out the cartridges and cut the bee from Create-A-Critter again with colors from Hopscotch, the bee was cut at 3.5. Since I only used a small part of the 2nd 12x12 white sheet of card stock I hit the "load last" button and was able to have the bee printed and cut on the same sheet!


Once my bee was all put together, I added some clear Stickles to the wing and used my white gel pen on both the bee and the letters.

I used my Pink ATG to adhere the 2 layers of the banner together.

The Bee was pop doted on!

Again I just used my ATG to attach the letters.


I took strips of tulle twisted together and the knotted through the holes in each banner to string them together.


Hope you enjoyed my project, My girls and I always love Valentine's Day, what can be better than tons of PINK!