November 30, 2011

Take it 3D!

For my Trim the Tree poject today I made a 3D ornament.  This is Lori from Scrappin' My Stress Away and I love decorating Christmas Trees!  We have 4-5 trees that we decorate each year.
I started out with this reindeer paper that I got last year at Michaels.
I cut 6 circles at 4 inches.
I scored and folded them in half.
I taped a loop of ribbon to the top of one of the circles.
I ran 3 of the cicles through my Xyron.
I adhered the circles together one at a time.
I put some gold Stickles on the edges of the circles.  I did half of the edges and set the circle on its side to dry.  Then I finished the other half.
I tied a bow on the top of the ornament.
This is a fun way to make a 3D ornament with just about any shape!  I hope you have fun decorating your house for the holidays!!

November 29, 2011

Ho Ho Ho!

I hope everyone had a wonderful Thanksgiving! Our drive to Valdez was nice. The roads were clear and it was just a nice trip down and back. Now that we are home its time to get back to doing what we do. The kids are back to school and I am back to making and baking. I plan on putting up my Christmas tree today and then ltting the kids decorate it tonight. Last night after we came home and unpacked I made turkey stock from our left over turkey and I will make some turkey noodle soup for dinner. Yum! This week was 'Trim the Tree'. I was just so busy I didnt have alot of time to think about what I wanted to make. So this morning I whipped out a little something thats easy but cute for the tree. I used 3 of my favorite things...snowflakes, glitter and newsprint! I cut my snowflake out of the Post-it craft paper then used the sticky side in the glitter. Then just glued it all together!
~*Recipe*~
~*newspaper
~*silver glitter
~*white Post-it paper
~*Winter Lace Cricut Cartridge
~*green raffia
~*chipboard piece from K&Co
~*Jen*~

November 28, 2011

Deck the Halls!

Hello all.... now the fun begins.... getting every nook and cranny of our house ready for Santa! I will tell you that my WHOLE family is crazy about decorating for Christmas. My sister has a plaque that says " If it doesn't move, Decorate it !" and that's pretty much what happens around here :) It all starts with my husband and daughter (last one at home) bringing ALL the boxes and tubs down from the attic and stacking them all over the place. Then it's at least a whole day to pack away everyday things and place the Xmas decorations in just the right spots.... we even bring out pictures from years past to make sure everything gets put in the PERFECT place ... sad, I know !


The  SweetSsassyDiva Challenge this week is Trim the Tree. I guess I could have made an ornament, but no... I had to come up with the idea of starting a special garland for my grandkids to put on their tree, with the idea that I will add to it each year.... only time will tell on that part :)
I couldn't get a good picture of the whole thing in one shot, so there will be lots of them...


It all started on the Gypsy...


The clothing is from Paper Doll Dress Up and not really made to fit the cute animals from Create A Critter, so I had to do some playing around... First I unlocked the chain so I could set the height and width separately. I put the Create A Critter image on layer one and the clothes on layer two so I could adjust the clothing size over the critter. Sorry that I couldn't get a good picture of this part.
 After the sizes were set for each of the critters it was time to cut....


I did some embossing before I started to put them together.


Then I added Puffy Paint, Stickles, Googlie Eyes and some Gel Pen lines.


The Candy Cane and Hard Candy are from Simply Charmed.


I attached ribbon to the back side and hung with these cute clips from Stampin Up.


My supply list :
Cricut Create A Critter
Cricut Paper Doll Dress Up
Cricut Simply Charmed
Cardstock - Stampin Up
Patterned paper -Hobby Lobby
Puffy Paint
Stickles
Gel Pens
Googlie Eyes
Ribbon - My stash
Tiny Clips - Stampin Up


I hope you will check out all the wonderful Trim the Tree creations the rest of the design team have come up with to inspire your creative side !


- Melinda


November 27, 2011

Trim a Tree Design Team Challenge!

Wow so hard to believe it is the end of November and Christmas is only a month
away. I hope you all had a wonderful Thanksgiving with your loved ones.
 This is the time that we are all super busy with the hustle bustle of the
holidays and Christmas crafting.   Our fearless leader Bobbi Jo asked the
Design Team to come up with some ideas for challenges and this week I came
 up with
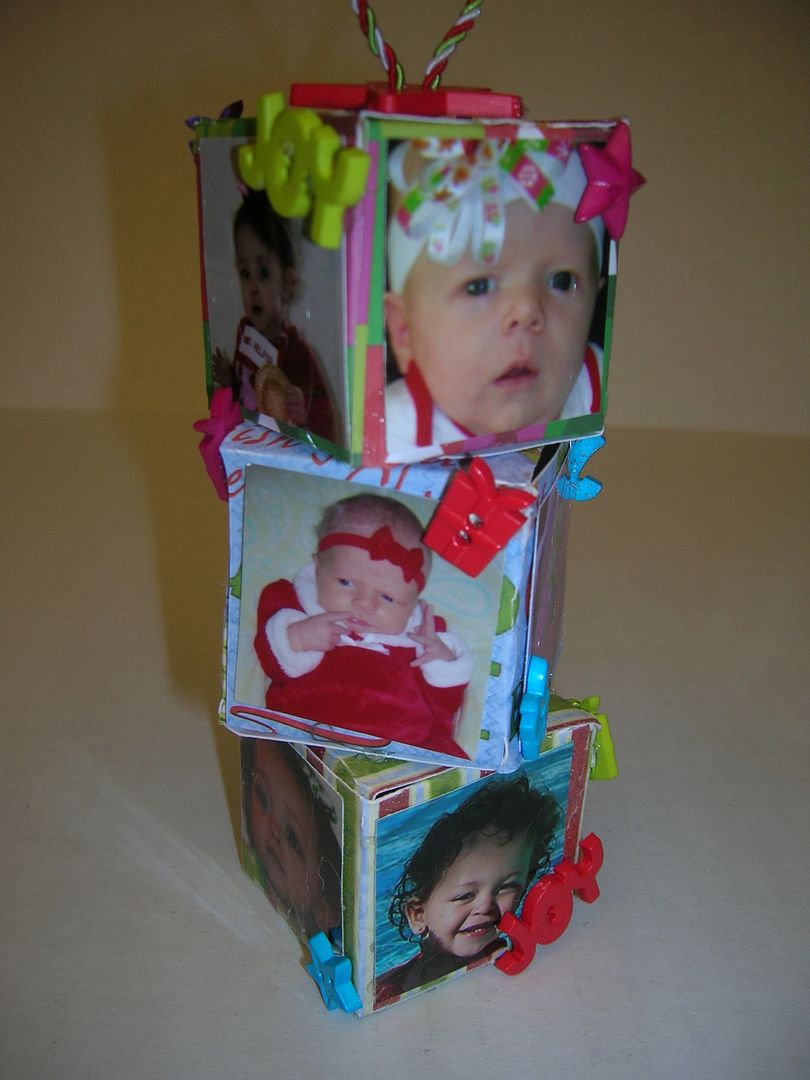
"Trim a Tree"- Design a project to hang on your tree.  
I actually saw a project like this on Pinterest (my newest addiction) but with
real wood blocks.  So I got out my Tags, Bags, Boxes and More and started
my ornament.
At first I cut the box from page 119 at fit to page and it was way to big.
 So next I cut the box at  5.5 inches At that size I was able to fit
two boxes on a page and it was a great size for an ornament when I stacked three
together.  
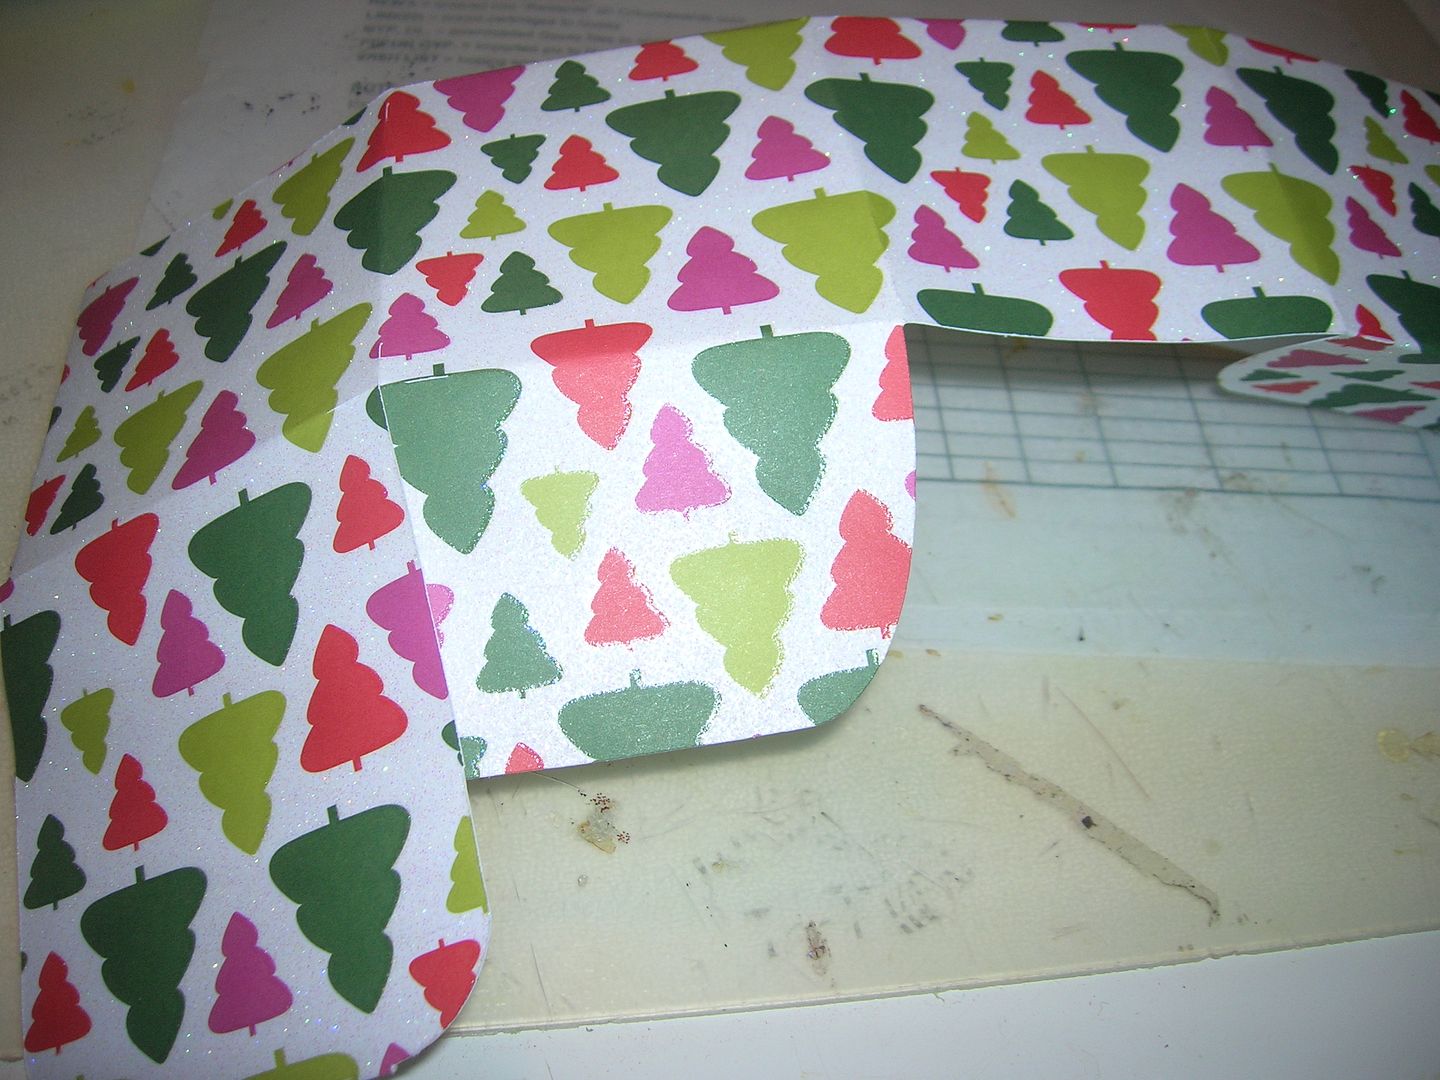
I used paper in my stash from last year that was fairly stiff so the boxes would
hold their shape better.
The paper can be single sided as the other side will not show.
 
Once the boxes are cut  I folded along the score lines.  
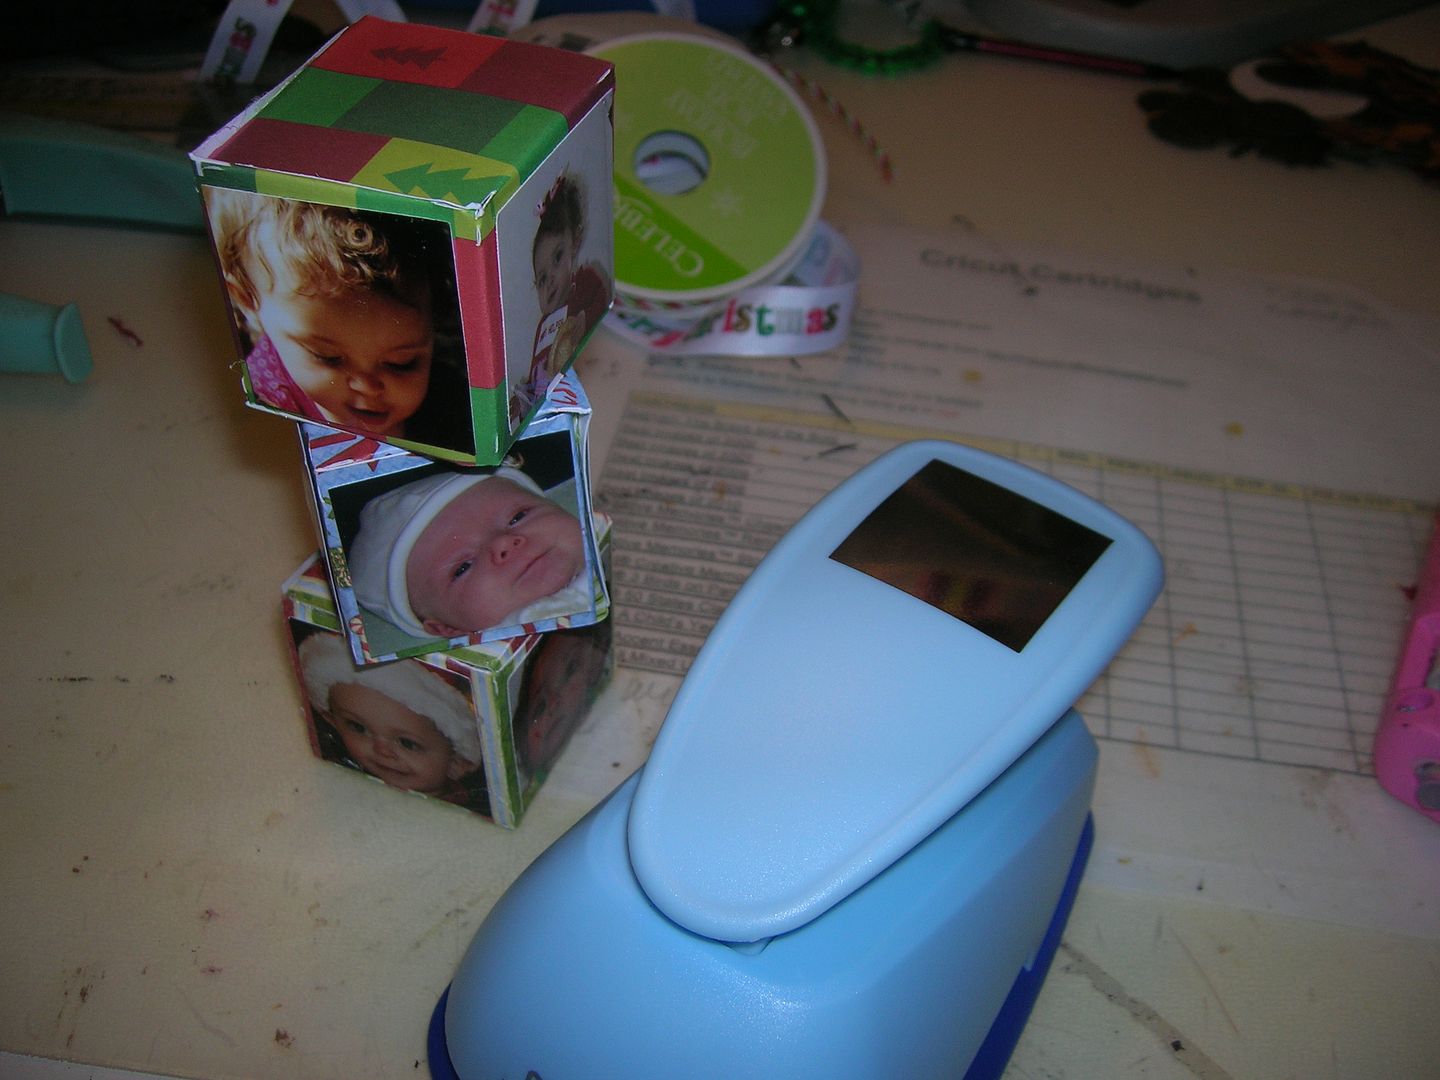
I punched pictures with this handy two inch punch from my "extras" stash.
 I glued my pictures on with the glue gun.  I glued mine on after I
made the boxes however I would recommend you glue them on while the box is flat
so you don't have to worry about smashing your boxes.
I had these cute little buttons I got last year on clearance and I glued them on
the corners.
Hope you like my project and will come back all week to see what all the Design
Team has made.  I can't wait to see what  all the DT creates.

November 26, 2011

The adventures of that burning coupon!

I was out enjoying the Black Friday sales and stopped into another arts and crafts store today. Ok not really needing anything but, that Michael's 50% off coupon was burning a hole in my pocket! Plus, this morning they had an additional 20% off coupon. I must be quite honest now that I really wasn't on search for the additional 20% today. You ask why? I'll tell you because I already used a 30% on Black Thursday at Michaels. So back to today's adventures.

As I was scouring the store trying to find something awesome to buy that I just had to have, I came across the Tim holtz vagabond on clearance!


Sadly, I believe I have seen it for less than the $200 approx price. Unfortunately, I couldn't use my coupon on clearance or it would have been a SCORE!!!

So, I was thinking of Tim Holtz items because let's be honest here... There are so many items that are a NEED and they don't go on sale much.

I thought oh maybe a new ink or refill but, unless I can see a limited edition set or a specific item for a project...I own every stamping up color practically imaginable in dye as well as craft ink. I also was thinking of other items like refill felts or another blending tool but, it just seemed like a waste when there might be something else.

I thought of his tiny attached but, I don't know about stapling and I do have a regular stapler if it's urgent. Although I am thinking that one of these days I might add it but, not today!

I thought of some of his dies that I was looking at a while back but, they didn't have stock of anything so really interesting. I did pick up an embossing folder set but, I kept looking for something that just screamed take me home!!!

Then, I saw in the aisle within the Martha Stewart section something that seemed oddly out of place. I mean I just went to CHA in July so, I'm familiar with a number of items in their line as well as others. It just jumped out at me so, I had to go in for a closer look!

It was what looked like a scoreboard or regular cutting board but, it wasn't!

Here it is:


It's a craft station!

It has a 12x12 light box and is glass so you can freestyle cut. I don't know if you know but, I did graphic design and we used a lighted glass plate for page-makeup. I know my way around an exacto knife and this is better than a self healing mat! They even give you a cutting knife!

It also has a built in cutting blade which you can add an embossing blade.

If that wasn't enough, it has an embossing plate. Dry emboss anyone? Including the embossing tool!


Now, what else can you do with it you ask? They give you 5- tracing and cutting templates!


That will get you started with tracing but, you can use so many other items to trace to your hearts content!

Additionally they have an alignment guide. What is that you want to know?


You can stamp multiple images uniformly!

Oh the possibilities! I grabbed the one and only called it mine! The bonus is it was 50% off with my coupon! It retails for $99.99. If you want to score one too, grab your coupon on Michaels website and run to your local store today!

I need to go now and PLAY!!!!

- sweetsassydiva


November 24, 2011

Flat Thomas!

Its Thanksgiving week! Time has gone by so fast! Anyone go Black Friday shopping? Whats on your list of must haves? The Imagine at Walmart? A new TV? I usually go every yer but this year we will be down in Valdez spending the holiday with my husband. And to Valdez is a very, very small town so there will be no Black Friday shopping for me because they dont have but a handful of tiny shops to shop at. I am a little nervous for the drive over Thompson Pass. Its one of the worst passes in Alaska. But I am leaving early and vow to take it slow and easy! My snow dance worked! We have alot of snow for this time of year. It has also been unseasonably cold! It has been in the negative temps for almost 2 weeks. We usually see that kind of weather in January. For this weeks project I picked on that my daughter found while browsing around some of my craft blogs. She really liked the idea and said we can fold it up and take it with us to use on the table down in Valdez! Kinda like that Flat Stanley thing but this will be our Flat Thomas. Traveling the roads of Alaska LOL!
He was super easy! I sketcked himout on a file folder. Covered himwith some paper. Cut out to circles on my Cricut using George and Basic Shapes cartridge and then added some ruff and feathers. He is now ready for the 5 hour trip! I wish all you a very and safe Thanksgiving!
~*Jen*~

November 23, 2011

Grateful!

We are celebrating Thanksgiving this week at Sweet Sassy Diva's!!!  This is Lori from Scrappin' My Stress Away here with a table centerpiece for my Thanksgiving Party.
I used paper from this DCWV Autumn Splendor paper pad to cover these coasters.


I got these coasters in the dollar bin at Michaels a while ago.  I used the Crop-A-Dile to punch holes in the corners to tie the coasters together.


I found "grateful" on Gypsy Wandering an cut it out at 3.16.  I also found the pumpkin on Gypsy Wandering and cut it out at 3.75.  I wanted a stem for the pumpkin, so I copied the layer and scootched it way down on my mat so it only cut the top of the pumpkin.


I used cardstock for all of these cuts.


I found this turkey on Create A Critter (he is so cute) and I cut him out at 3.75.


I inked up the leaves with some Ranger inks and a sponge.


Here is Mr. Tom Turkey is all dressed and ready for dinner.


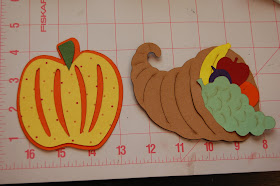
I grabbed this cornucopia from Paper Doll Dress Up and cut it (and the layers) out at 6.37 inches.  The layers will cut all of the fruits (in the same color papre) so I coped it two times and used hide contour to hide some of the fruits.


The faded lines are the hidden cuts.  This way I can separate the fruits and put my colored cardstock in the correct place on my mat.


After I cut everything out, I realized that I wanted the cornucopia more dimensial.  I copied one to another layer on my Gypsy and hid all of the inner cuts.  I cut that one out in darker brown.


I cut the opening of the basket with my scissors.  I inked the slits of the basket.

I inked the fruits as well and tucked them inside the basket a bit.

I adhered each decoration to a coaster and tied them together with gold sheer ribbon.
Here is my favorite side ~ Mr. Tom Turkey!!  I am grateful that Bobbi Jo invites me over to play!

Have a wonderful Thanksgiving Week!!!