February 29, 2012

Oh So Very Happy!

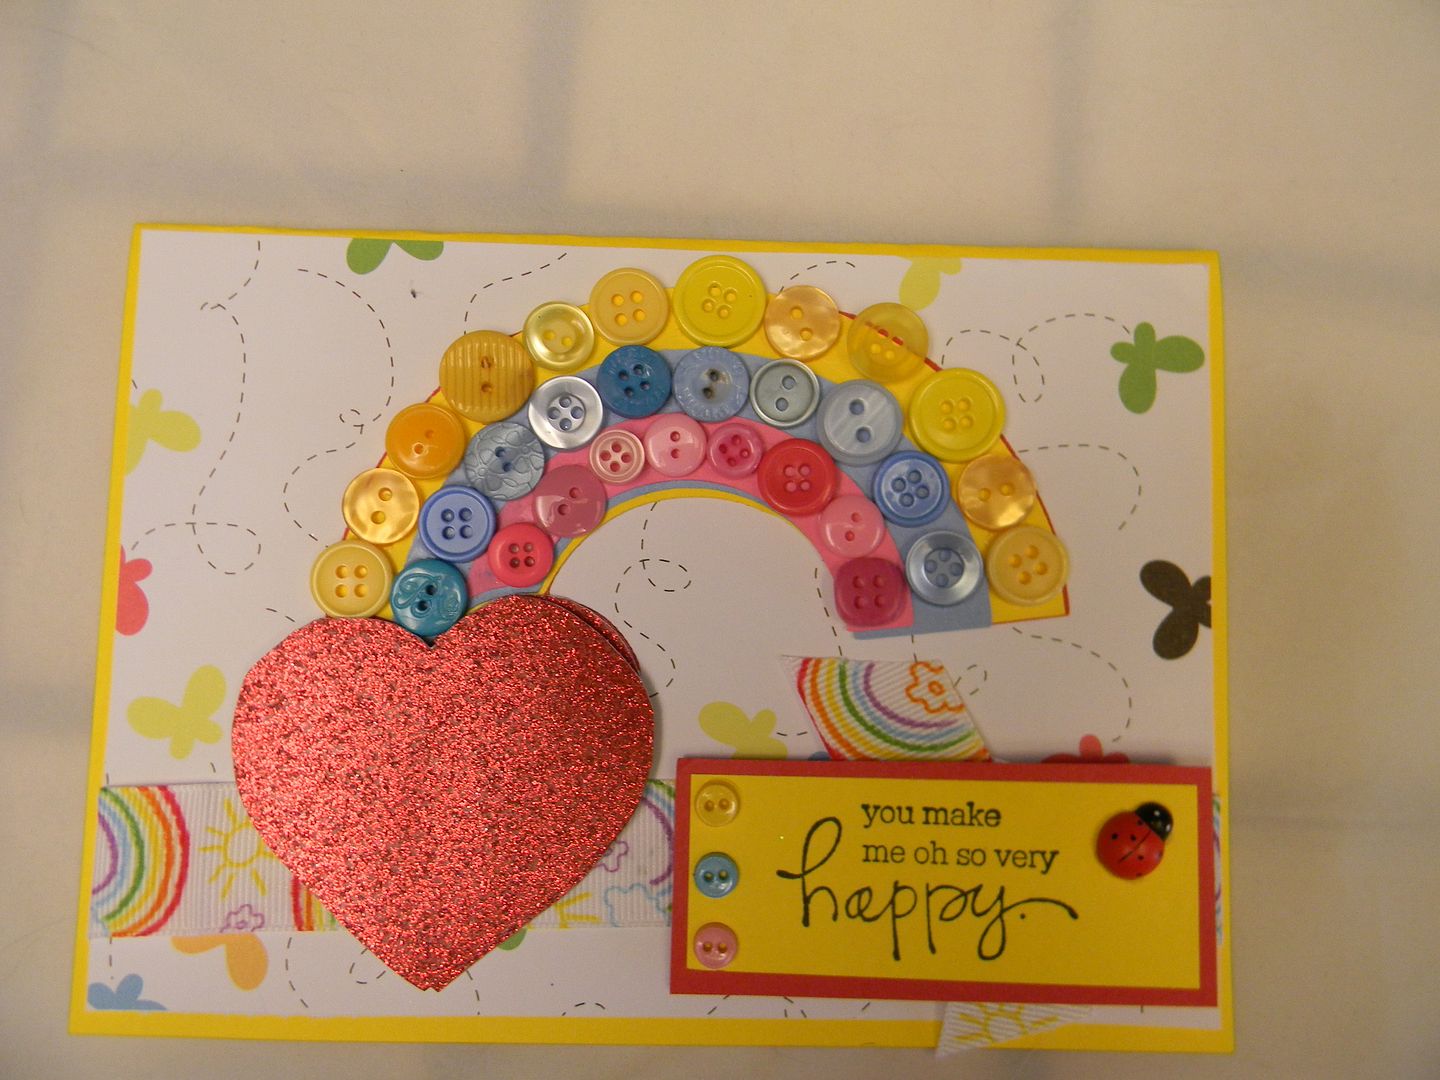
This week at Sweet Sassy Diva the challenge is to use Buttons.  I love using buttons on my layouts and cards.  I have a stash of vintage buttons from my mom and grandmothers old button tins.  I also buy different colored buttons (when they are on sale) in different sizes 
and keep them in cute little jars above my desk.  
So when I thought about the button challenge I decided to do a rainbow.  I found this cut my using my Gypsy search on the Create a Critter Cart.   The cut is from page 52 cut at 4 inches.  
I laid the buttons out on the rainbow before gluing.  I actually was going to put buttons on the heart too but didn't like it so removed those.  I used some teeny tiny buttons to keep theme on tag I stamped with a $1 stamp from Michaels and added a little wooden ladybug.  
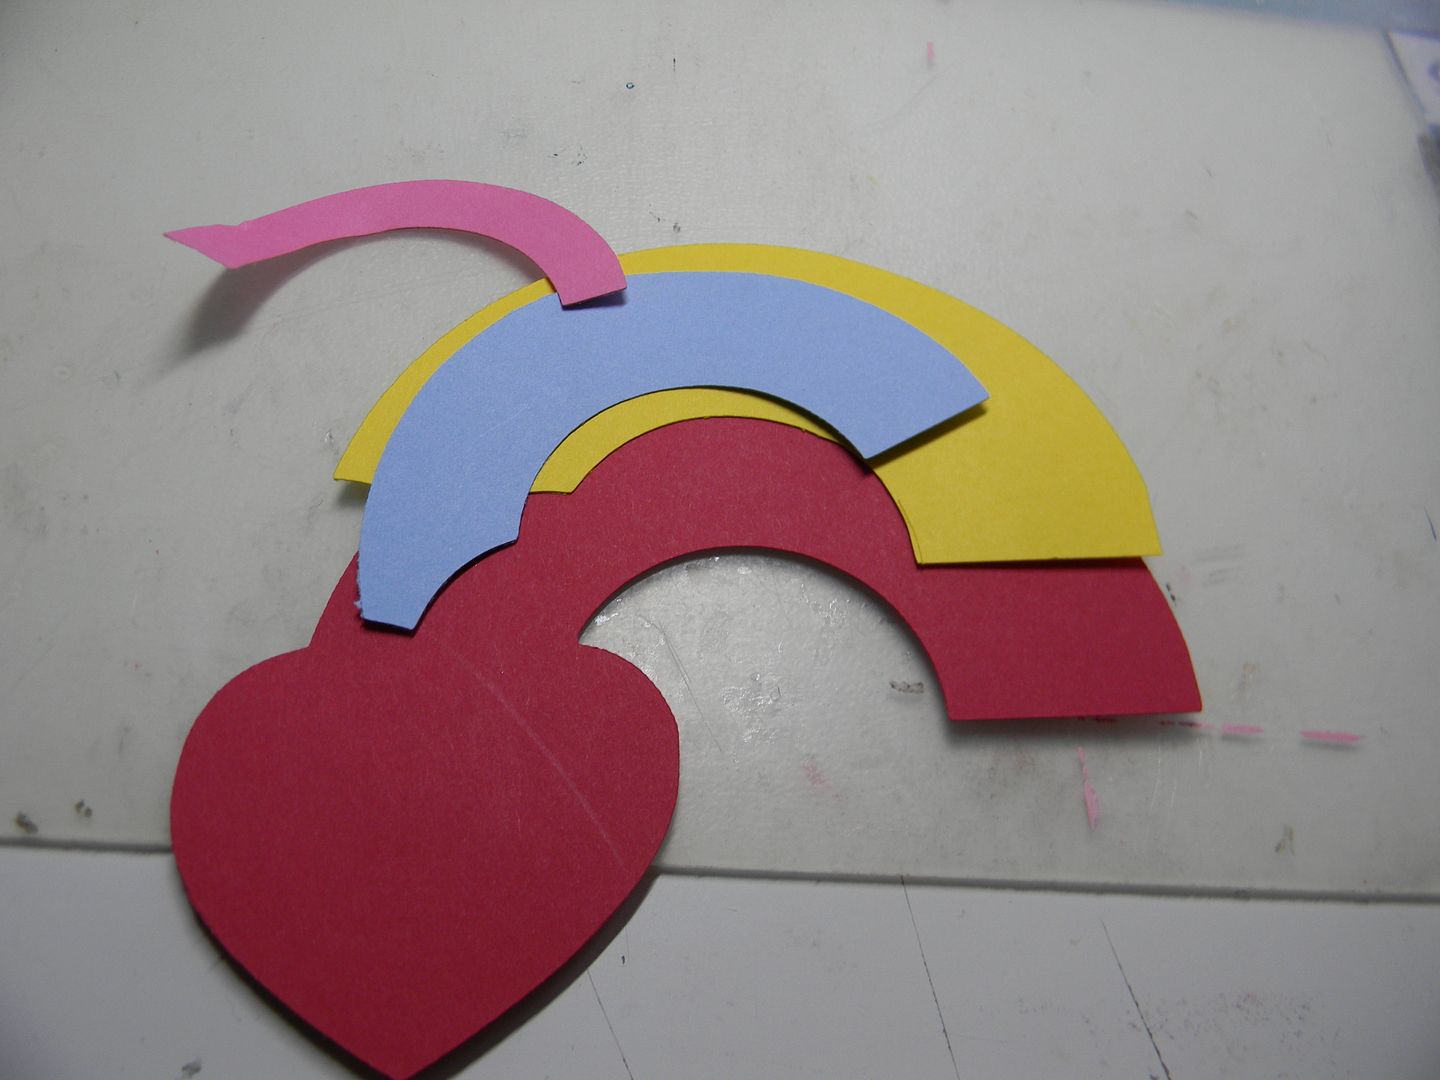
Here are the cute pieces. 
I used some paper from my stash and some rainbow ribbon.  
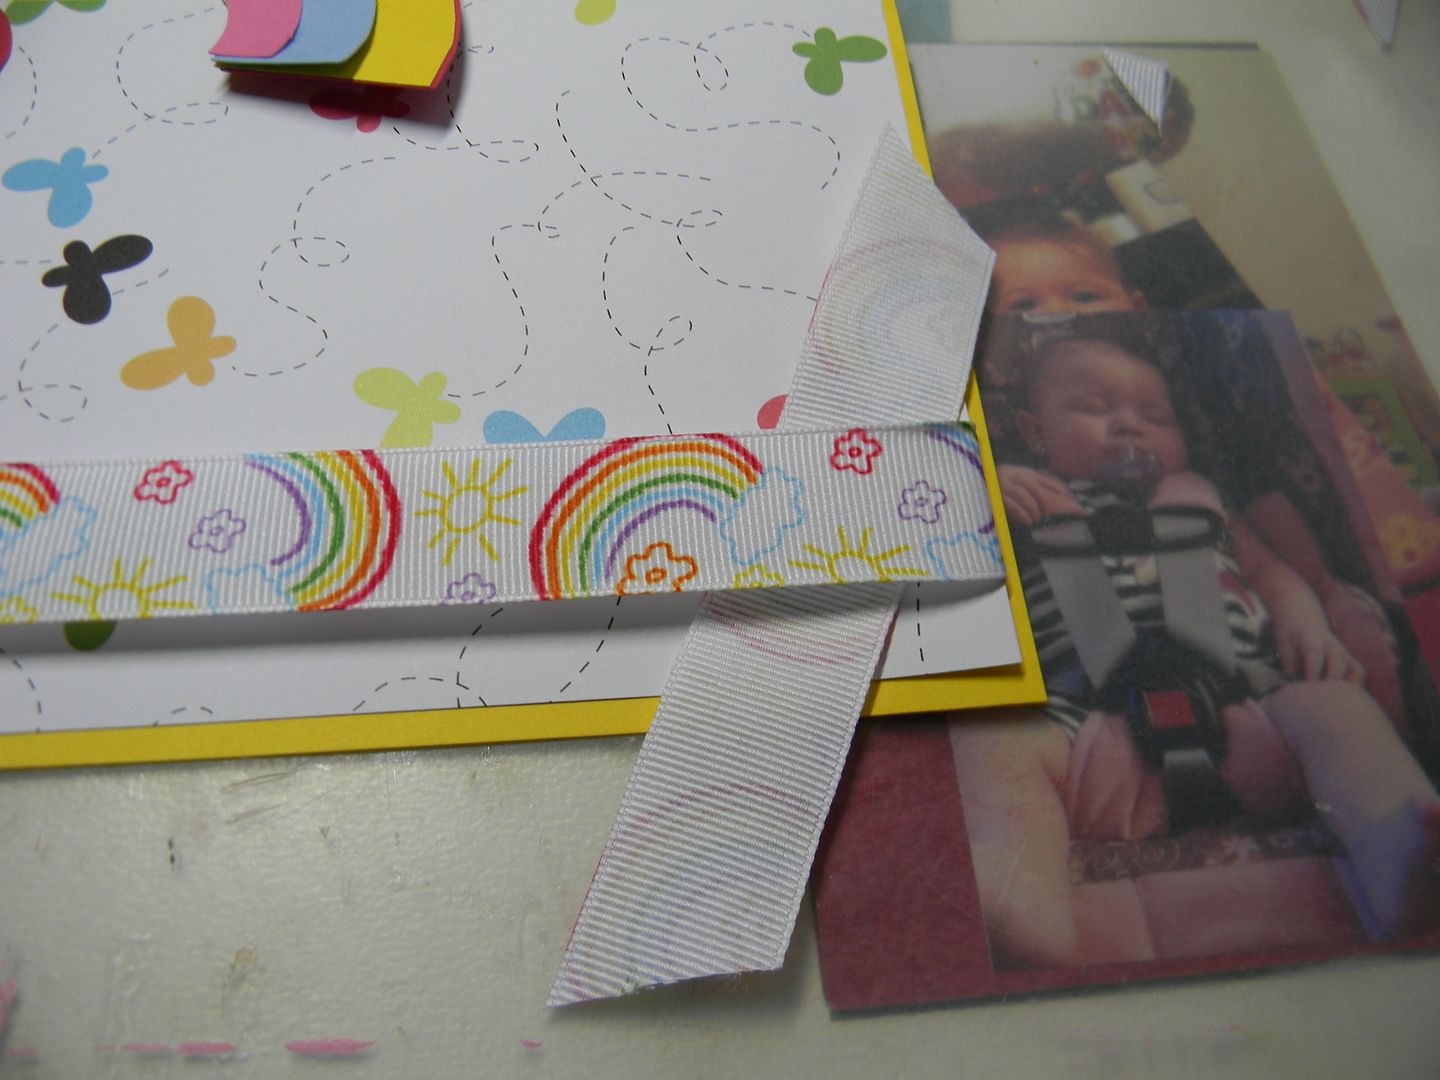
Here are the pieces glued together.
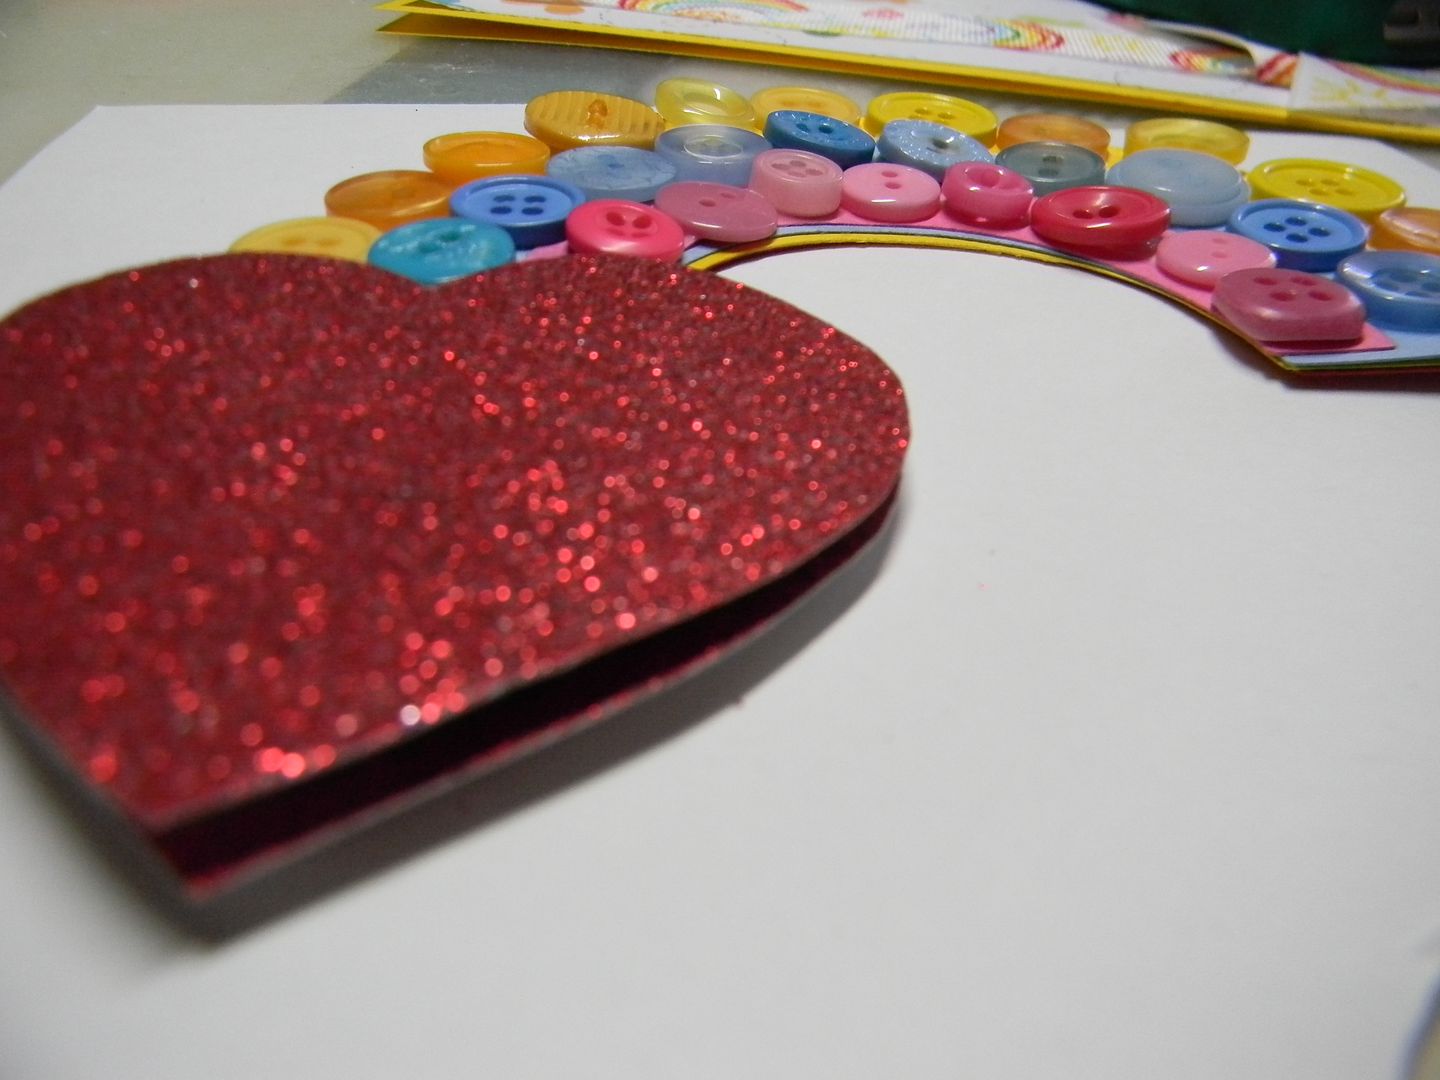
Glued buttons down with Tacky glue and then I cut out a heart to put on top with glitter paper.  
I pop dotted it to raise it up and give it dimension.  
Simple and quick and love the way it looks.  Please join all the DT members this week to see how they use buttons in their projects.   
-- Suzanne

February 28, 2012

Baby layout!

Hi Crafty friends!  Brenda here from Friends Craftin With Friends, the design team was asked to make a project using at least one button for Sweet Sassy Diva.  I wanted to do a layout of our newest grand daughter that was born on her Papaw's birthday.  So I started off with a crude, and I mean crude sketch. Yeah, I'm no artist! lol But it was something to give me a starting point.
Then I decided to make it a double page layout and I got the idea to punch my paper using a Martha Steward around the page punch. I also used the ticket punch from SU.
So I printed my paper that I wanted to punch and started punching.  But......
....the punching didn't work out so well for me. lol  I didn't want to waste the paper that I had already printed so I trimmed off the botched punching making my paper size 10 1/4 by 10 1/4.  Punched again and only had one little boo boo this time.  I can live with that, I can always hide it with an embellishment.
So with a smaller punched paper I had to add another paper cut down to 11 x 11 inch and I printed that a solid color of green.  Layered it with my base and my top layer.  Ok that is working alright-not what I had in mind but it is working.  Next I printed and cut the images that I wanted to use from my Imagine using Nursery Tails. I also printed my pics I wanted to use too.  I played around with my images and buttons for a while.
I finally had to go with just two pics and I also didn't use all my embellishments.  Here is how the finished layout turned out. I didn't fill out all the info on our grand daughter since it was on the internet. Over all I am pretty pleased with it after all the problems I had getting going.  It isn't how I envisioned it with the sketch, but I made the most out of my mistakes and I am ok with it now.  Always try to take your mistakes and turn them into something you can use.  It is always worth a try!!

February 27, 2012

Join the SweetSassyDiva Design Team!

Want to join the SweetSassyDiva Design team? Now through March 18th, submit your entry to join!

Please include 3 layouts, cards or projects that best reflect your design style. (Your favorites...these do not need to be new and could be on your blog.) 

Also, submit one layout, card, gift idea or project using the theme "All about Spring!" that has not been posted anywhere before. Do not post it anywhere until after the design team call has been completed and announced.

This can be an altered item, handmade card, 12x12 layout, mini album, card...surprise gift idea to wow us!  My birthday is this month too so, being it's the transistion into Spring, I couldn't resist!

Please provide step by step instructional pictorial or video along with the recipe for the item. Be sure to use a Cricut Cartridge based project as after all most of the projects here you will be asked to use your cricut and cartridges so, that readers can get inspiration and possibly duplicate and play along with the challenges.

Please email including the recipe, directions and any other project details such as a cut file, tutorial and/or video. Email your entry to:  Click here!   In the subject heading, please label as "sweetsassydiva design team entry".

• Include your name, email address, the link to your blog, links to any photo galleries, and links to any other Design Teams you are currently on. (You do not need to have a photo gallery or be on another design team to be considered.) Also, if you are from a messageboard, which one and your screen name there. Are you a member of the cricut mb or cricut circle? (This is not a requirement.) Please include a brief bio/introduction of yourself.

Please indicate what die cutting machines [cricut, imagine, e2 expression 2 anniversary edition, expression, etc.] that you own as well as if you own the gypsy and what cricut cartridges. Or any other items of note or interest.  Also, how many cricut cartridges do you own?  Are you able to make a few go to cartridges sing and create your own cut files from george and basic shapes?  Do you jump on the first release and have to be the first one to have the latest cartridge?  Tell me a bit about your creative space.

The term will be for 6 months and the frequency of posting will be 2-3 times a month so approximately every other week miniminum with projects due on the Sunday before.

• Also, put in three sentences why you think you will be an asset to the SweetSassyDiva Design Team.
Please submit your application by 11:59pm EST March 18th.

Actually, you can submit older projects and only 1 is theme based and new. Do-able to whip up.

SweetSassyDiva Designers will be contacted by March 25th by email. The Design Team will be announced on the blog shortly thereafter.

Note: this is not a paid position nor do you receive any free product.  Although you never know but, I do not guarantee anything other than friendship and camaraderie among the design team and myself. 

Good luck!!

On a separate note, I am also looking for sponsors and affiliation submissions as well.

Photobucket

Please help me spread the word on this design team call by sharing this  link on your blog, facebook and twitter.


Cute as a Button!

Good Morning! This is Jen from 3 Cats and a Bug. The theme for Sweetsassydiva's this week is buttons. It couldn't have come at a better time for me, my Grandson IS cute as a button! I started out with a frame from Sophie. I used my Gypsy and enlarged the frame to 9.67 x 8.71. I added a square with rounded corners from George and Basic Shapes at 5.3 x 4.7 and centered it in my frame. While I was cutting that out in light blue, I used my gypsy again and removed the square and then used the "hide contours" button to only cut the outside frame. I cut that in dark blue. I took a 5x7 picture and trimmed it down to fit inside the frame and glued it all together. And that's when I remembered I didn't take pictures! :/
I used country life to cut out my letters @ 2. While that was cutting, I started sorting through my buttons.
I also cut out one button from the Wild Card cartridge, cut @20. I used a piece of purple ribbon to "sew" it.
Once I glued down all my words, I picked out all my buttons. I attached them using glue dots. I added a blue bow to the top of the page. All that's left to do is find a 12 x 12 frame and hang it on my wall!
Thanks for looking!

February 26, 2012

Happy Birthday!

This week we were asked to use buttons....I love buttons!!!!! I used this as a reason to finish a couple of birthday cards that I've needed to make. They are going to be late...I'm horrible at getting things out on time...but they are now made. (Only one more to go.) This one I made for my niece. She is such a sweet girl. I laid everything out on my gypsy. (I found my inspiration from a Just Cards magazine.)
Then I used my paper from DCWV Sweet Stack to cut out all of the layers.
Then it was time to layer it all up...add thread and buttons...a stamped sentiment and call it "Happy Birthday"
(The other 2 cards are for her twin sisters who turn 3....also sweet sweet girls. I used Nana's Kids paper, celebrations cartridge for the candles and made it simple...after all they are 3. ) I used the "Make a Wish" stamp on both cards. The sprinkles on the cupcakes are tiny buttons...and then the buttons going down the side are threaded with golden thread. The colors remind me of neapolitan ice cream...so ice cream and cake for a bithday....can't be beat.

Angie

February 25, 2012

Playdate!

Hey this Misty from the dailyscrapper
My invitation is for a playdate.
My son wants a soccer buddy to come hang out with us one day so I made a fun card he can give them with all of our info in it.
This one is quick and easy yet cute. I used Distress ink for the edges and DCWV CS from Joanns. The cut is from create a critter.

February 24, 2012

Nursery Tails Toss!

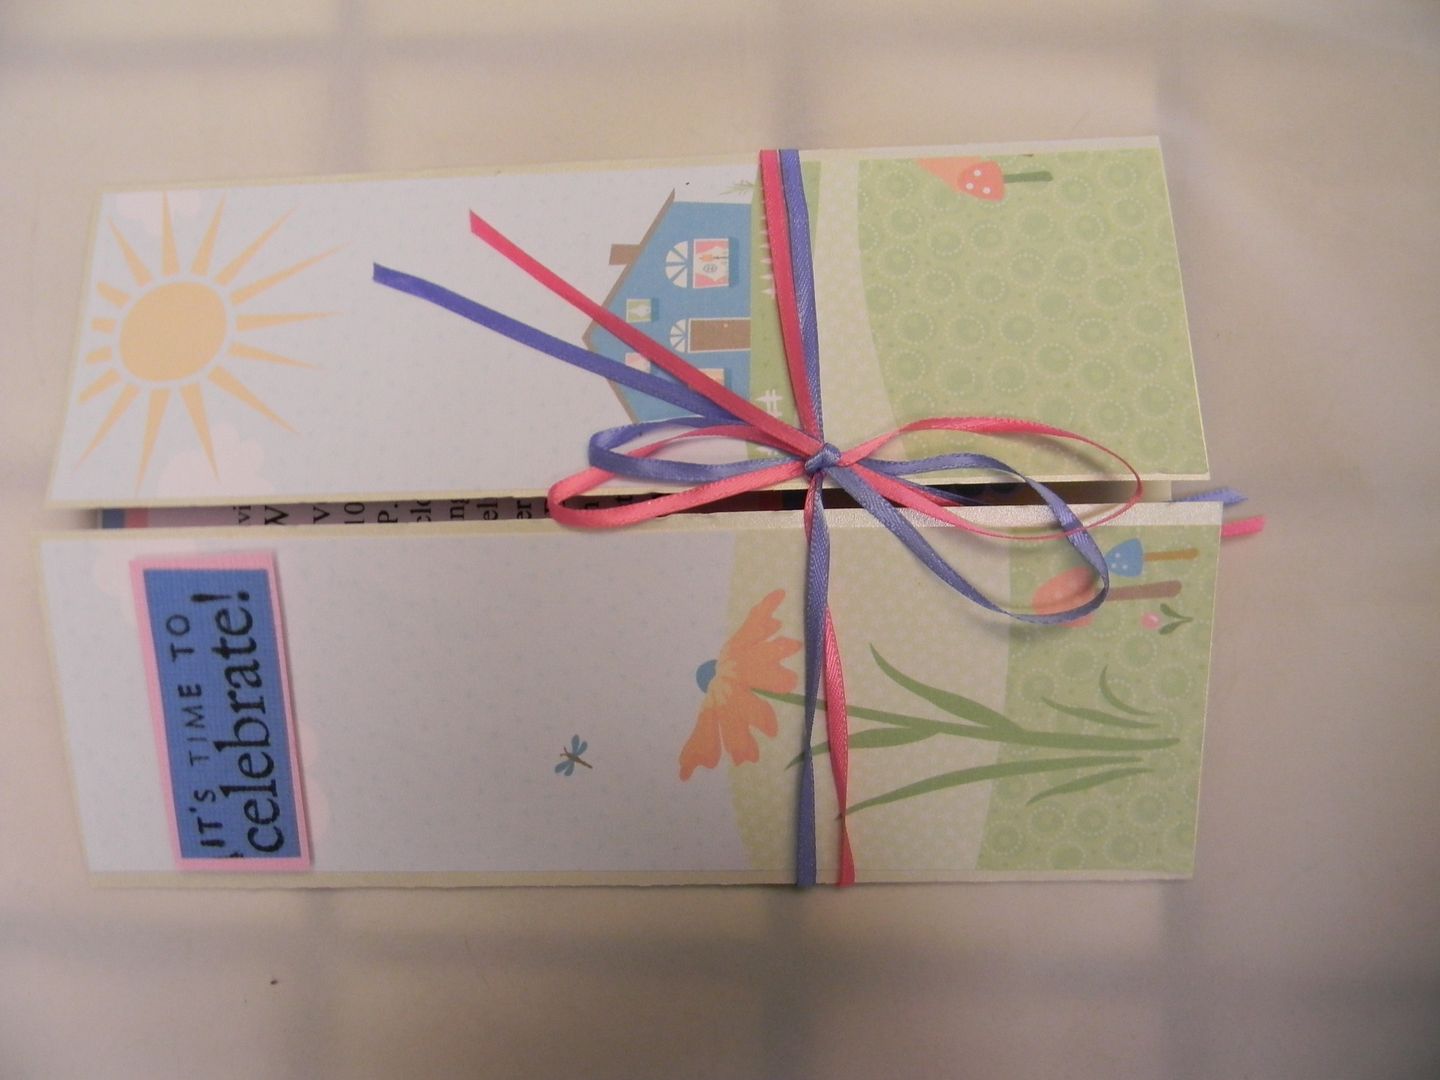
So, yesterday Suzanne shared a Gender Reveal Party Invitation with you. Today, she is sharing a second card choice with you. 

The second card is made with my Imagine and the Nursery Tails cart.
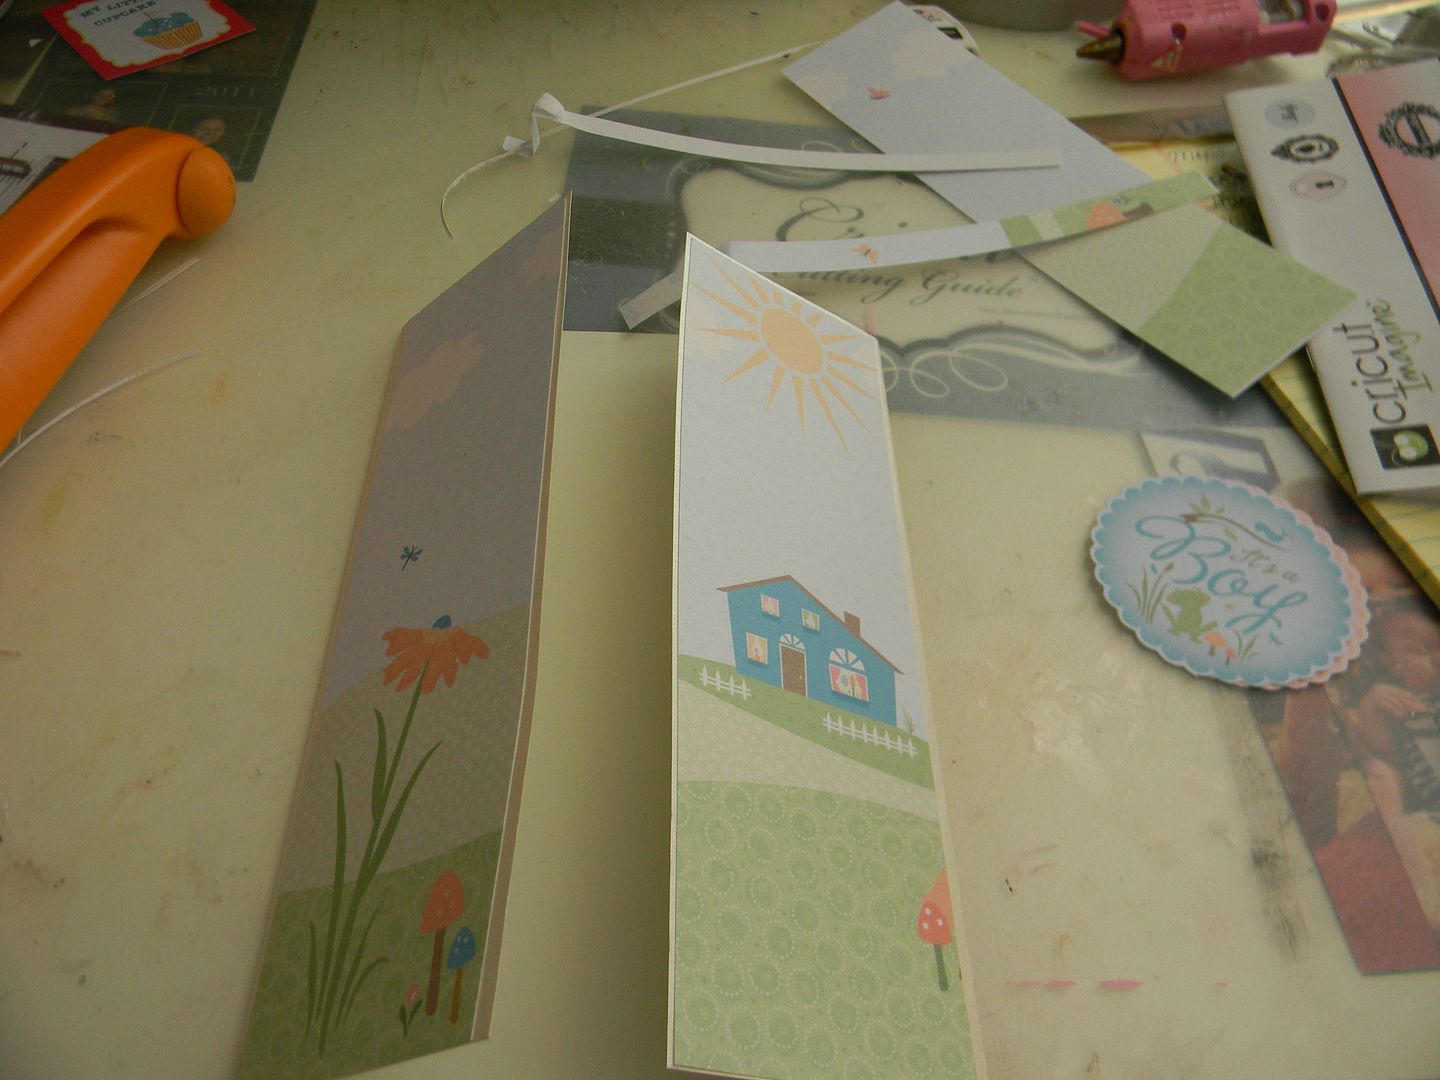
I cut the house page at 7.7 with my Gypsy to fit on my card.  
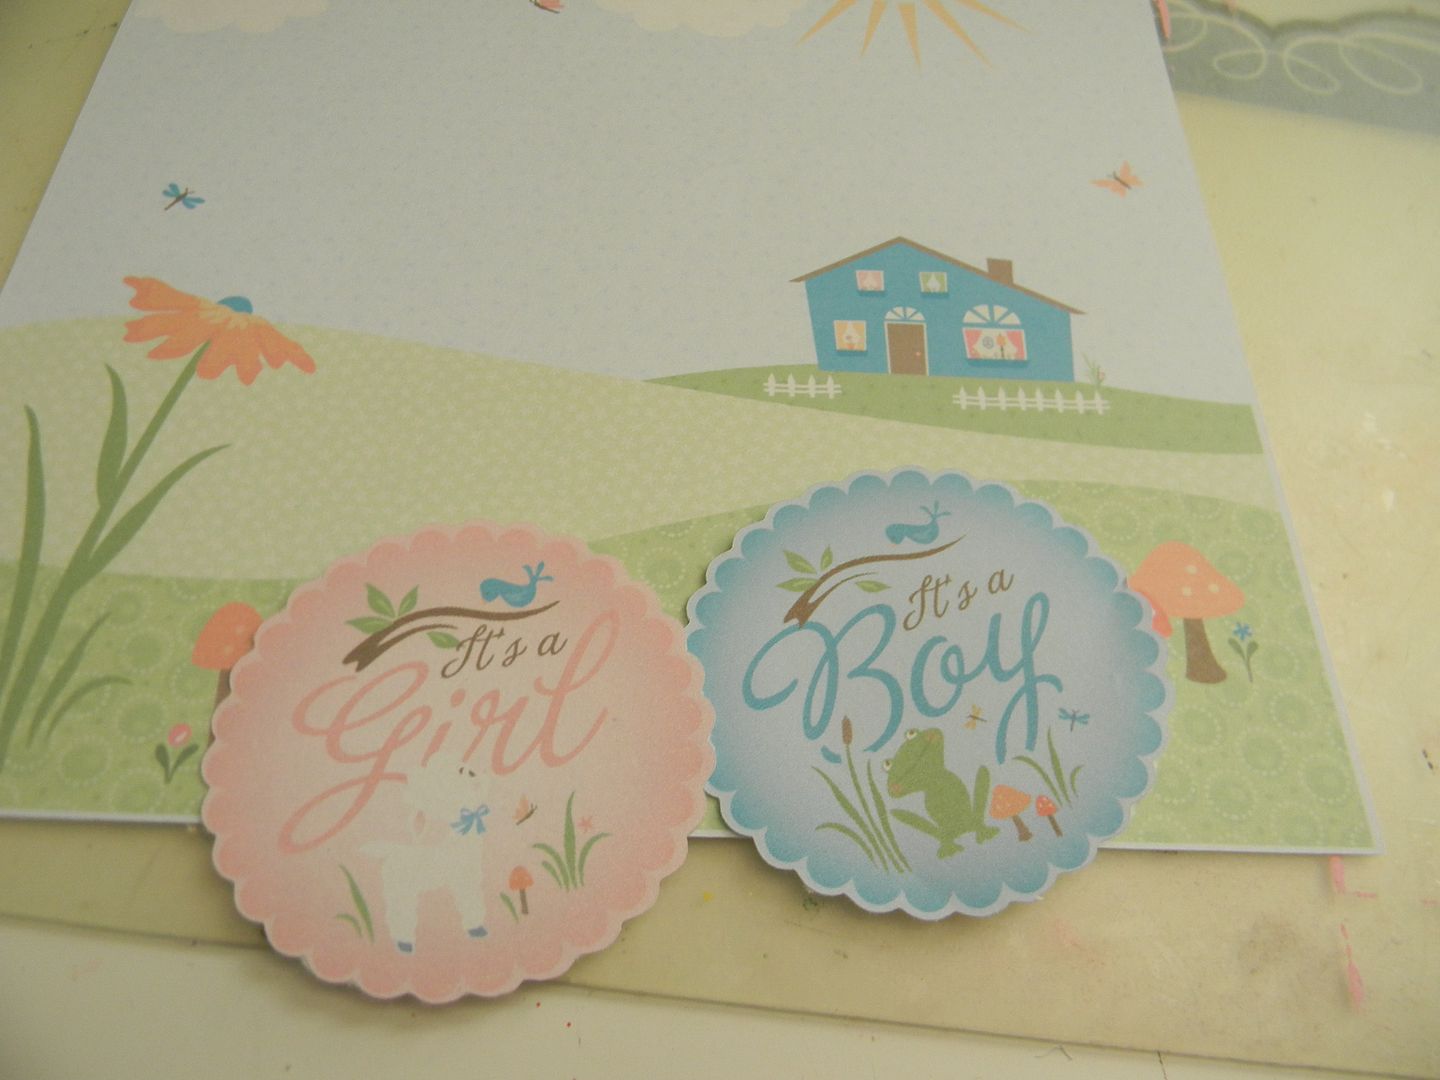
It was too wide and I didn't want to distort the picture so cut the sides to use and threw away the center piece.  I cut the girl and boy medallions at 2.5 at the same time. 
Here is the front of the card.   You can see the piece that was cut out of center 
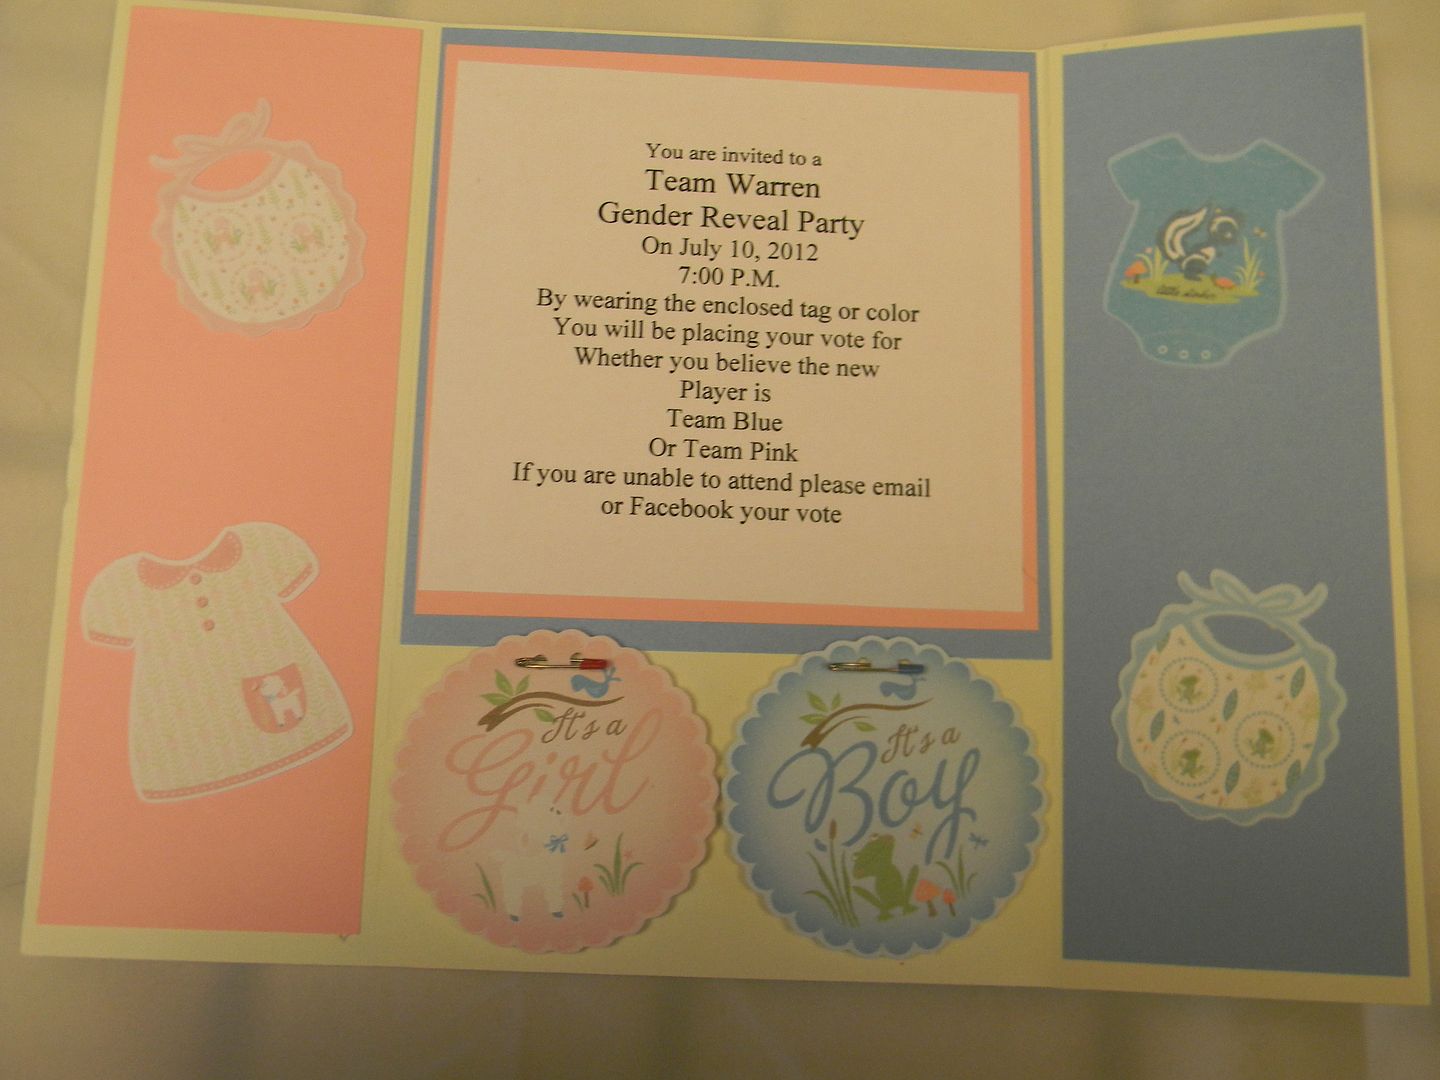
I also added a dress, oneside, and bibs at 2 inches to the inside flaps.  
The medallions are popdotted so they can be removed.  
I added some tiny blue and pink safety pins.  For this one they are asked to wear the medallion to vote for whether they think it is a boy or a girl.  
Hope you enjoyed my cards and ideas.  I can't wait to see what the rest of the DT makes this week for the Invitation Challenge.  

February 23, 2012

Gender Reveal Party!

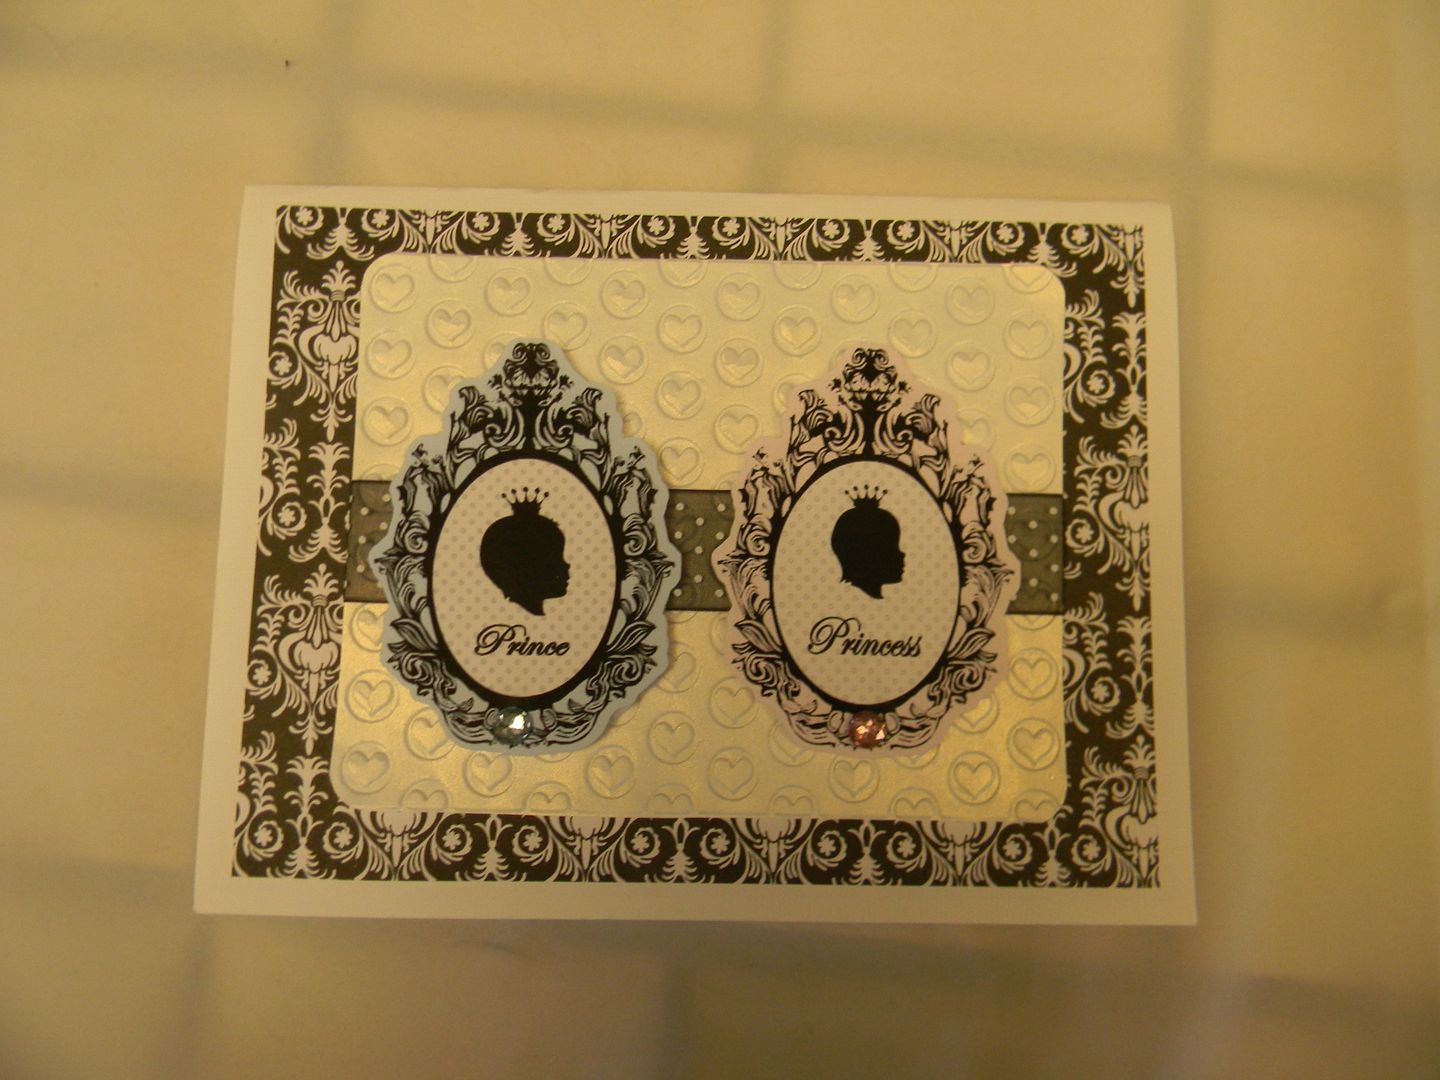
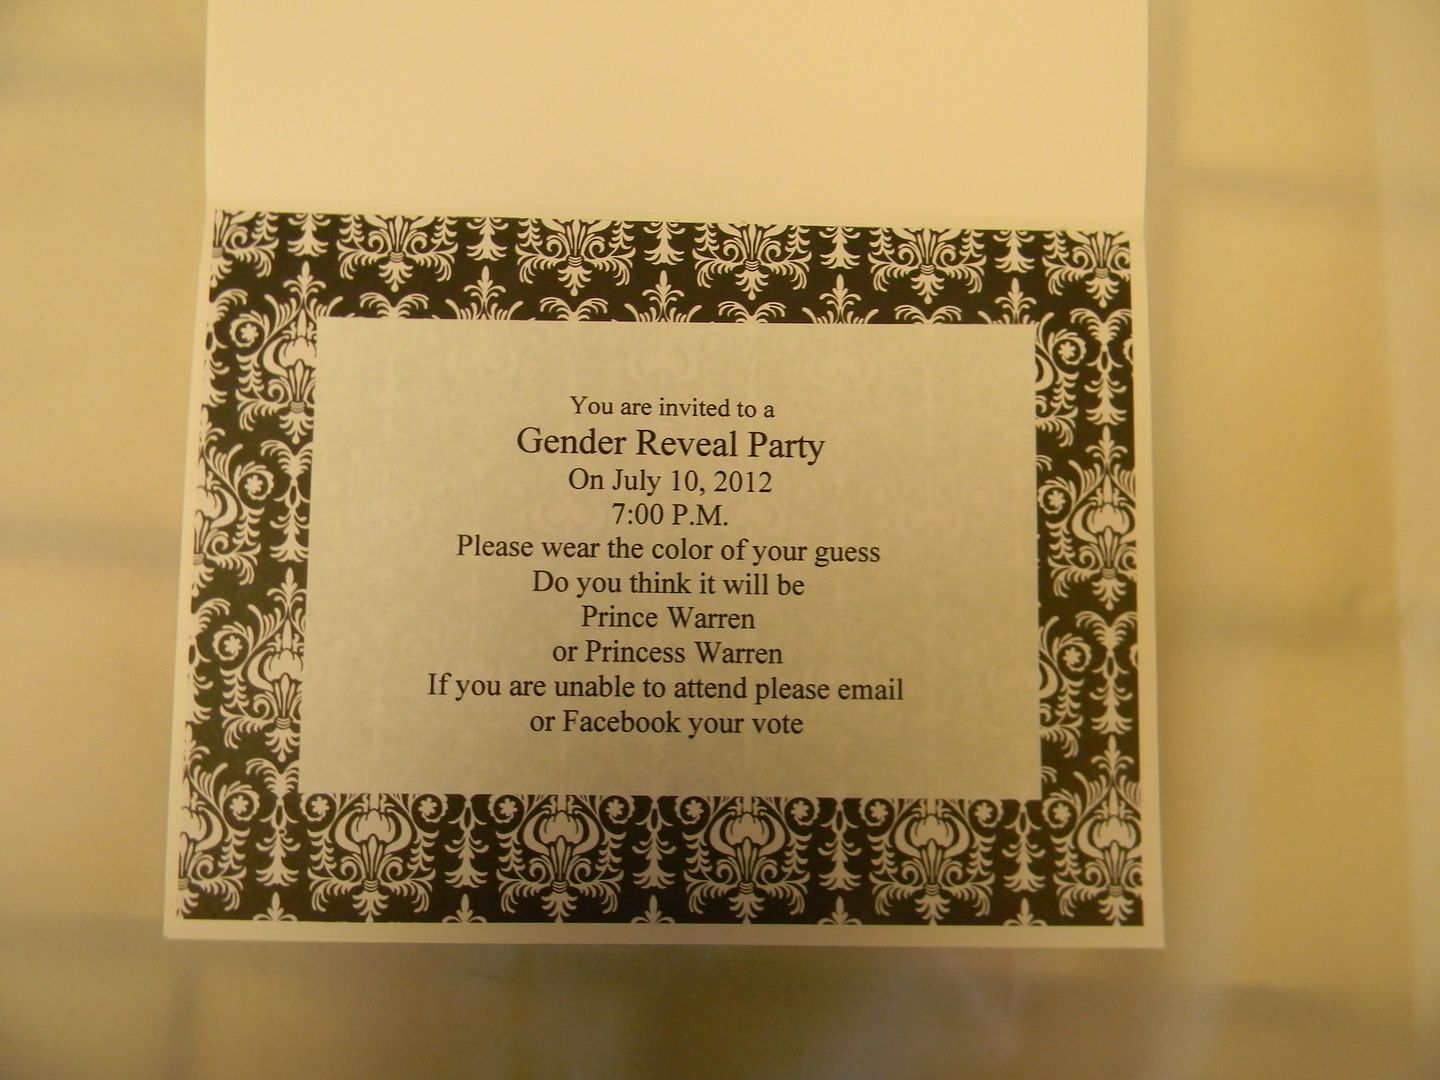
Suzanne here.  This week the challenge at Sweet Sassy Diva is to make an invitation.  I actually was asked to make a couple invites for my oldest daughter and son in law as they just recently found out  they are expecting their second child.  They were thinking it would be fun to do a gender reveal party so I made two different invites for them to choose from.  If you don't know what this is let me explain. You invite your family and friends to a party to reveal whether you are having a boy or girl.  Usually by cutting into a cake that is either blue or pink.  That way you share the joy of finding out the gender together.  
For the first card I used my Imagine and Baby Boutique.  
I embossed the white background with a Sizzix love folder.  
The prince and princess medallion were cut at 3 inches and pop dotted.  
I then found black and white paper and black with white polka dot ribbon in my stash.  
This is a mock up of the inside.  

Stop by tomorrow to see the second card that I made for this occassion.

\


SweetSassyDiva here and I think it's so exciting to hear that Suzanne will be a grandma again.

What better reason to celebrate!  I recently joined Lot18 and saw it's only by special invite.  I think that everyone should be able to get the amazing deals on high-quality, hard-to-find wines and gourmet foods at great prices!  I guess that they limit the membership so that the members have a chance at some very limited quantiies of wonderful products that they want without worrying about  them disappearing too quickly.  I just can't not share with my wonderful readers and especially not you. so....shhhhhhh click here for the special invite! There is not a cost to join and you will get some special offers that are not out there for everyone and at great discounted prices up to 60% off on some too!


February 22, 2012

You're Invited!

This week on Sweetsassydiva we were asked to make invitations of some sort. It just so happened we were having a birthday party for my daughter....lucky us. My girls really love the 18' dolls. So that was the theme of our party. The chosen colors are pink, red and white with a star. You can figure out which one they like the most. I also wanted to make a simple design since I had to make a few....so this is what I came up with.

Let's get started!

One of the things I love most about being able to use my gypsy is that I can place everything on the mat, just as it is on the screen, and use as many scraps as possible. I used white, pink and red for this card. The card base is a 4 1/4 x 5 1/2....I cut the red rectangle from George & Basic Shapes at 4 x 5 1/4....then I used my gypsy to fit the pink rectangle. I made it just a bit smaller, and then placed a star from George centered left to right but placed off center to the top. I also cut out a 2 inch tag in red, with a smaller circle in white.
I then embossed the pink star cut with my cuttlebug dots folder, using my sizzix embosser. I then started layering them up. Red first onto the white card base. I added thread around the bottom of the pink and then attached it with 3d pop dots.
I added the you're invited tag to the thread...and still wanted more. I found a wooden star button and altered it.
I placed it in the center of the cut...added a bit of bling and called it done.
(Sorry it's sideways...I tried 3 times turning it.) So there is my simple invitations. I used recollections paper in pink, red and white cricut embossing folder, dots sizzix texture embosser George and basic shapes cartridge a wooden star with a white paint pen self stick gem

February 21, 2012

Slider Invitation!

You are invited!!!!  Hi ~ Lori here from ScrappinMyStressAway with a super fun invitation for you!

I saw a slider invitation in Hobby Lobby's  Scrapbooking Magazine (1st Quarter 2012) and thought it looked like fun to make.


As usual, I grabbed my Gypsy and got started.

I lined up all of my elements on separate Layers.  I started with a 6x6 square.  I put a circle at 5 inches on the next layer.  
I put the doily from Easter 2010 on the next layer at 3.13 inches.
I put a scalloped oval from Art Philosophy on the next layer at 2.57 inches.
I put the fancy oval tag on the next layer at 1.25 inches (the size of the coordinating stamp).

I welded two butterfly borders from Paper Trimmings at 1 inch and put them on the next layer.

I opened yet another layer and copied all of the pieces onto one mat to cut them out.

I used white card stock for my doily, orange cardstock for my circle, and scrap paper for the rest.

I cut a 6 1/4 x 6 1/4 square from light blue cards tock.  I cut my striped paper 6x6 and adhered it to the blue card stock.

The blue scalloped oval is cut on 2-sided paper.  I don't like the blue side as much as I thought I would.


I flipped it over!  Much better.

I used the You're Invited stamp from CTMH ~ these stamps come with the Art Philosophy Bundle.

I cut out this butterfly (2.24 inches) from Hannah Montana to attach to the slide.

I only glued the center of the butterfly layer and bent the wings up just a bit.
Here is the closed invitation.  I hope you can come!!