March 30, 2012

Thank you my Friend!


I used the French Manor cartridge for the Lion Head.  It is using Stampin' Up Regal Rose and Blushing Bride.  I made the shadow in Early Espresso for the lion and behind the other elements to make them pop!  Speaking of Pop! I used pop dots to give it some dimension making the lion jump out from the card.  I used the tempting turquioise cardstock behind the lion and stamped it with some beautiful french script.  I also used the stamp En Francais from Stampin' Up on the left side of the card on the very vanilla cardstock in Early Espresso classic ink. 


The text is written in French and translates to "Thank you my Friend".

I invite you to link this post from your blog and hope that if you are not following my blog yet that you do.  I also have a blog button that I would be honored if you would add it to your blog.  Please stop by frequently and I find positive comments fuel the creative juices to post more frequently. 

March 28, 2012

Thank You!


I made this Thank You card by welding images from Gypsy Wanderings, Gypsy Font and Tags, Bags, Boxes and more.  I outlined the front of the card by replacing the blade housing with the cricut markers.  It gives more emphasis on the butterfly, flower and Thank you.  In addition, I used Graphic 45 paper, Dew Drops, ribbon and a beautiful antique button pre-WWII.  There is so much detail in the button that just is not captured in the picture.  It has 4 delicate pressed flowers in the center which you cannot begin to even see in this photo.

I used the Color Box Paintbox Ocean breeze in a chalk ink to help the card pop. 

Inside the card is a beautiful coordinating print.  You can leave it or add a coordinating solid cardstock to write your personalized message.  The pictures do not do this justice!  It looks beautiful in hand!


I did need to use the little dental pick to get the small little pieces out.  Some of them wanted to stay for the delivery of the message.  I do not blame them because it makes it hard with all its beauty to send this thank you to another home. 

I hope that this inspires you to create something unique and all you! And as always, please comment on this post and let me know how this inspires you. 

March 26, 2012

Easel Card!

For your viewing pleasure, I made a video on making an Easel Card.


If you are on email subscription, Click here to view!


I also stamped the inside of the card. I used the Pink by Design stamp set called "Fly away with me".


Pink Cricut

You can get them by clicking here!

March 23, 2012

Create a Critter Layout!

Hi this is Misty from The Daily Scrapper.
I had fun using my piecings from the Imagine swap for this layout. My Imagine will only print so I had to be creative for the swap and make the papers and then cut them from my Expression using a regular cartridge. It was fun to do. I used Create a Critter for the cuts and Hopscotch for the papers.
Thanks Guys Have a great day.

March 22, 2012

Sea World!

This week, our theme at Sweet Sassy Diva's is this sketch challenge.  This is Lori from ScrappinMyStressAway and I created my layout with some photos of our recent trip to Sea World.  I couldn't decide between Sea World and Dr. Seuss.....
I reversed the sketch and used only a few Cricut cuts this time.  My Gypsy will not cut welded images right now which is very hard for me!!!    I weld almost everything!!!  My E2 was getting updated all day (currently still updating at the time I write this) and I had to unpack my Expression to cut out my images.  To say this layout was challenging would be correct!!!

I used some paper from my new DCWV Paper Pad ~ The Snapshot Stack.  I thought this was fitting as I took a ton of photos at Sea World!

I grouped my cuts for both layouts on one Layer of my Gypsy.  I used Hello Kitty Font for my title and cut out the letters at 1.27 inches.

I cut the whales out from Life is a Beach at 1.82 inches.

I cut out my titles in red cardstock.  I cut the whales out of white and black cardstock.  I cut a little design into the black whale so the white "spots" showed.

I lined up my words where I wanted them to be on my Gypsy so I can use the template to adhere them to my layout.

Perfectly centered and straight every time!!

Here is one of the whales and my journaling tag.  This tag was from a KandCo set.  There was an orange detail that did not match, so I covered it up with the black and white ribbon.

Here is Shamu!  I trimmed a photo from the Shamu Show to the same size as......

Tanner with Shamu!

Sea World was a great time!  I loved the shows and feeding the dolphins!  I hope to return one day!
Thanks for having me on your blog today Bobbi Jo!!!

March 21, 2012

Pineapple Field?

 LO sketcch


Hello Crafty Friends!  It's Brenda here from Friends Craftin with Friends.  This week at Sweet Sassy Diva we were to do a lo using this sketch.


So I started by gathering some papers that I wanted to use and getting my mats ready.
Then I punched out my layer and did a test run to see how I like my elements together. 
Uh, no the tractor tire paper wasn't working for me. lol  So I replaced that with paper that was a corn field.  That works much better!! So I glued everything down.
Next I did my title on my Gypsy welding it together.  I used the Billionaire font and I used Pop Up Neighborhood for my corn stalks.  I glued my title down, added some doodling, then I layered my corn stalks and stickled the corn.  Yes, I can find a way to use bling even on farm pages. lol 
And here is my completed lo.  Please excuse the two pictures on the right.  I was printing them when I ran out of ink, so the color is off by a lot.  I will have to reprint these two when I get more ink.
Here are a few close ups:
I hope that you have been inspired to use some sketches!  They sure do come in handy for when you are having one of the lack of mojo times!!

March 20, 2012

Bloom!

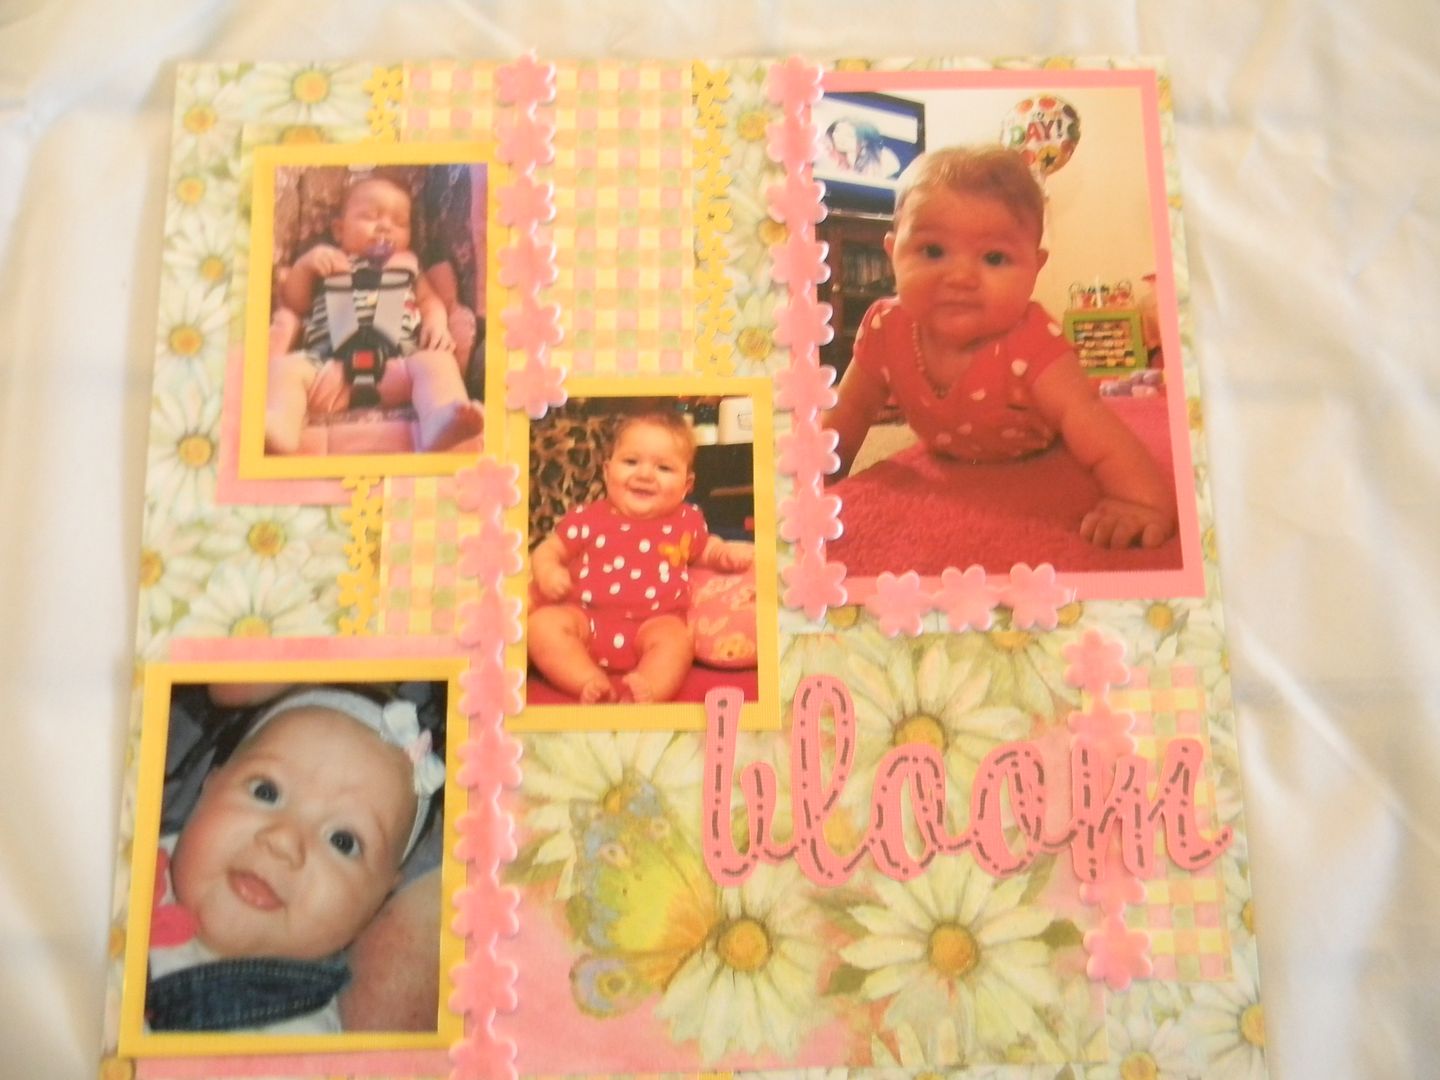
I am keeping with the Spring Blooms theme from last weeks DT challenge for Sweet Sassy Diva.   I made a Spring layout of my youngest granddaughter.   I had this wonderful stack of flowered paper from K and Company from last year.  
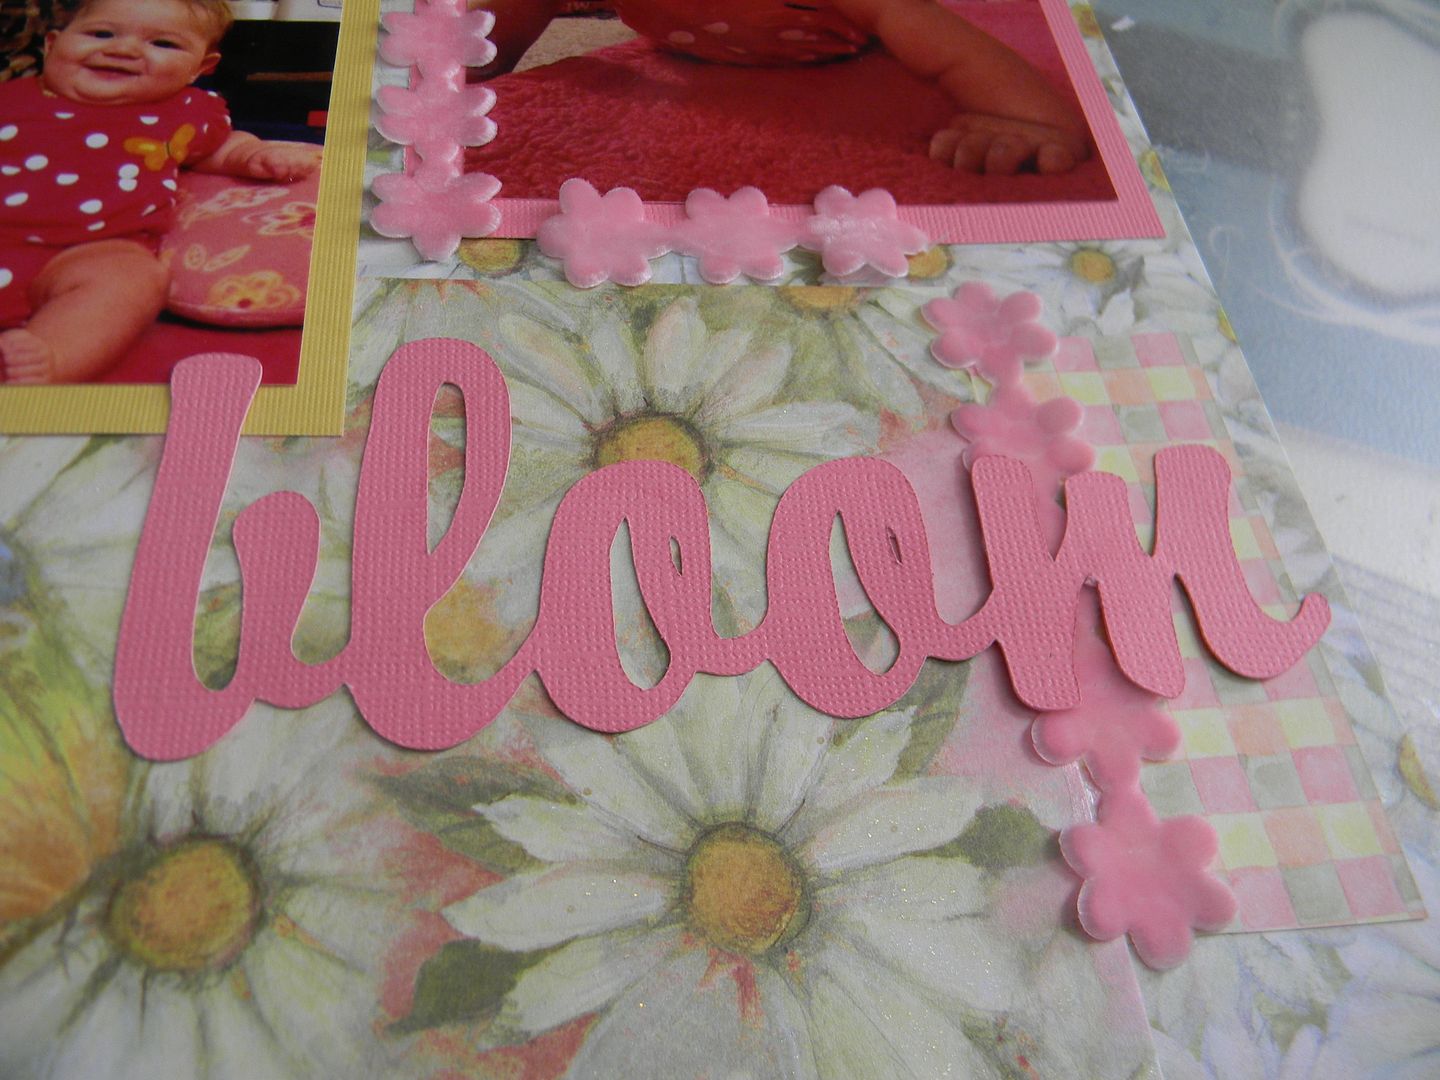
I used the daisy and striped page.  I also cut and used the page with the large  butterfly and daisies for the bottom corner.  I used a flower punch for border strips and added MS flower border trim from my stash.
I used my Gypsy to search the word bloom for the title. I used this cut from Just Because.  There were several different ones but I choose the cursive flowy one instead of block letters.  
I then doodled on the letters to make them pop with a Sharpie.  
I think sketches are a lot of fun and can't wait to see what the other Designers create with the sketch this week.  Hope you enjoyed the post and Happy Craftin. 
I

March 19, 2012

Can you Imagine more?

Happy Almost Spring!!  Lori here from ScrappinMyStressAway.  This week at SweetSassyDiva, the theme is Spring Blooms.  I just cleaned out my flower beds today and my bulbs are coming up!!!  I absolutely love spring flowers!

My Gypsy girl has been cutting wonky so I turned to my Imagine for this project.  I started with this pretty box from Imagine More Cards.  I cut it out at 8.5 inches.

I scored and folded the box and adhered it together.

I cut out these flowers from Art Philosophy at 5 inches.  I had a different spring bloom project in mind originally so I cut out flowers and leaves that I ended up not using.


I rolled up the flowers with my quilling tool and glued them together with Scotch liquid glue.  I ended up trimming a little bit from the red and yellow flowers and a lot from the purple flower to fit on the front of my box.

I am going to stick a gift card inside and give this as a gift.  I really need to use my Imagine more often!!!

March 18, 2012

Rub-a-dub!

Good Morning! This is Jen, from 3 Cats and a Bug. The theme this week at Sweetsassydiva's; is to follow a sketch. (This sketch is from Scrapbooks etc)
I did stick to the sizes on the sketch. I used the Paper Trimmings for the bubbles border, cut @ 1.1.
I used Splish Splash for the soap bottle~ cut @ 3, fish~ cut @ 3, sea horse~ cut @ 3.5 and rub-a-dub ` cut @ 2.
I used my white gel pen to add stitching all around the outside border and also down the inside of the bubbles borders. I added stickles wherever I could! :)
Thanks for looking!

March 17, 2012

SweetSassyDiva Birthday Blog Hop Winner!


I guess the early bird catches the worm! :D 

The winner of the blog candy is.......
Lisa said...

Love the party favors - they are super cute!


March 10, 2012 9:50 AM

Contact me with your name and address.

Congratulations!


March 16, 2012

Bloom Layout!

Tina Gale here with my project. This week it's  all about Spring Blooms at sweetsassydiva so I decided to do a layout with the new CTMH Stella papers, stamps, and canvas shapes. It was super quick to pull together using the CTMH Art Philosophy cart and canvas shapes. Let me show you how!


The large scalloped circle was cut with the Art Philosophy cart and then cut a couple inches off one side. If you're creating a two page layout use this piece on the 2nd page to tie them together.

I created the large flower by stamping the full image on colonial white then I stamped the petals using a variety of ink colors. All of the colors are listed below in the details. Just create a good variety and mix them all up for interest. I cut the petals out and then adhered them to the colonial white flower. You can curl them or pop dot them up for even more dimension. The small flower was created with a couple of petals then adding a button.


Add the green swirl canvas shapes around your pics and then add the flowers. Adding a couple of buttons adds interest and dimension to your layout. Of course I inked everything with cocoa ink. It's just not finished until I ink it. ;o)


Details:
Cricut Expression
CTMH Art Philosophy cartridge
CTMH Stella paper
CTMH Stella Canvas 
CTMH Just For You Stamp set
CTMH Lagoon Ink
CTMH Sunset Ink
CTMH Cocoa Ink
CTMH Olive Ink


I hope you enjoyed my layout today and come visit my blog for more projects. If you don't have a CTMH consultant I'd love to help you out with that as well.