MyFreeCopyright.com Registered & Protected
Showing posts with label Locker Talk. Show all posts

May 16, 2012

Creative Teacher Gift!

Lori here from ScrappinMyStressAway with my project for the challenge ~ 3 or more cartridges.

I wanted to make something special for Tanner's kindergarten teacher.  Mrs. Stock is an awesome teacher! I wanted to personalize something for her and kept coming back to a tile.

I started with gold vinyl, but the gold seemed thin and I had some issues with it bubbling and tearing.  I was ready to scrap the whole project and started removing the gold words and decided to leave the apple.  I kept thinking that a golden apple is kind of like an academy award for teachers.....so I kept going.

Here is my screen shot.  I used several words and icons from 15 cartridges:  Cheerful Seasons, Cindy Loo, George, Graphically Speaking, Gypsy Wandering, Hannah Montana, Home Accents, Home Decor, Locker Talk, Lovely Floral, Lyrical Letters, Makin' the Grade, Elegant Cake Art, Nursery Rhyme and Plantin' Schoolbook.

I opened a 12x24 mat and put all of the words and icons on my mat.  I started with Mrs. Stock (used a heart instead of a period) in the center.  I like subway art and wanted to make this look like some.  The words I chose are: discover, create, patience, inspire, transform, direction, explore, #1 Teacher, guide, adventure, learn details energy and 2011-2012.

It took some time to move words around and size them to get my final piece.

I erased the apple from my screen and cut out the rest in black vinyl.  

When you cut vinyl, set your Cricut to 3-3-3 (speed, pressure and blade depth) for a kiss cut.  I use my Cricut pokey tool (dental tool) to weed out the extra vinyl pieces.

I usually use clear contact paper with vinyl, but I was having trouble with the amount of stick and my pieces were tearing and not clinging to the tile.  I was getting frustrated not knowing if it was the gold vinyl or the contact paper or a combination of both.  I bought the ProvoCraft transfer tape and had much better luck!

I use my scraper to burnish the vinyl to the transfer tape.

I used my E2 and set it to cut on Vinyl.  You can see here that the blade did cut through the paper backing in a couple of places.  I honestly have better luck with my E cutting vinyl, but it is a pain to dig it out for one project!!

I bought my 12x12 tile at Home Depot.

  Here is my tile with the gold apple still on it.  I set the transfer tape right over it, burnished the vinyl into the tile and peeled the tape off.

Here is my tile all finished up!  I just need to get an easel so she can display it in her room.

Thanks for having me over today Bobbi Jo!!

August 13, 2011

Back to School!

Hi Eeveryone!!  This is Liza from Hoo's
Crafty
, I'm glad to be back at SSD for another Design Team Challenge. 
This week is Back to School week.  While I have been very busy with school
shopping and helping out with some of the teachers' bulletin boards, the month
of August is all about "back to school" for us.

As always, I like to remind the kids that going back to school is a FUN time, so
let's decorate the house up a little.   Another front door
hanger!  They are great to make, I can show off to the whole street and the
kids just love it.


Can you guess what I made??


Here's the mat all prepped to cut out the pencil from Locker Talk.  I do
not use my Gypsy as much as I should.  But I do lay out my paper and cut
the images all at once.   I wasn't sure the size to cut, as you know
the Cricut measures HEIGHT, so I knew I wanted a 5.5" long pencil.  To
figure this out.  Select FIT TO LENGTH, select 5.5", select the pencil
button and hit OK.   This tells me to cut it out at 2.5"

Pencil cut = 2.5"


Here's another set up mat with papers.   This time I cut the globe
from Locker Talk.  I chose the size 4.25" and cut all its layers, as well
as a black out for extra stability.

Globe cut = 4.25"


Here are some cuts I made with George Basic Shapes.  I have three rounded
edge rectangles.  The Kraft cardstock is cut at 11.5" (used FIT TO PAGE),
the white is cut 9.5" SHADOW, and the blackboard patterned paper is cut at
9.5".   Can you start to see what it is we are making today??


Here is is!  All put together.  I made this school themed chalkboard
to hang on my front door.   I adhered the rectangles together with
Scotch foam tape to add some dimension.   I also inked all the edges
with brown Studio G inkspots.


I used Recollection, The Paper Studio, Core'dinations and DCWV paper and
cardstock.

The number were cut from CUTTIN' UP at 3".  I used the SHADOW feature to
make them a bit thicker.   The "+" and "=" were cut from Plantin
Schoolbook at 3" also.

I added some yellow striped ribbon OFFRAY to the back.

Thanks for visiting SweetSassyDiva this week, hope you enjoy all the Back to
School projects!


August 8, 2011

First Day of School Mini Book!

Hi Everyone and welcome to Sweet Sassy Diva.  This week the challenge for
the Design team is to make a Back to School Project.  Back to School has
always been a big deal to me first because I loved school as a kid and both my
parents were teachers.  Then for 33 years I taught school so this time of
year I would be scrounging for supplies for my classroom.  Well now it
means I have been retired for one full year which is hard for me to believe.
 I still troll the Back to School aisles and ads looking for great deals on
crayons and folders.  Guess those habits are hard to break.  
So on to my project.  I decided to make a First Day of School Mini book.
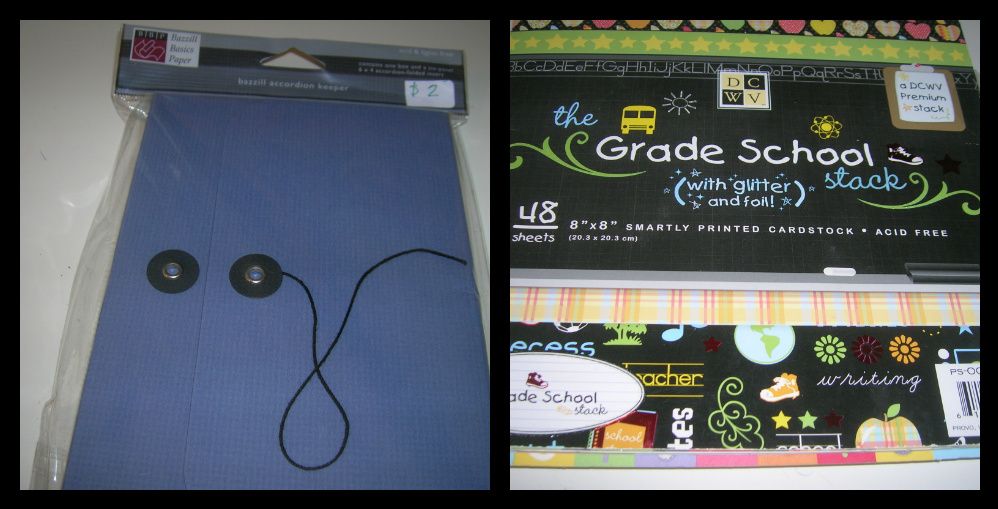
 I used an accordian book from Bazil  ( www.bazill basics.com ) that I
got at my local scrapbook store on sale.  Here is a picture of the school
stack I had.  I have seen new school stacks at Michaels recently.
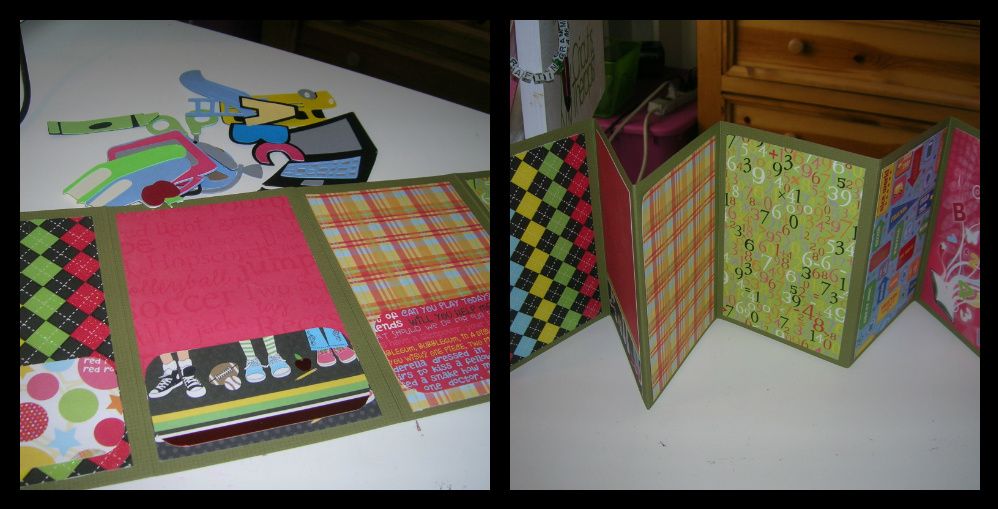
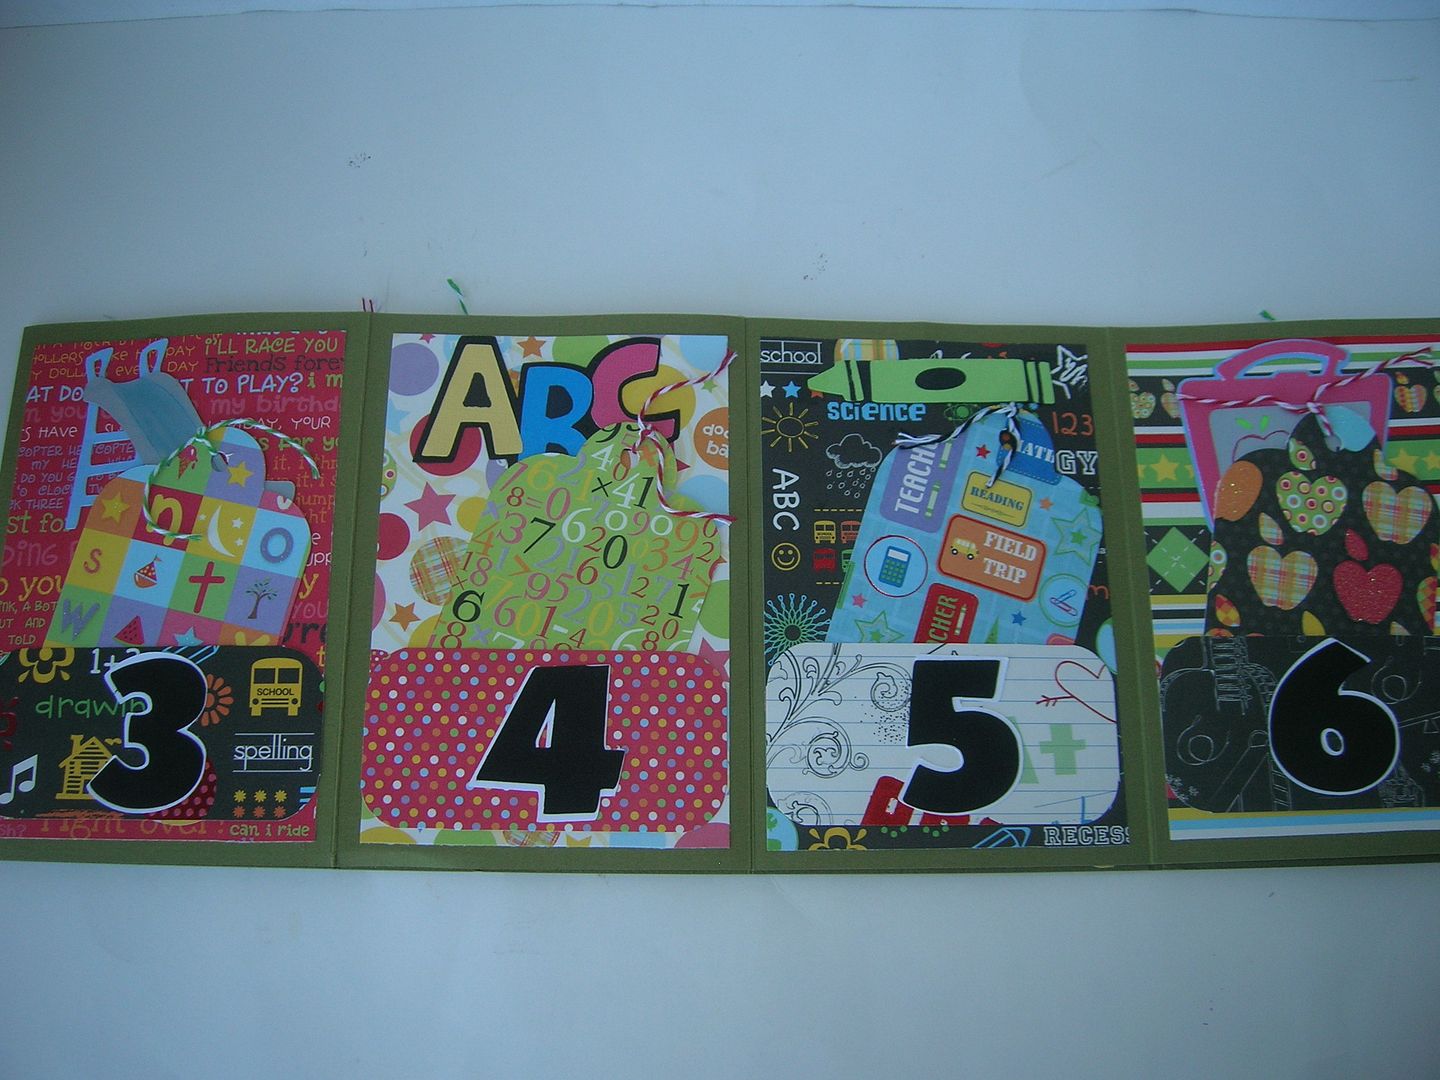
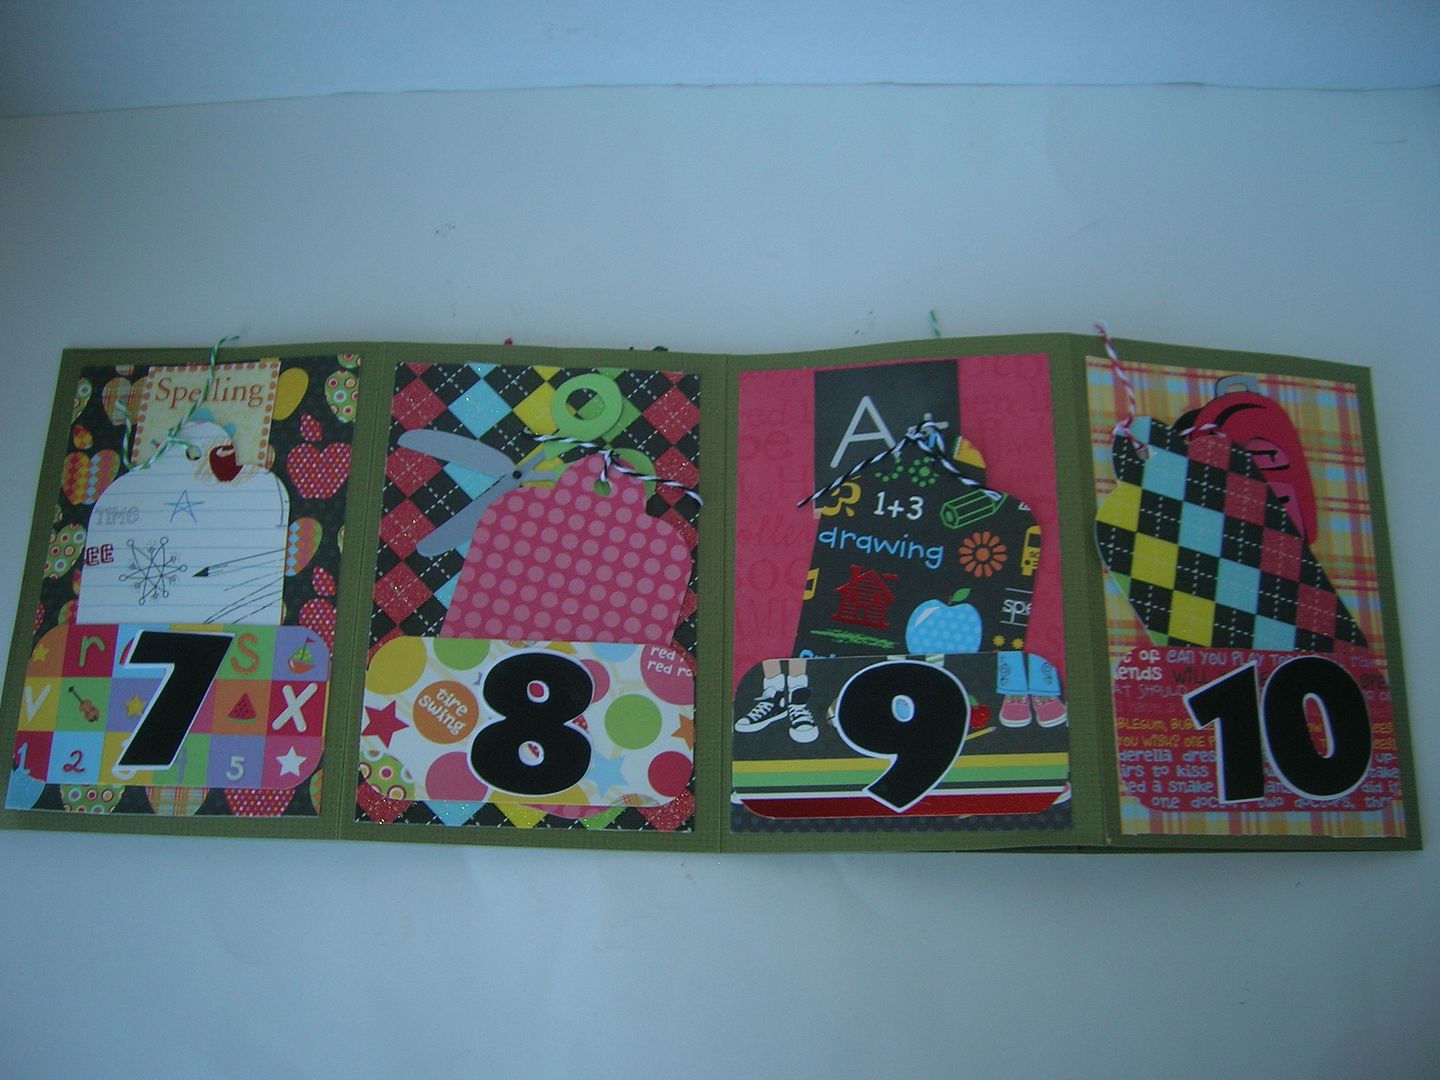
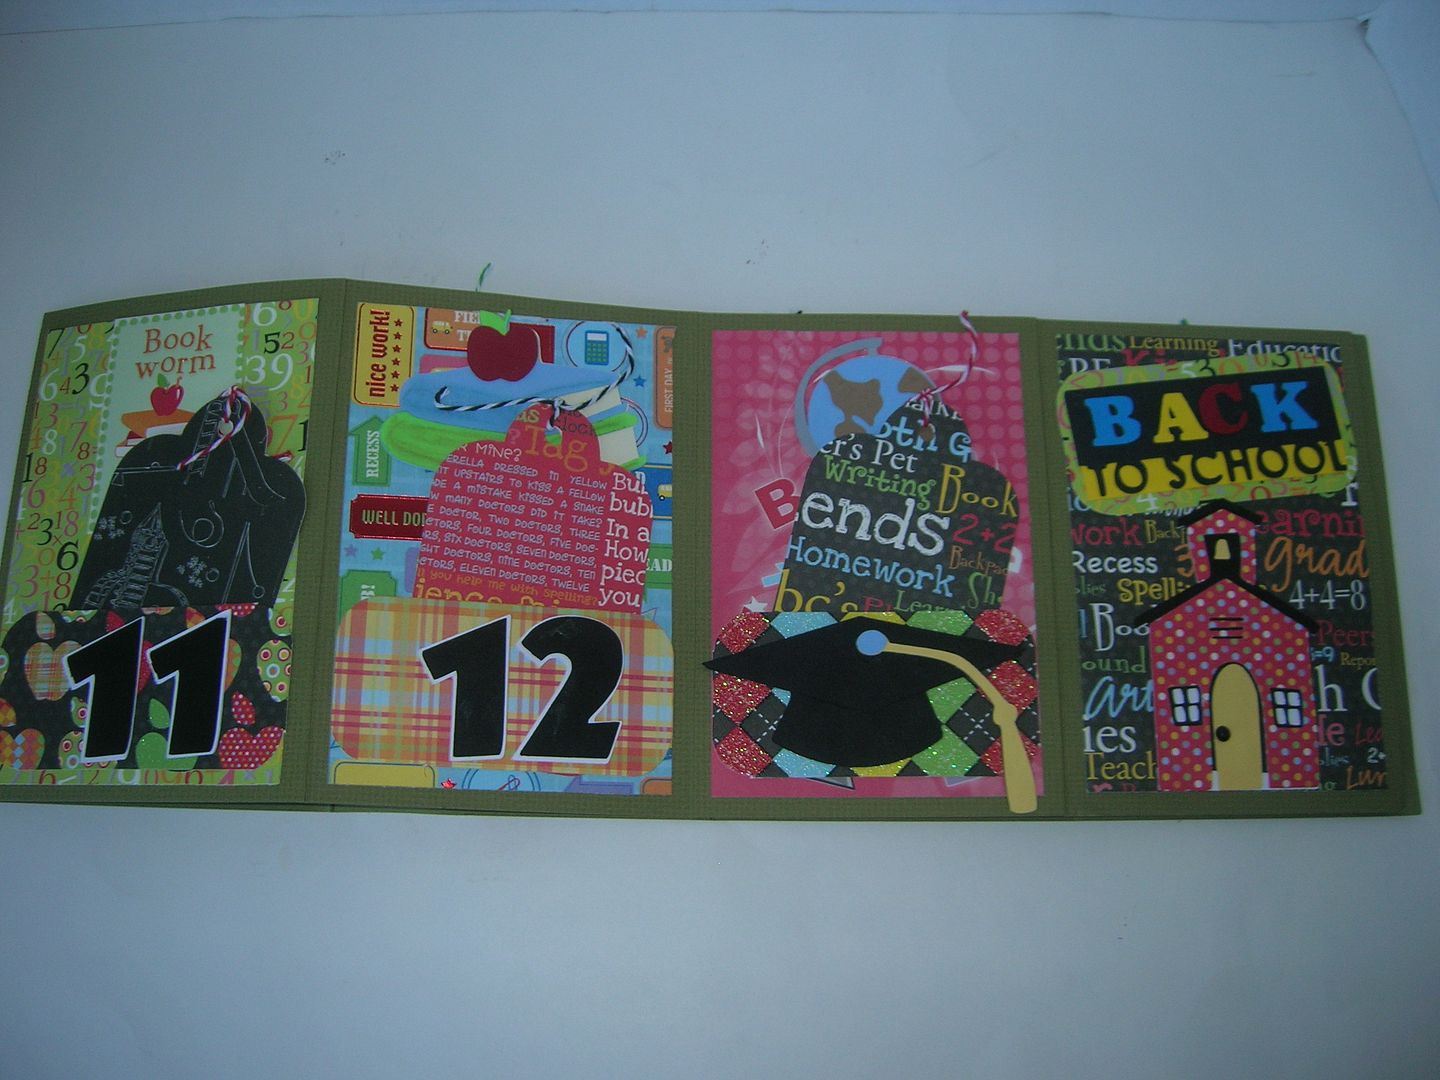
The folder opens up and each page is 4 x 6.  I made  2 x 4 pockets for
the tags.  Each tag was cut with design paper to place in a pocket.
 The wallet size pictures would fit on the front of the tag and the back
size is blank so that info about teacher, school, etc. could be added on each
one.  
The recipe for the cuts are at the bottom of the post.  

Here is the folder decorated and closed.  
Folder open and decorated.  

First day of school page and K through 2 
3rd through 6
Back side 7-10
11-12th grade and graduation 
Back to school page 
Recipe for cuts 
Recess cart- Bach to School 1 1/2 ", school house 3 3/4", scissors 2 ", crayons
2 ", ABC 2 ", book and apples 2 1/2 ", back pack 2 1/2 ", grad cap 1 1/2 " world
2 1/2 ", glue 2 1/2 ", bus 2 "
Locker Talk slide 2 1/2 ", lunch pail 2 1/2 ", first day 3 1/4"
Tags, Bags and More tags 4 1/2 "
Thanks again for joining us at Sweet Sassy Diva. 
 Also a big thank you to Bobbi Jo for these great challenges.  
 Please drop by  and check out my blog at cricutcraftingrammyblogspot.com.
 Also come back each day this week to see all the other awesome projects
the Design Team is doing for Back to School.  

August 1, 2011

Let's EAT!

Hi all.  Bekah from Shalomcrafts.blogspot.com here!

This time, for SweetSassyDiva's design team, I've done a mix-it-up.  It's a
BBQ theme using at least 3 different Cricut Cartridges.


I cut the body of the paper doll on 'blackout' feature.  That way, you can
use a Peachy Keen stamp to do his face.  I colored in the whites of his eye
with a white gel pen.  Peachy Keen stamps really are my favorite; they
stamp so well and they make the Cricut Paper Dolls so much cuter!


I used Everyday Paper Dolls to make the little chef and his grill.  The
banner at the top of the page is from Wild Card.  The title of "Let's Eat!"
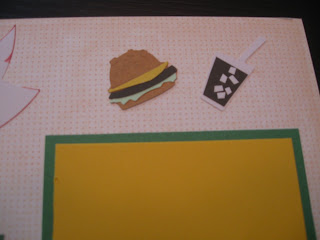
and the soda and burger came from the Locker Talk cart.  I then matted some
4 1/4" yellow backed with 4 1/2" green for 4x4 photos and make a little mat for
journaling.

Hope you're enjoying your summer grilling!

Shalom

November 5, 2010

Imagine Simply... Fall In!

You are going to fall in love with this simple fall layout!


I sewed ribbon into pleats and attached to a circle.


I printed out the inner circle from Photoshop.


Designer’s Calendar Cartridge and printed pattern on Imagine more: Leaves


Locker Talk Cartridge: Preschool Title


And that’s about it… Simple!

- Jasmine