MyFreeCopyright.com Registered & Protected

June 30, 2012

Yummy Creations!

To celebrate National Candy Month, this weeks challenge is to make anything that involves something sweet.
Well, my youngest daughter has developed quite a passion for cake decorating. She bought the Cricut Cake Mini about a month ago and has been learning how to cut out fondant. When she made this cake for a coworker, I knew I wanted to use it for this challenge.


She started by rolling the fondant out on a pastry mat to a thickness of about 1/8th of an inch and cutting it to a rectangle to fit on the 12" x 6" mat. The speed is low the pressure is low - medium. The hair is from Everyday Paperdolls, the rest of the cowgirl is from Paper Doll Dressup, all layers cut at 4". The cake is a 2 layer, 10" frosted with white butter cream and piped with yellow butter cream. This is only her second attempt using the Cricut, but I see lots more cakes in her ( our ) future!

I was impressed with how easily she found the fondant to work with and the Cricut cut it beautifully. If you have ever thought about trying your hand at this yummy pastime I would say wholeheartedly - Go For It!!

Mindy


June 28, 2012

Patriotic Wreath!

Since 4th of July is right around the corner our talented DT sister had issued the challenge of making any project with the Patriotic theme using any cart we like.  I kinda knew in my mind what I wanted to do, but didn't have the details worked out until I dozed off one day and this is what came into my mind.  I took 4 stars from George and Basic Shapes cut at 8", 6", and 4" in red, white and blue paper.  I scored my stars and folded them so they were 3D and then stacked them on top of each other with hot glue.  Then I attached my star to a stryoform wreath.  I then wrapped blue ribbon in each section of the wreath, not the hole thing-just in each middle seconds of the star.  After that I cut flowers from the Flower Shoppe in red, white and blue at 3".  I rolled and glued my flowers ontop the open parts of the wreath form leaving the ribbon showing in the middle.  Then on the top of the wreath only I glued flat back pearls onto each flower in the middle.  Added my hanger and now it is ready to hang.  I hope that you will stop in and see what my other design team sisters have in store for you, you won't be sorry.  Then go and make something patriotic and link it up at BBTB2 or Sweet Sassy Diva!  Can't wait to see what you make!

June 26, 2012

Lollipops!

Hey again....how's your summer going? Ours is just starting here in Alaska. This week at sweetsassydiva we are celebrating National Candy Month....for me that's 12 months out of the year. (Must be why I'm so sweet ;)) I have the perfect idea in mind for this week as soon as it came out. It took me a while to make it...and for it to come together in my brain...too much sugar I guess... but I finished it. My Mama sends her grandbabies these huge lollipops...that we were never allowed to have as kids...must be a grandma thing.
My girls love it when they get a box in the mail from her because they know that they have all flavors of lollipops. So I decided a layout would be good to do with this one. I even had help putting this one together....starting them early ;)


So here is the layout we came up with....
The paper is from DCWV pastel stack and sweet stack...and Colorblok textured cardstock. I used the plantin schoolbook cartridge for the letters. I welded thhe "I'm a SUCKER 4 a" on my gypsy. I found a lollipop cut on my Mickey and Friends however I wanted something a bit more so I decided to make my lollipops.

I used dmc thread, 2 or 3 colors and twisted them together...and then wound them onto just a scrap sheet of paper. I used my glue runner to make a sticky surface...and then cut out around the edges. I cut a toothpick in half, colored it with a white marker....cut out a small square of saran wrap and there you have it...my own handmade lollipop. I cut out 3 (4.25x6.25) rectangles for pictures and a 4.25x4.25 square for either a 4x4 picture or a journal box. I added ribbon corners on each to add a little more color. Now all I need is to add the pictures of my sticky little girls. I hope that you are all enjoying summer!!!!

Angie

June 24, 2012

Pool Party!

Hi Crafty friends, I thought about this for a while and while searching my Gypsy I saw that I started to make an invitation one time for a pool party for my son, but then he decided he didn't want to have one.  So I went with that idea.  I took the sunglasses from Forever Young and welded two shadow shapes together to make a shaped card.
I used white card stock for the shadow base of my card and then cut out the top layer out of black card stock.  I would have chosen a red, pink or turquoise blue for myself-but if I ever use this for DS he won't go for any of those colors!! lol  So black it is!
I was going to do the next layer with the cut outs at the corner, but decided that it looked too girly so I just cut out the lens layer next.  I cut that layer out in pool water paper so it looked like the water was reflecting in the glass lenses. I cut out "pool party" out of the cart Street Signs and stamped "your invited" using a Paper Trey Ink stamp.  Before gluing down "pool party" I put glossy accents all over both lenses so they looked shiny like lenses should.  After it dried, I glued on "pool party" added some bling because it just needed something a little girly-ok now I won't be able to use for DS unless we use plain for the guys and blinged out for the girls. I also doodled on my font sentiment. Yeah, not a great doodler. lol
I made the invitation so it would fit into a #10 (business size) envie. Now it is ready for DS to hand deliver.  If you are going to mail I wouldn't use the bling as it would coast extra to mail it.  Isn't this a cute invite?!!  We love to have people over to BBQ and swim in the pool during the summer so what better way to send out an invite for the pool!
Sizes:  shadow base: 8.90 wide x 5.58 height
base layer: 8.73 wide x 2.82 height
lens layer: 6.02 wide x 2.82 height
Pool Party font: 1.50
Enjoy seeing all the different invites this week, I know they are all going to be awesome!!!

Brenda

June 19, 2012

Spring Cottage!

Hi my crafty friends, Brenda here from Friends Craftin' with Friends.  This week on Sweet Sassy Diva our projects are to be centered around "strawberry fields", so anything to do with strawberries!!  One of my favorite fruits, ok I love all fruits, but strawberries are right on the top of my fruit list. lol  I just recently and by recently I mean a few weeks back, got the Spring Cottage Cricut cart. OMGosh do I ever love this cart!! lol  And one of the cuts on there is a cute 3D strawberry favor.  Then there is a cute little strawberry basket, OMGosh they are too cute.  So guess what my project is today???  If you said the berry and basket you would be right! lol  I made the little basket and two strawberries for inside the basket for a favor.  Now I just need to make lots more. lol  But they are quick and easy, so let me show you how to make the berries.

First I started picking my sizes in my Gypsy.  Here are all the layers.  I did do some test cuts on the berries to see what size that I wanted them to be.


I picked my papers, I did a plain red berry, a red poka pot paper from the new SU catalog, green leaf caps from a Cricut Earthtones stack and the basket is a light green from Paper Trey Ink.  I can't remember the offical color but it looks like a seafoam green to me. lol  Here is the SU poka dot paper, isn't it so cute?!  And it is double sided! Love double sided paper.


Here are my berries cut out.  Now I'm ready to score and assemble.


I scored on the score line which I am please to say are very tiny. Here's what my berry looks like after scoring it.


Next I used a generous amount of hemp to tie my berry together.


Now it is time to put the leaf cap on the berry.  I ran my twine up through the leaf cap and then threaded a white button (to mimic the blossom on the berry, yes I know they aren't there once there is a berry, but thought it was a cute addition) and tied a bow.


Here is my cute little basket with my cute little berries.  Isn't it just the sweetest?!!  I added a tag to my basket using a die and stamp set from My Creative Time.


As always I hope that me and my design sisters help to inspire you to get crafty!  Happy crafting!


June 17, 2012

We all Scream for Ice Cream!

Hi ~ Lori here from ScrappinMyStressAway and I am excited to be here today!!  I wasn't sure how much crafting I would be doing once I broke my wrist, but as long as I keep it simple and go slow I can still create!!

This week at Sweet Sassy Diva's, our theme is Strawberry Fields.  I am not a strawberry fan, but I do love ice cream!!

I found my ice cream cone on Sweet Treats and sized the layers to 4 inches.

I used cardstock for my layers.  I forgot to hide the drip on the ice cream cone layer (lt. brown), so I opened another Layer and copied a cone on it.  I hid the contour and moved it to the left of the first cone, fed the mat back in and cut it out. 

I used my stitching stamps to create the zig zag lines on the cone with Antique Linen ink.

I trimmed off the cone part of the pink layer.  I inked the edges of each layer.

I added some black ink for the seeds and lime green stickles for the top of the strawberry.


I hope you enjoyed my card, but not as much as a "real" ice cream cone!!

June 16, 2012

My Daddy's Mini Album!

Hi everyone this is Suzanne from cricutcraftinggrammy.
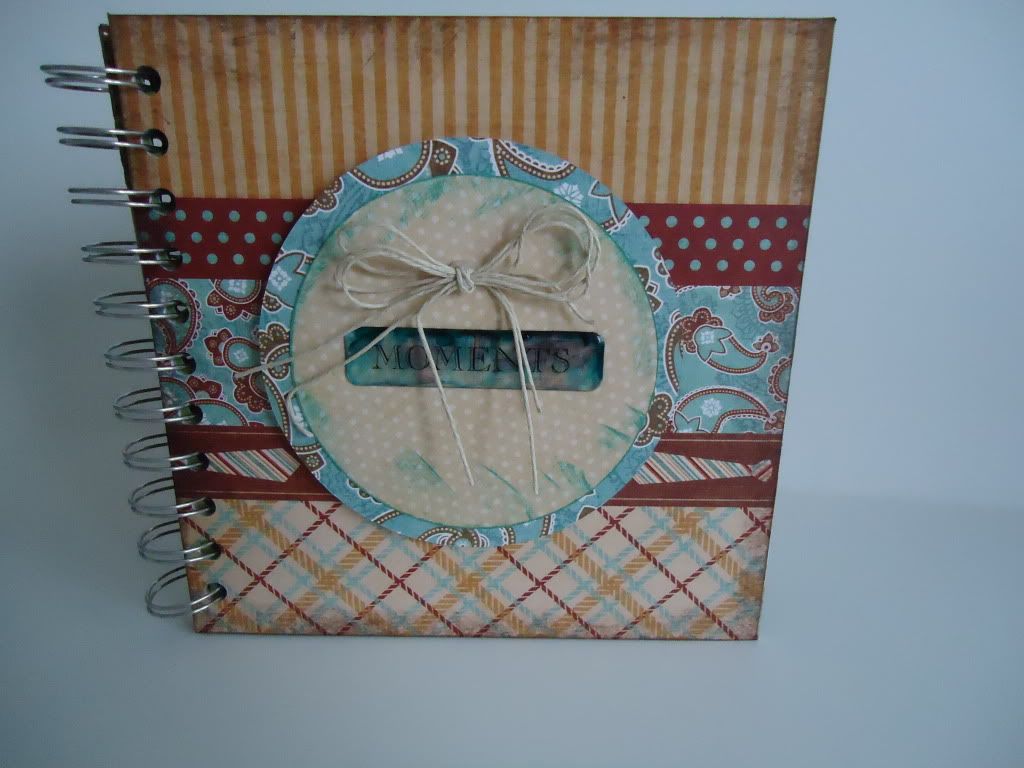
Today I would like to share  the Father's Day mini books I made for
my son in laws.  It is an accordian type book and folds up to 4 x 6 and can
be displayed  in the open format.  Here is a picture of  the open
book.  Remember if you click on the picture it will enlarge for better
viewing.  
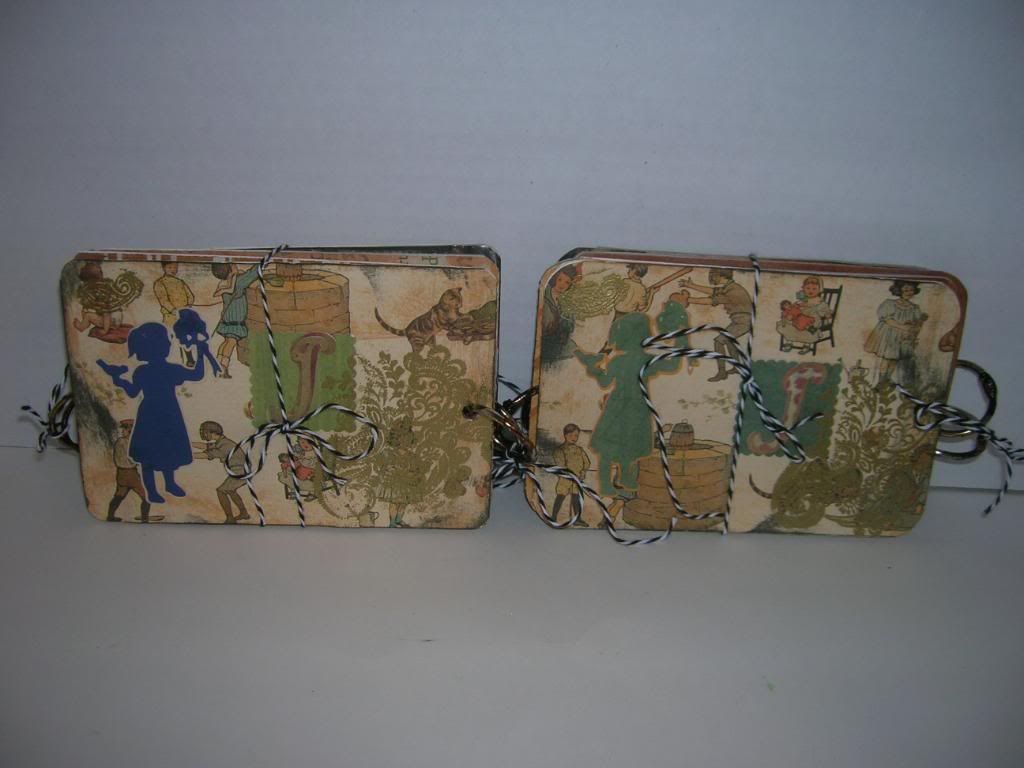
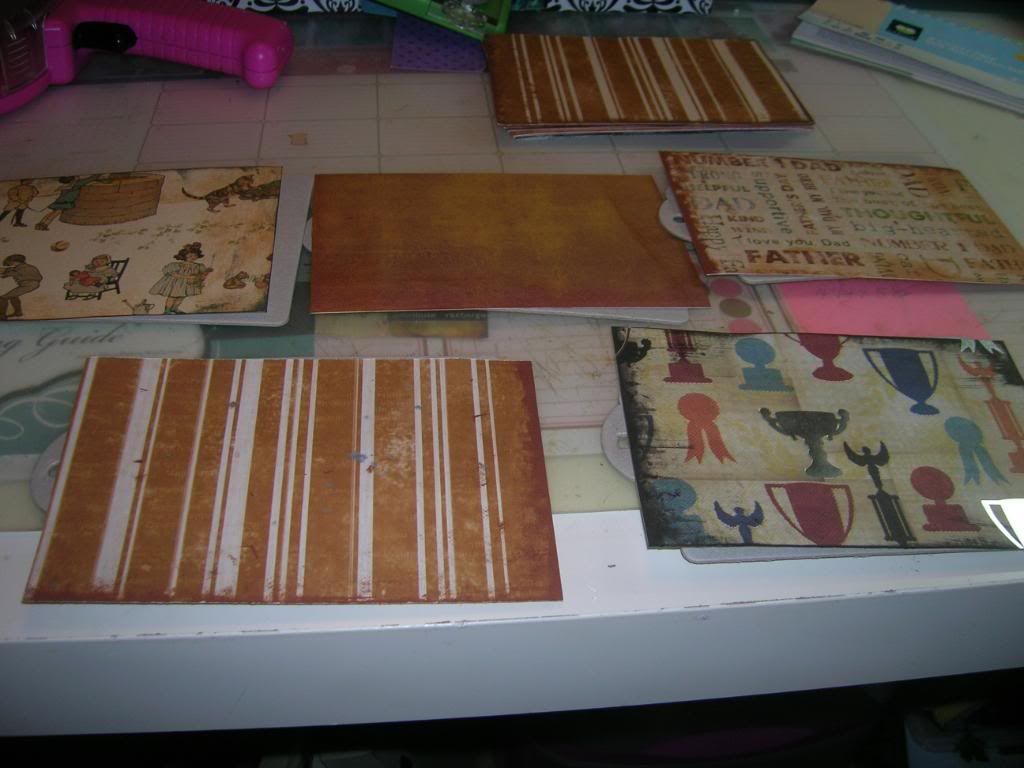
These are the two mini books I made.  I tied them with Bakers Twine through
the rings at each side and then also around center.  
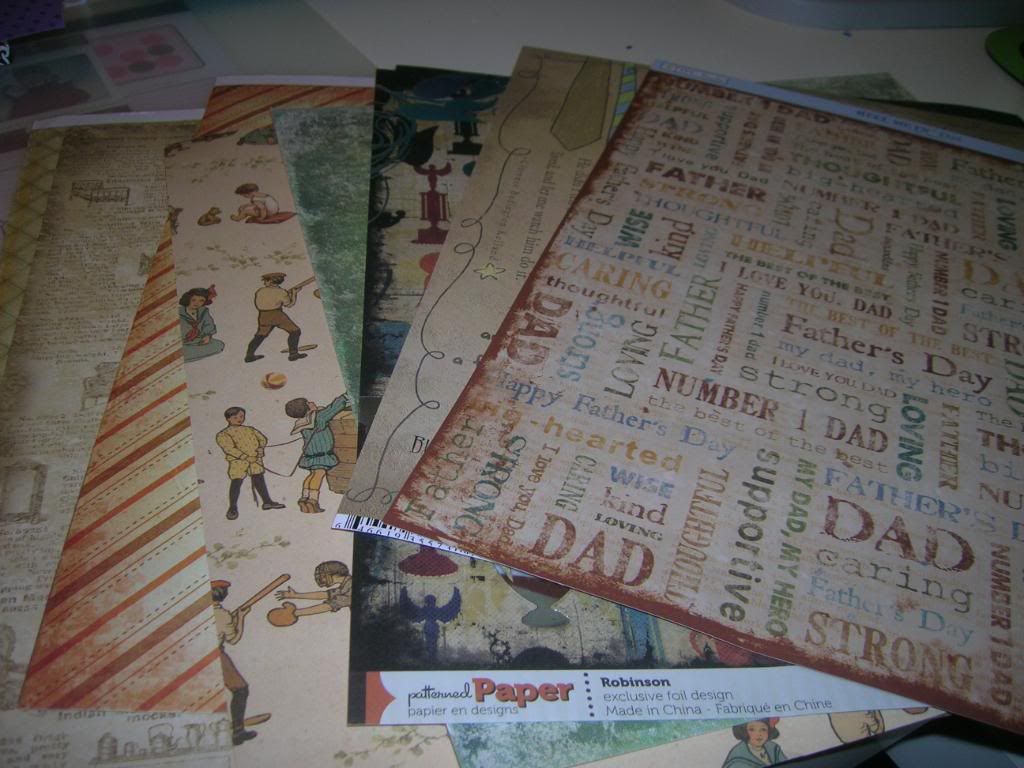
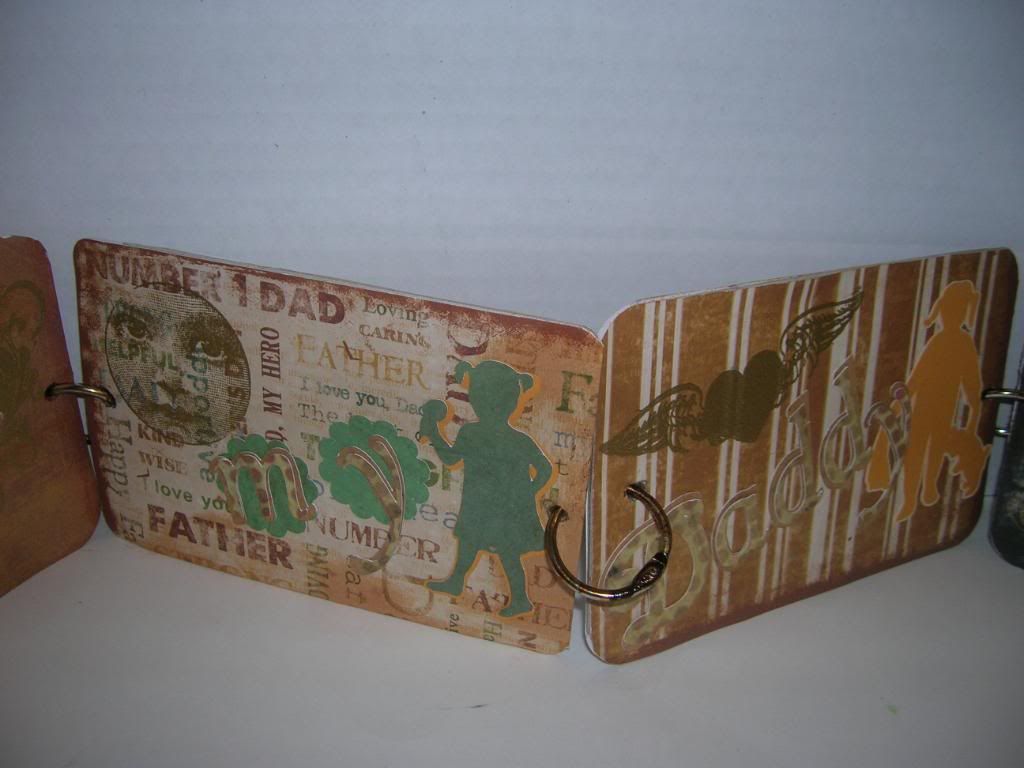
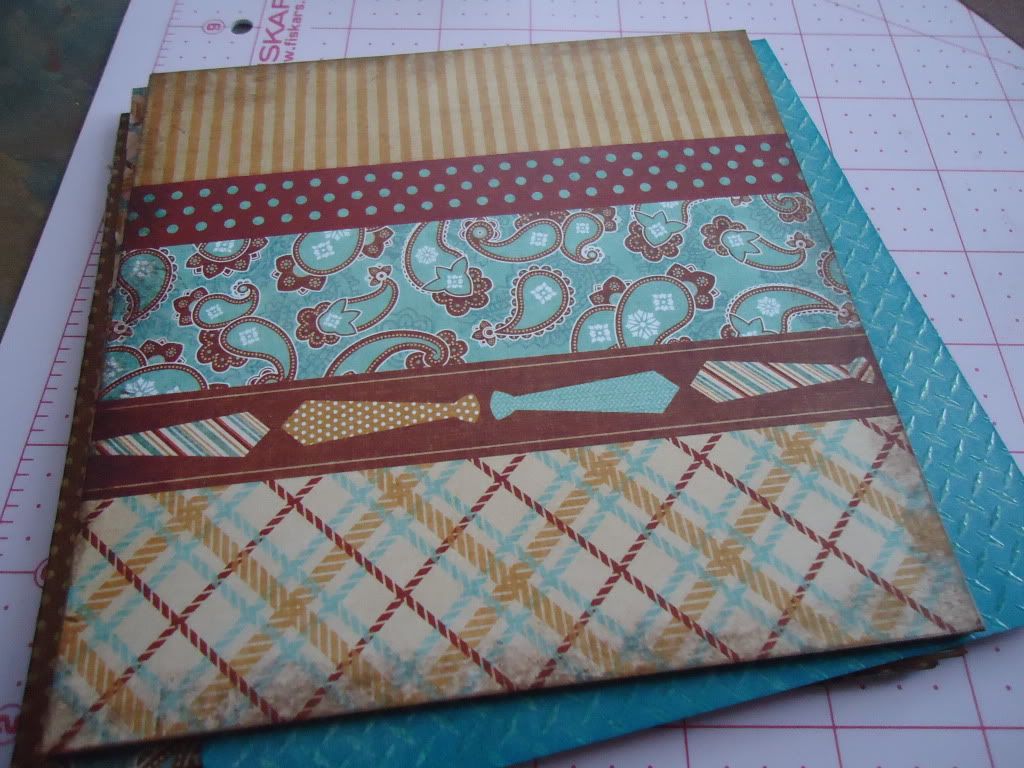
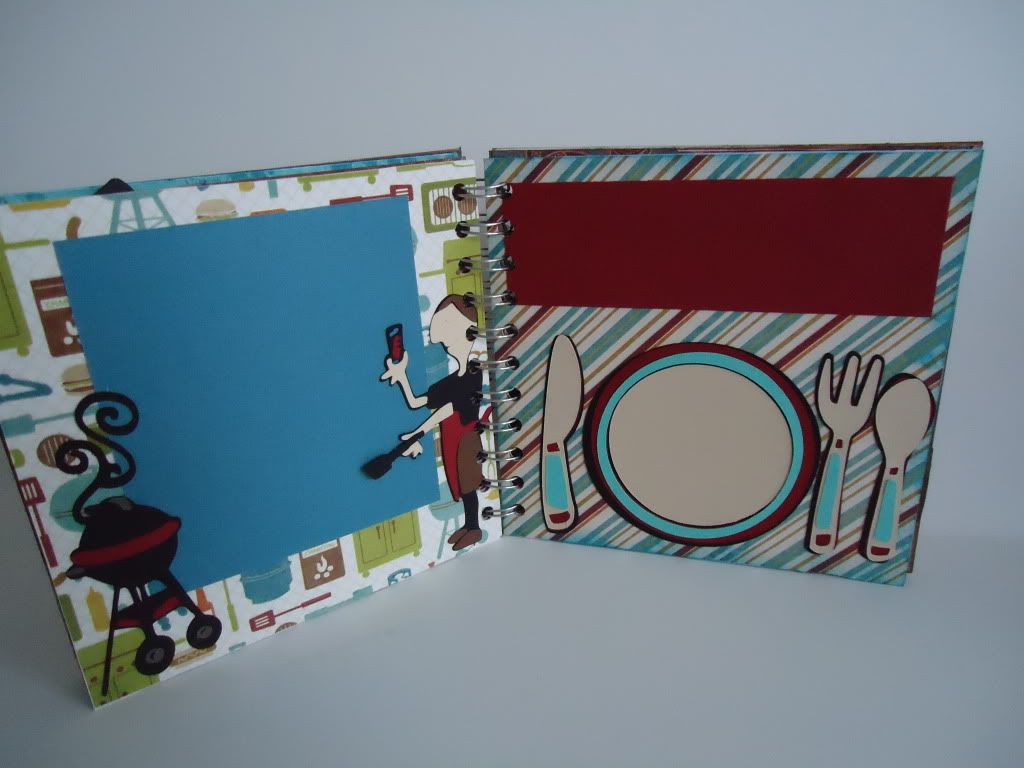
I used a variety of  paper including Life's Journey from K and Co. (old
fashioned kids),  MVP paper from We are Memory Keepers (trophies),
 Reel Me in from TPC Studio (words) and DCVW paper from stack 
Family Connection for stripes.  
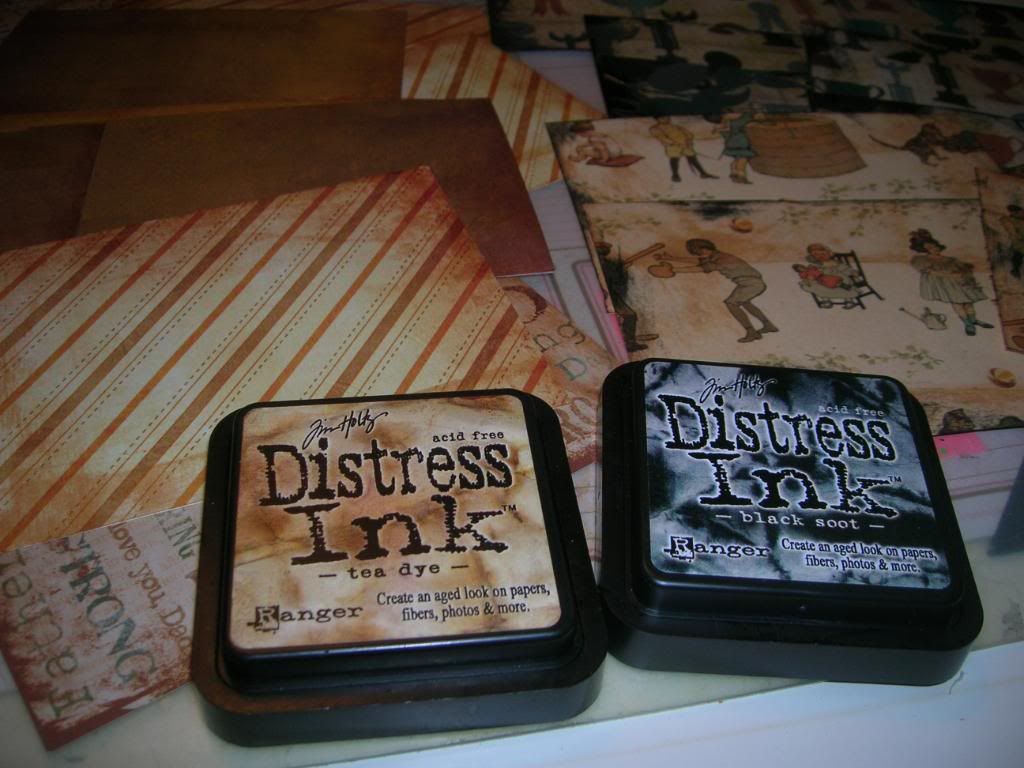
I cut the pieces to 4 x 6 inches and then took my Tim Holtz distress inks (Tea
Dye and Black Soot) to match the edges of the papers that were already aged.
 After running the ink pads over the edges and fronts to get the look I
want I allow them to dry for a few minutes.  
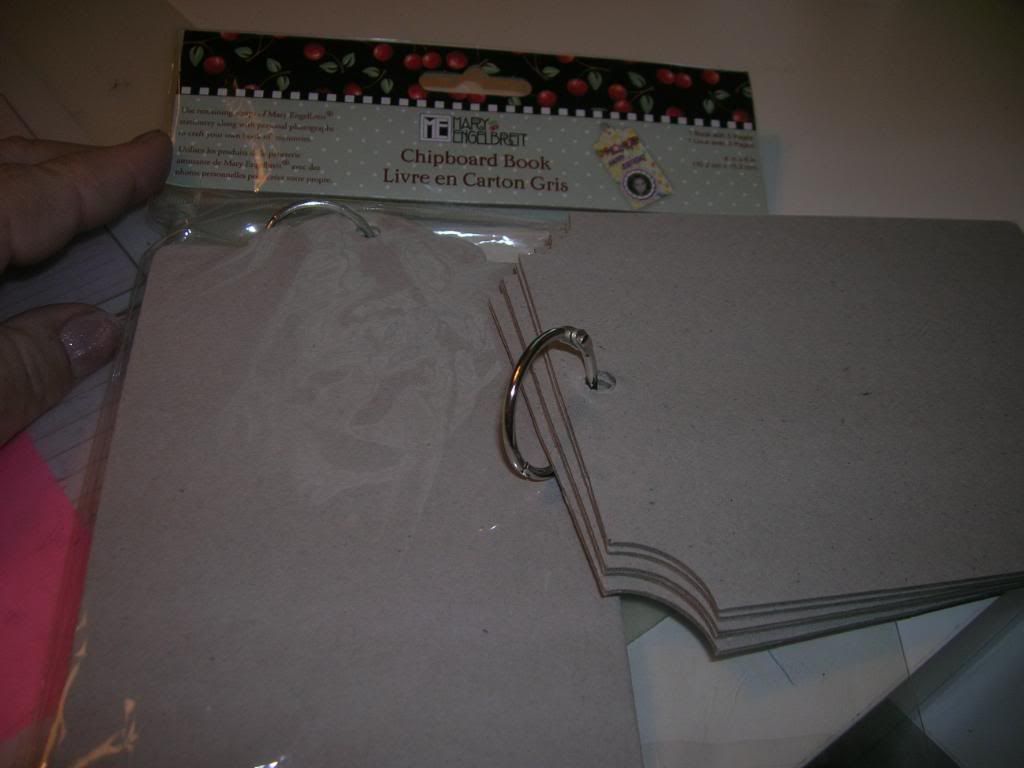
For the chipboard pieces you can cut your own chipboard, use cereal boxes, or
use prepared books.  Since I have them I am going to use these prepared
books.  They often have these at Michaels in a variety of shapes for $1.

Before I glue the pages I lay them out to make sure I like the way the colors go
together.  I then glue using my ATG gun or Beacons 3 in 1 Glue.  I
also press the paper down firmly using a brayer and making sure all corners are
glued well.  You can then cover the back in the same fashion.  Allow
to dry and trim any excess carefully.  I then like to round the corners
with my Corner Chomper which helps keep the corners from splitting from
chipboard.  
In this case I am not going to trim the paper to the chipboard  shape but
if you do wish to do this use a cutting mat and exacto knife.  
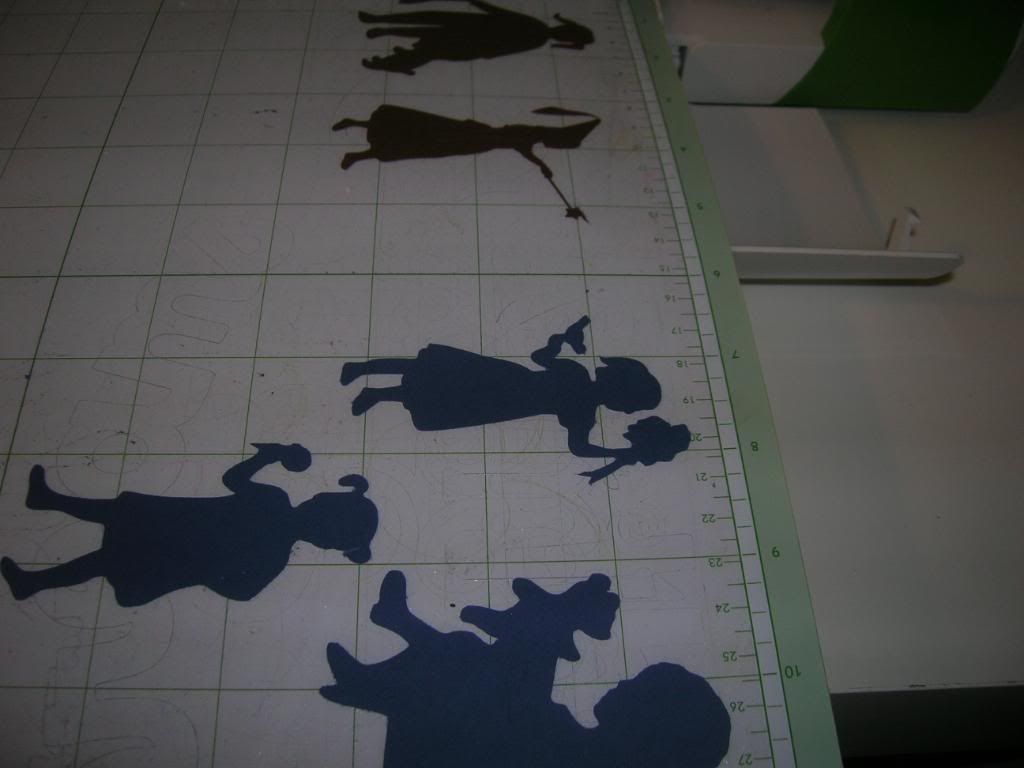
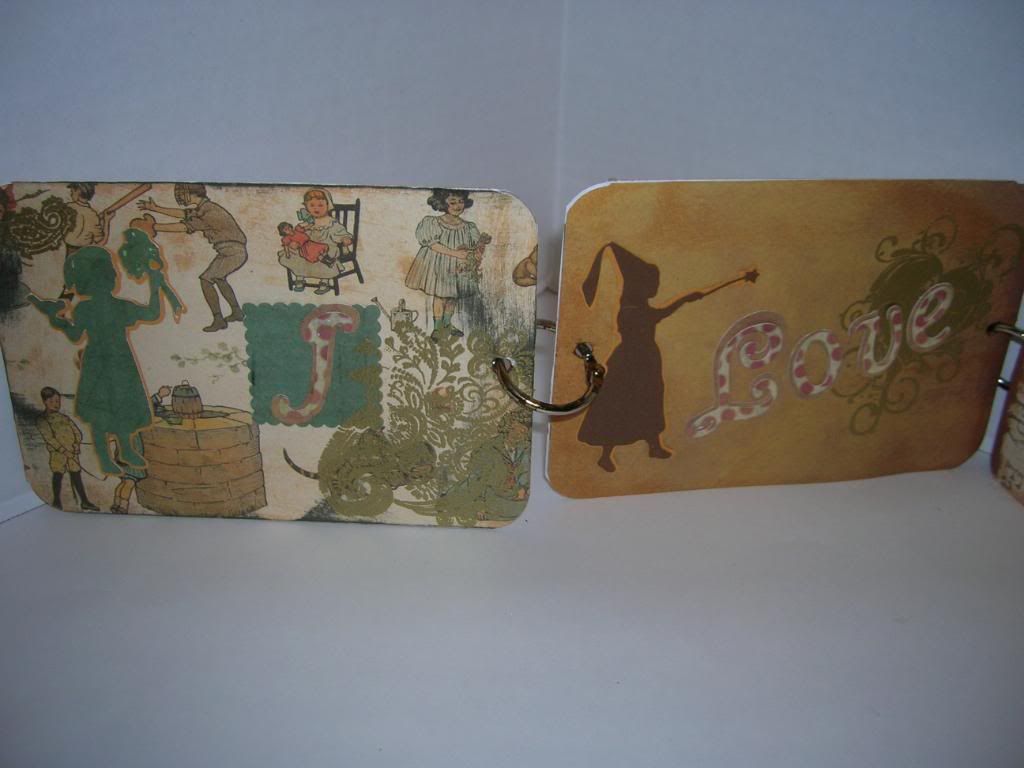
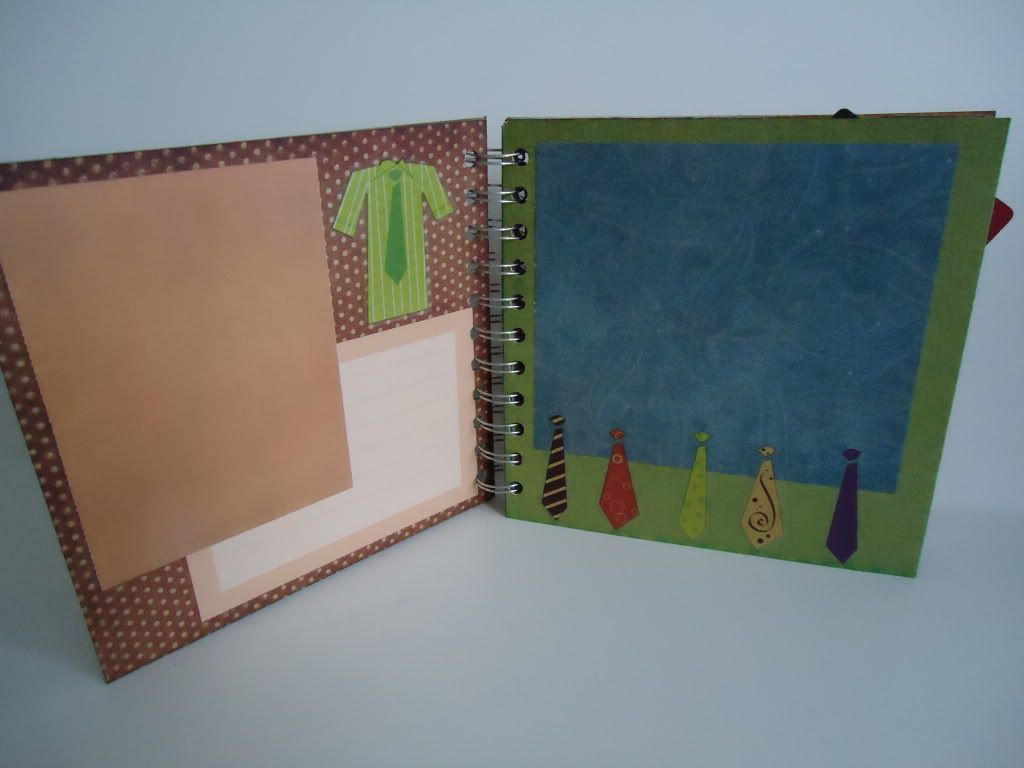
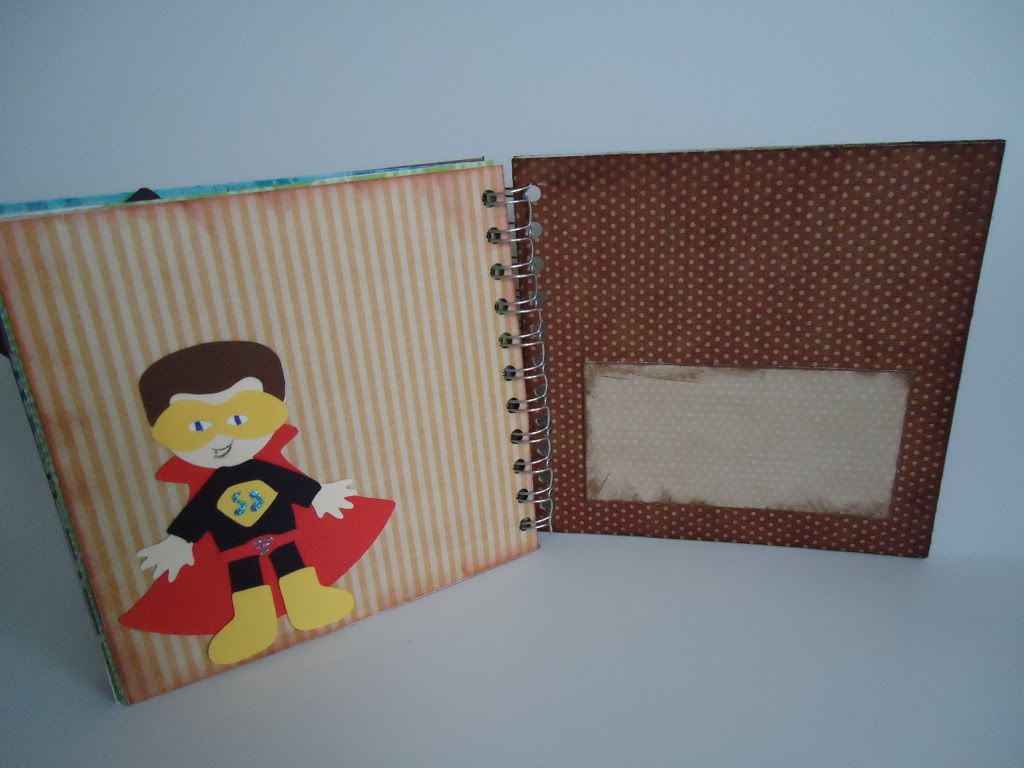
I then selected my cuts from the A Child's Year cartridge all at 3 inches and
cut the image and shadow from plain cardstock.   The words " I love my
daddy" were cut at 2 inches from Elegant Cakes.
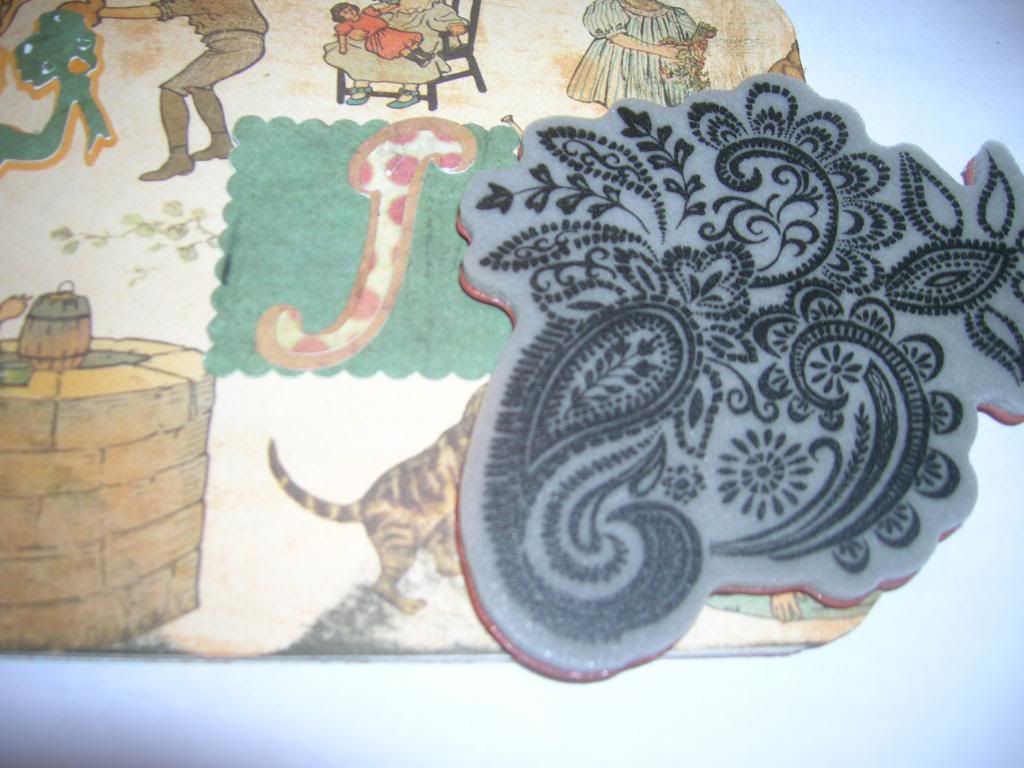
Next I took a variety of stamps and stamped over the pages.  
To give the ink a richer look I used gold embossing powder and over the clear
ink (Versamark) and dried with embossing gun.  
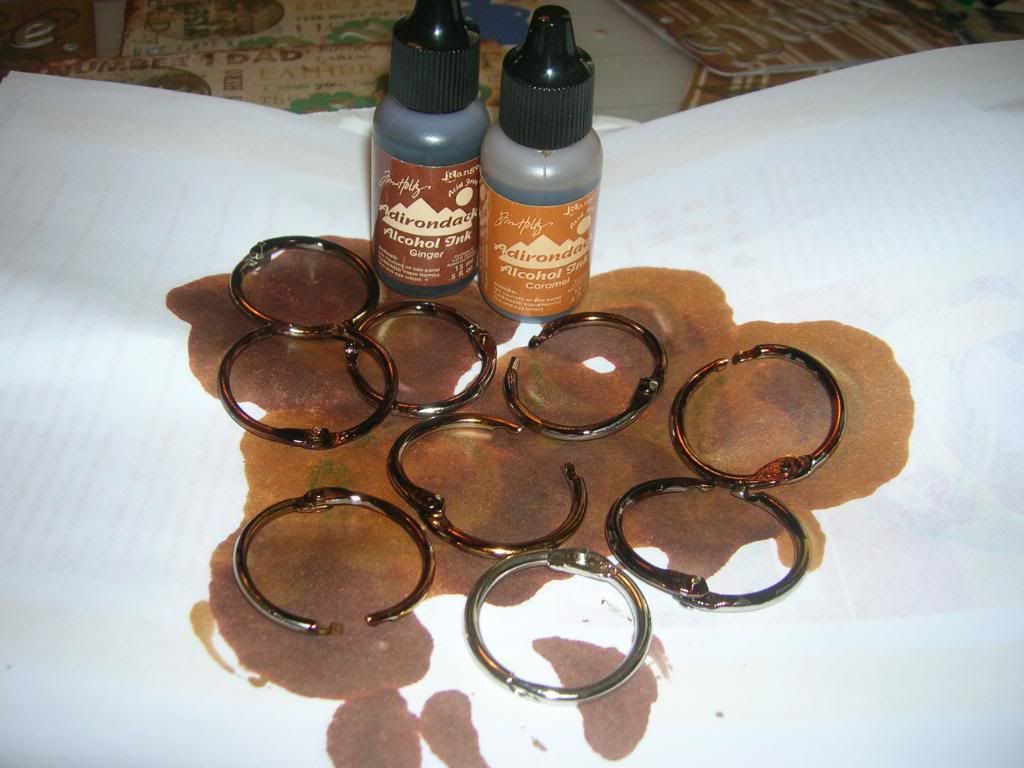
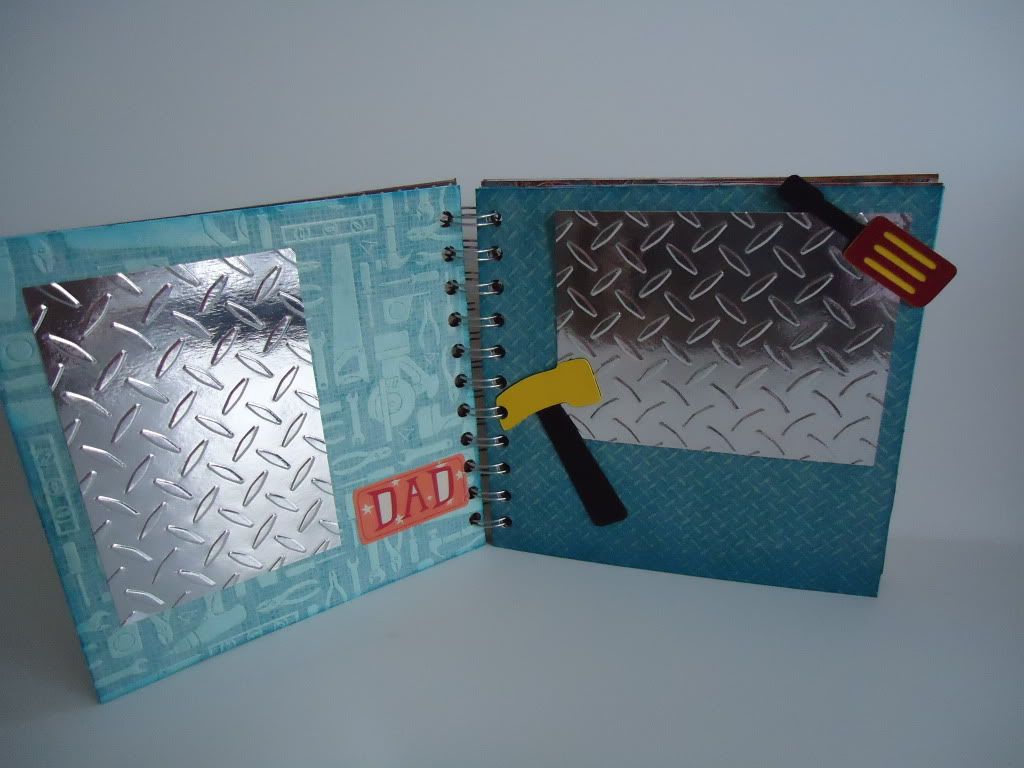
The last step is to antique the silver binder rings with Adirondack Alcohol
Inks. 
Let these dry for an hour or so until they are not tacky any longer.
  
I then glued all my pieces to the pages and used my Crop a dile to add holes for
rings.  
Here is the first two pages  " I love"
"my daddy"
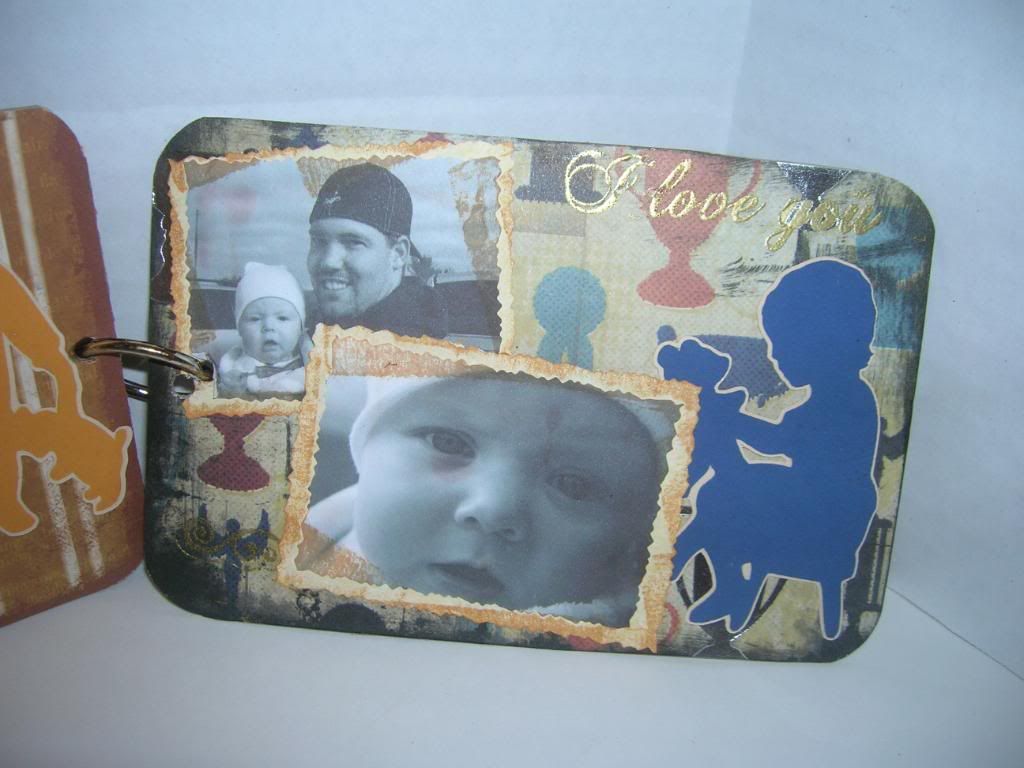
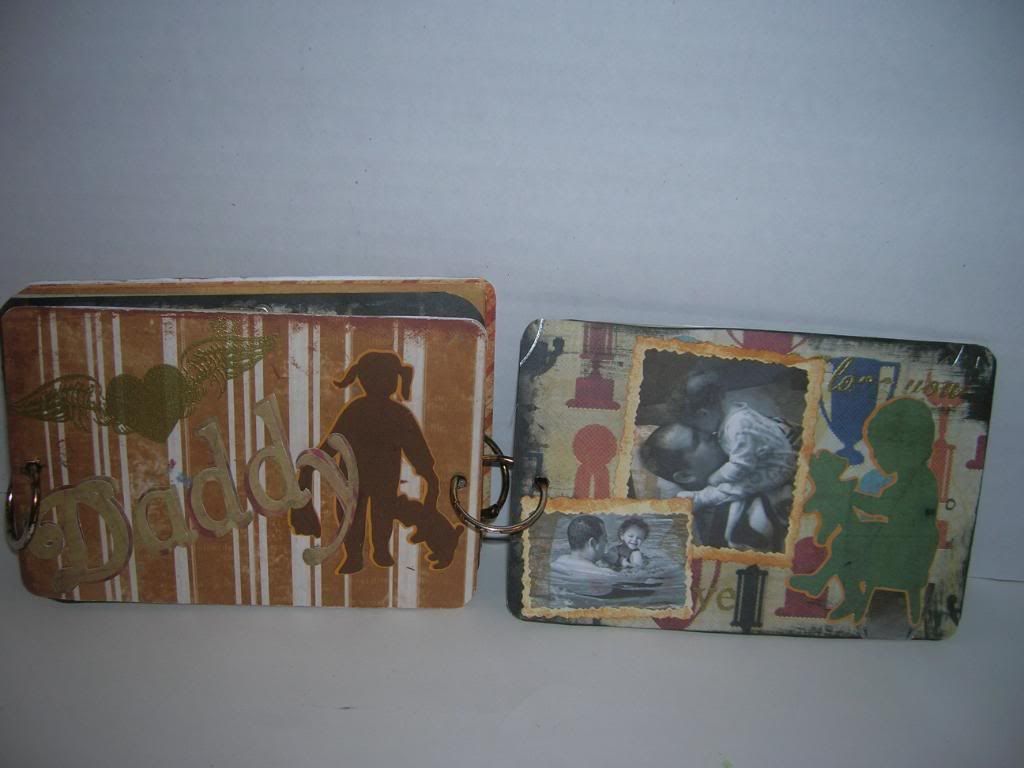
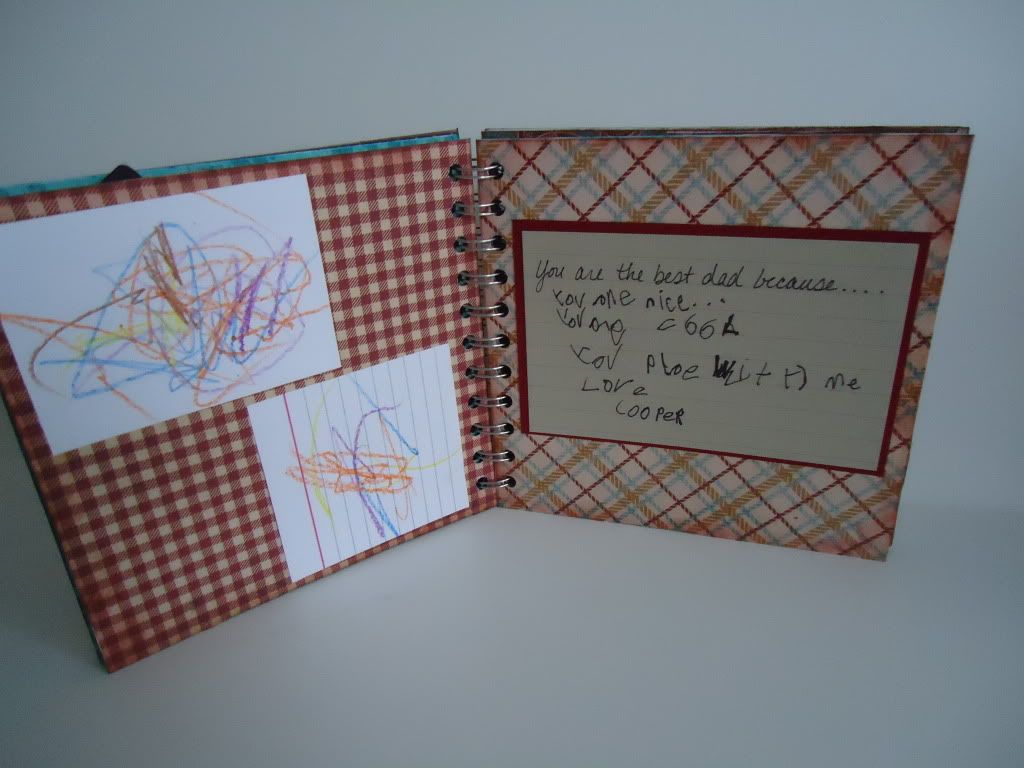
This is last page of book 1.  I printed the pictures wallet size and in
black and white.  I also used a little Tim Holtz Tea Dye Ink to age them a
little.  
This is grand daughter Kenzie with her daddy. 
This is grand daughter Katie with her daddy.  
Hope you enjoyed this project and tutorial.  Have a great Father's Day and
see you soon!

June 15, 2012

Dad Mini Album!

HI Everyone
It's Becka with Creations With Becka here. This week our DT Challenge for Sweet Sassy Diva, was to create a Father's Day project. So, now that the kids are out of school, I knew they wouldn't have made anything for their dad so we decided to make a mini album for him. My son had such a fun time helping me make this album, he helped pick out the cartridges and the cuts we would use in the album.
Here is what we made.

First, I used some pre-cut chipboard that is 6 x 6, then I used the patterned cardstock out of DCWV- It's a Guy Thing stack and cut them to 6x6, and glued the patterned cardstock to the covers and then the other pages are also glued together to make them a little thicker. I glued the white side of the pages together. I inked the edges of the album with chocolate ink.
Next, I used Accent Essentials to cut of this oval shape. I had some clear stickers with sayings on them, this one says memories, and I used Tim Holtz Alcohol inks to die them. Used hemp twine for the bow.
Next, we started decorating the inside pages.
These were some leftover stickers I had from a different project, not sure who they are by.
I used the Boys will be Boys cartridge for the hammer and screwdriver, and cuttlebugged two DCWV metalic pieces of cardstock to make them look like tool box chrome.
The page on the left was done by my 2 year old daughter and the one on the right was by my 7 year, he wrote a list of reasons why his dad is the best dad in the whole world. Its hard to read because he has really sloppy handwriting but one of the reasons was because he plays with him...pretty funny huh.
I used Block Party for these cuts, dad is a great BBQer so we thought we would put some pics of that in there.
This is cuts from Everyday Paperdolls. We love to camp in the Summer.
These last pages are Super DAD from Paperdoll Dress Up and the back cover has a pockets for their Father's day present to him. They got him tickets to the Steve Miller Band concert up at the outdoor theater in Lake Tahoe.
Thanks for stopping by today!