First, you need to select what type of cake that you want. There are so many different types of cakes that could be made. And although you would think that everyone's favoite would be chocolate...it is not! Some people do not like chocolate cake. Stranger so is if they love chocolate but, not chocolate cake. hmmm yes there are those out there. For this cake a white was selected but, it was not a wedding white because I used whole eggs and butter rather than egg whites. It made it not a true white.

After I baked the cake according to the recipe, I let it cool on a rack. Afterwards, I leveled the cake with a knife and sliced it into layers.
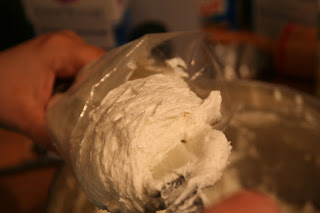
As I wanted to add a filling, I made some buttercream frosting from scratch for the outside of the cake and a bit for inside. I put it into a bag with a tip to be able to pipe it more evenly. I spooned it into the bag by folding the inside of the bag out. It makes it a lot easier to get it into the bag with not so much mess.
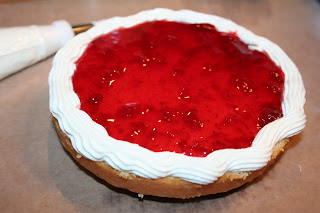
I piped some frosting on one of the halves creating a well to put the filling in. This helps to avoid the filling from oozing out of the cake.
Now it is time to add the filling! For this cake the flavor of choice was strawberry....yum!
On to the next step which is the crumb coat! This is where you put a thin coat of frosting on the cake and unfortunately the cake crumbs will mix into it. Place it in the fridge for a few minutes to set.
Now the real fun starts! Your final coat of frosting goes on and smooth it over. As you can see, the above picture is more bumpy. Apply your buttercream and smooth it over with a clean knife to get it smooth. I would dip my knife in a glass of hot water and wipe it clean.
I used the large star tip to put a decorative bead around the border of the cake as well as the bottom. I also added my decorative cuts that I made out of gum paste. Those were cut from the picturesque cricut cartridge.
Below is the final cake.
Be sure to become a follower by clicking on the 'follow' button on the right hand side. Also, please add my botton to your blog. The button can be found on the upper right hand side of this post.


2 comments:
You did a WONDERFUL job with your instructions and perhaps you should do more tutorials.
Mercy!!!!
Thanks Mercy! :)
Post a Comment