

The challenge this week at Sweet Sassy Diva is to make a Halloween Banner. Now
is a great time to start on Halloween so you can get all your home decorating ready for October. All week the Design Team will be sharing their Halloween
Banners so this should give you lots of idea to get started.
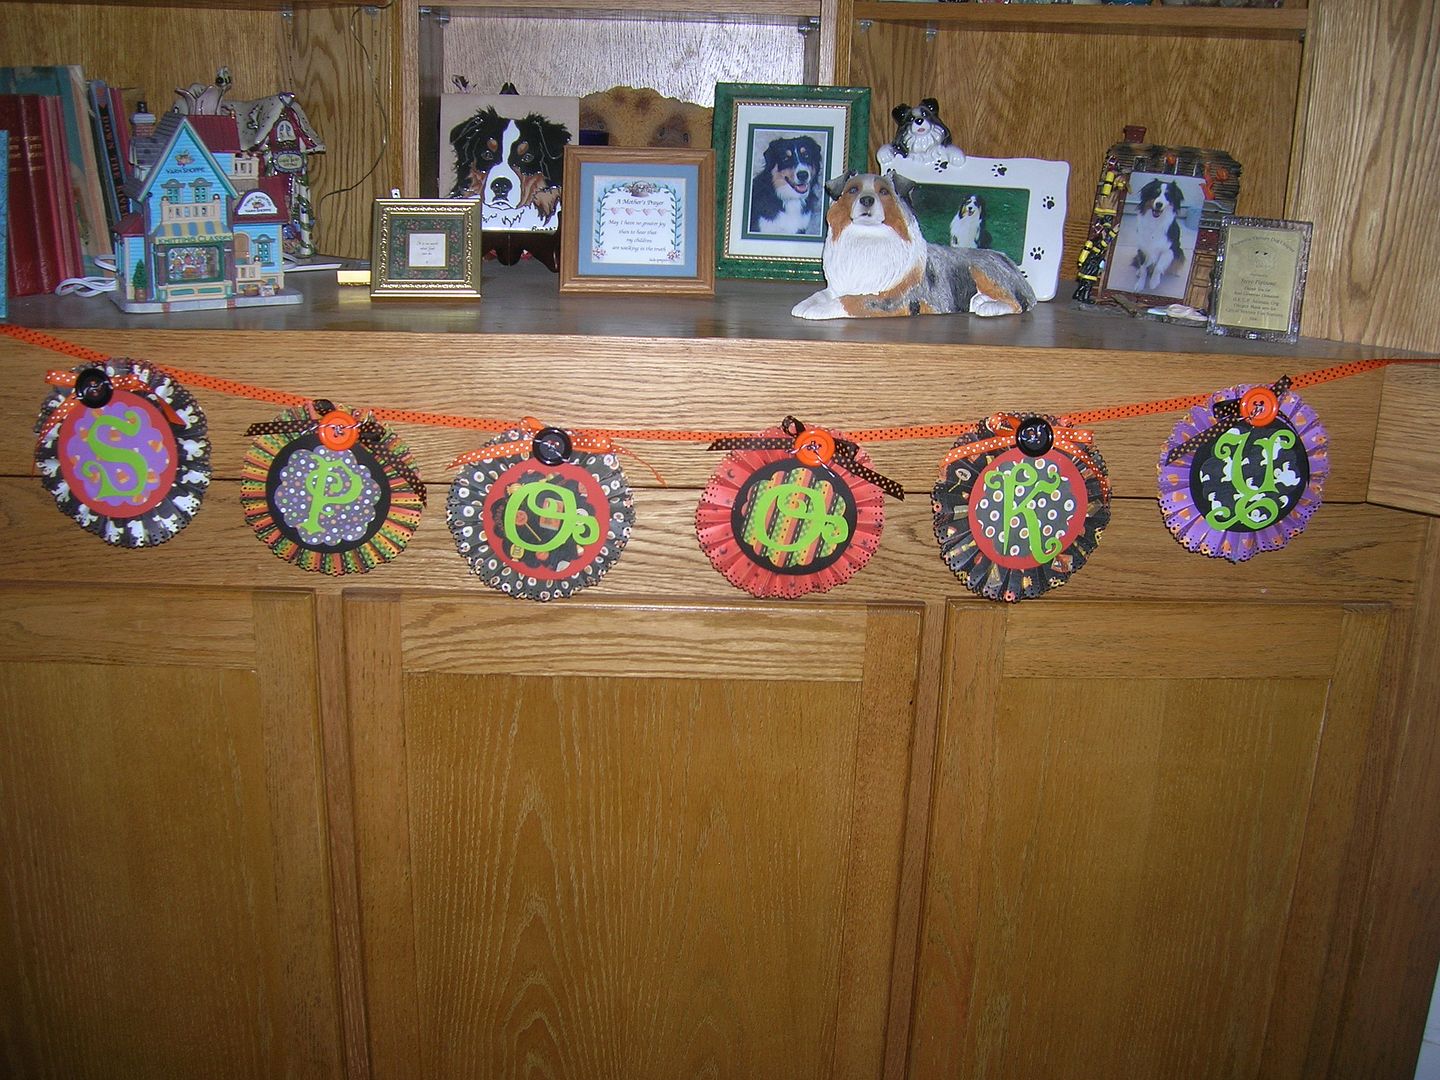
Here is a picture of my finished banner hanging up.
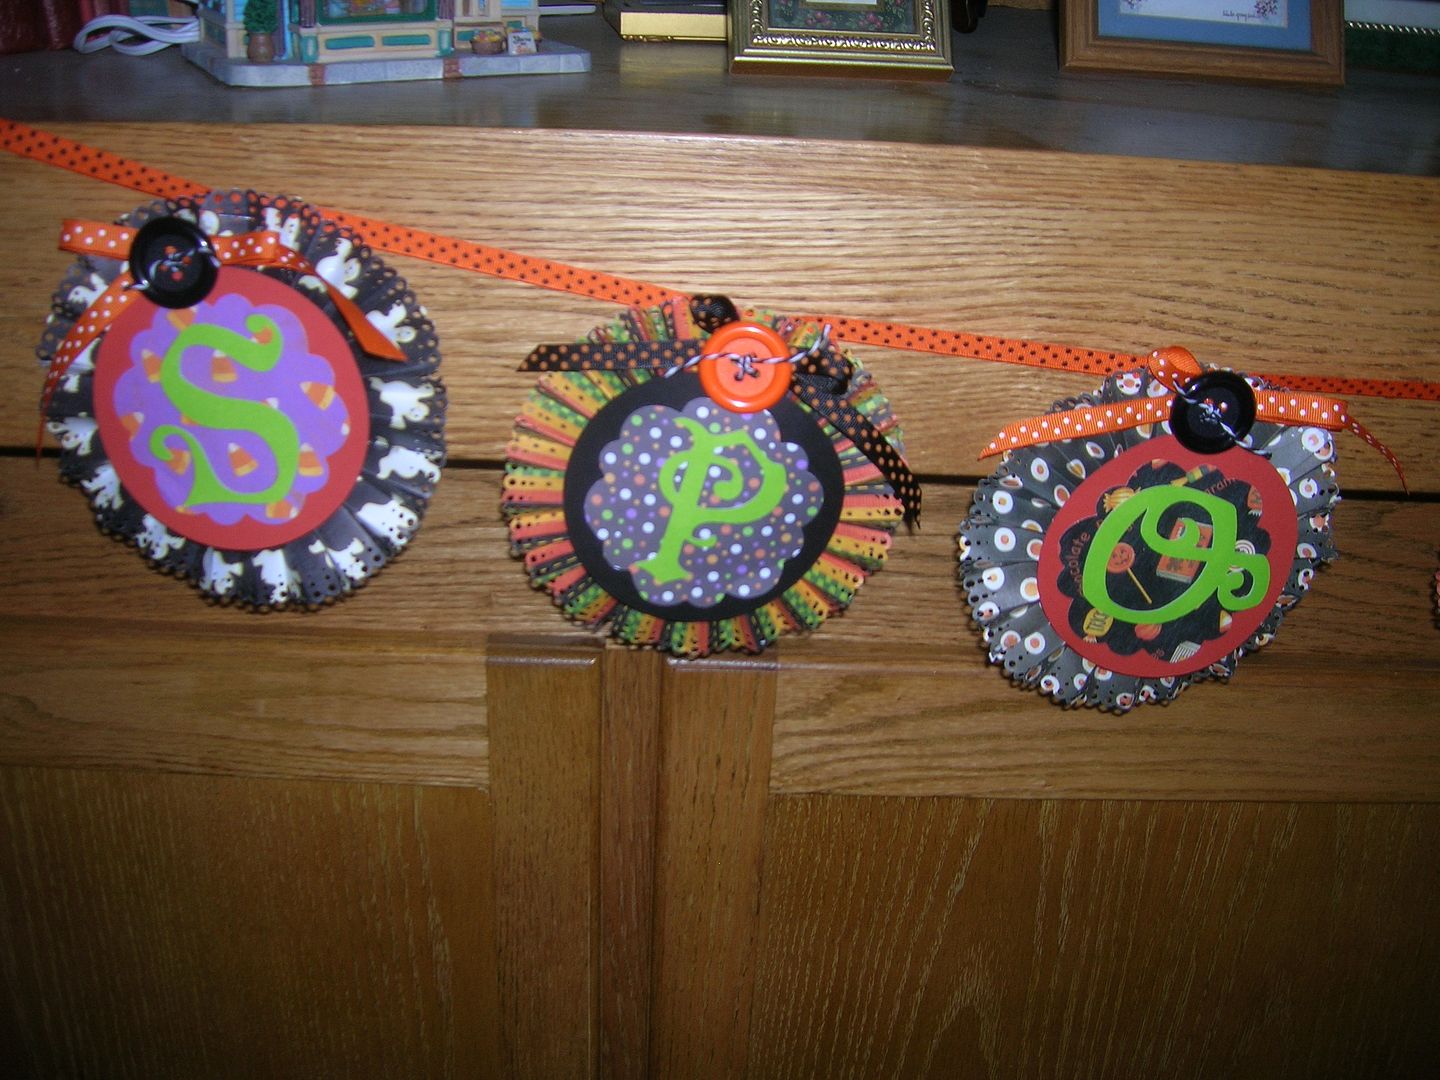
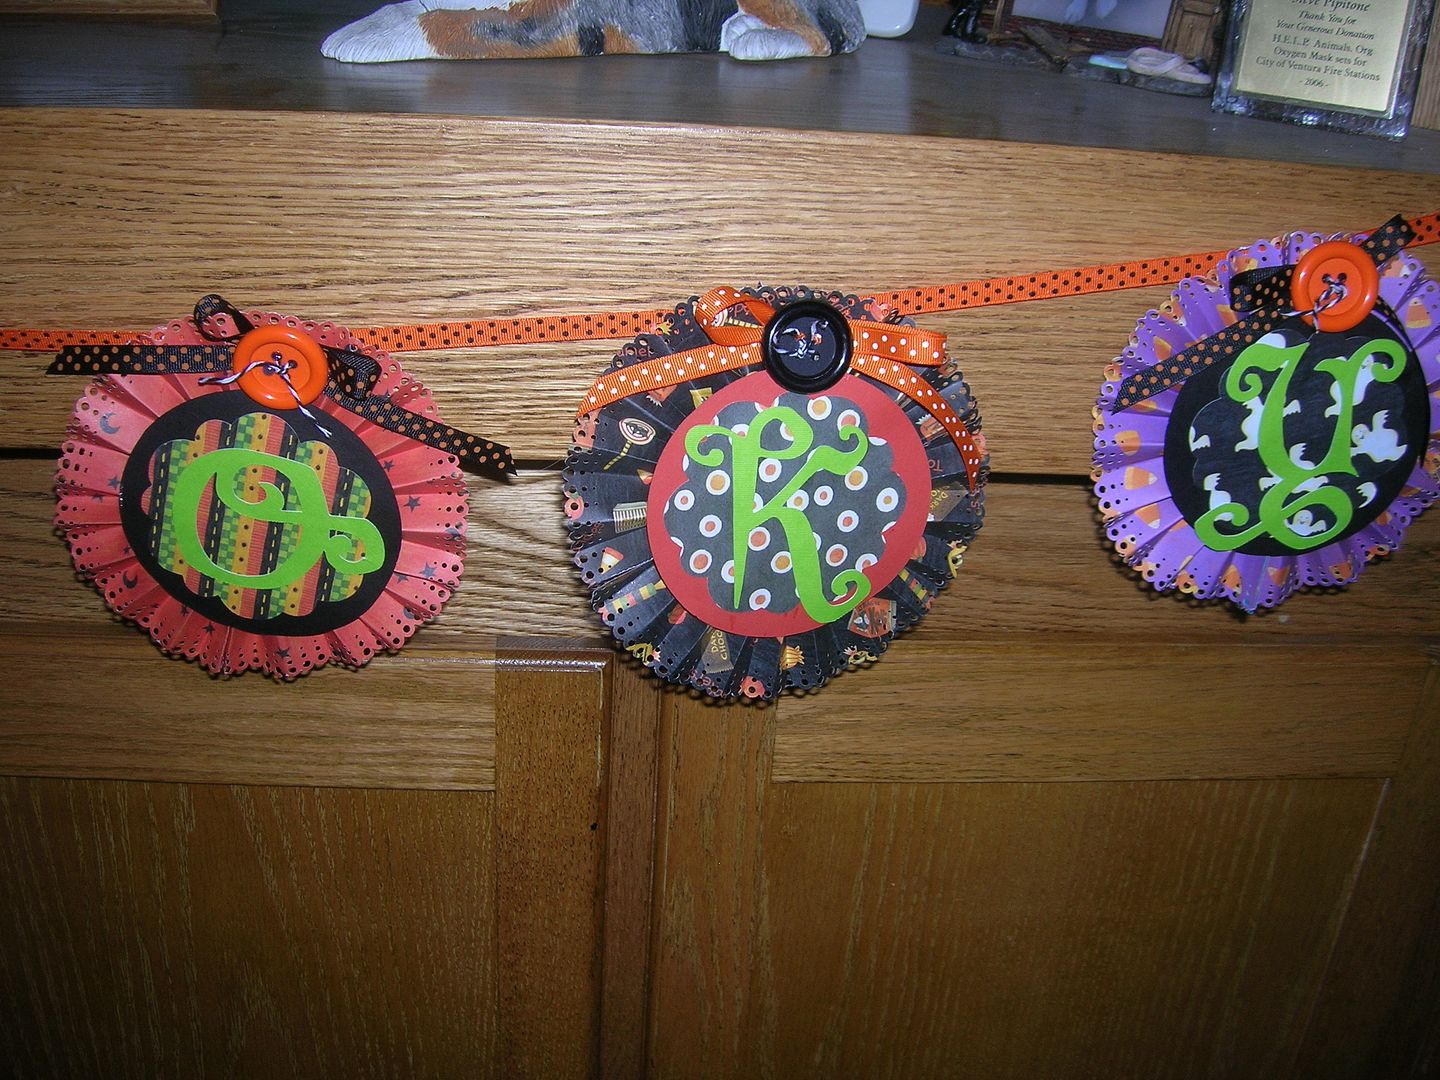
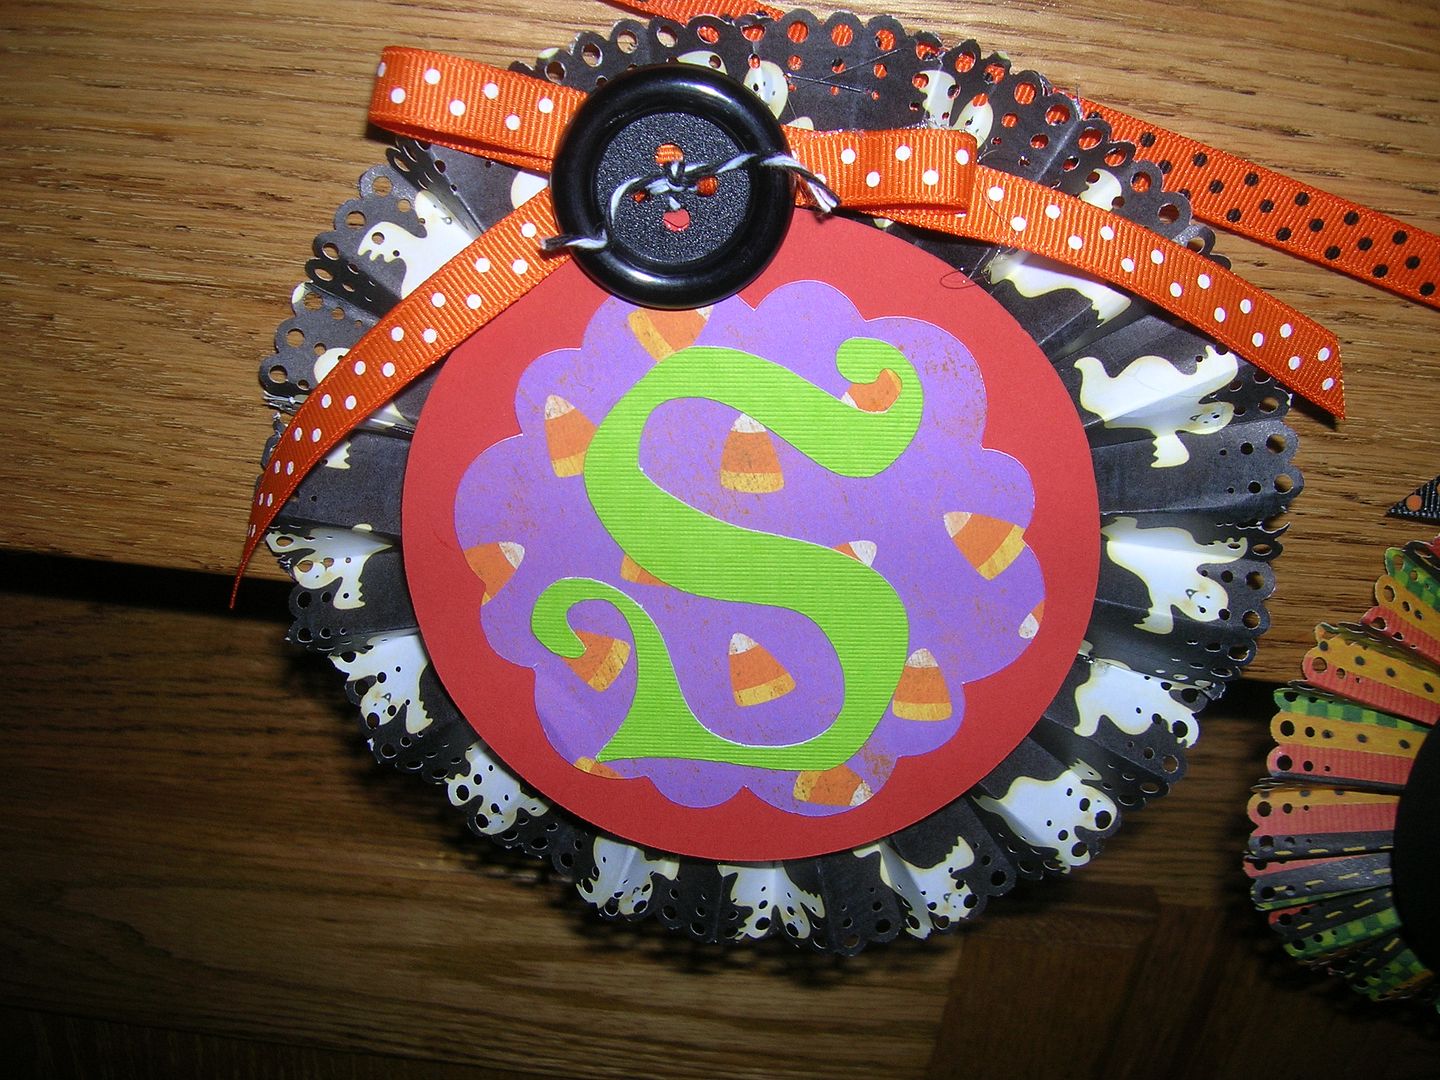
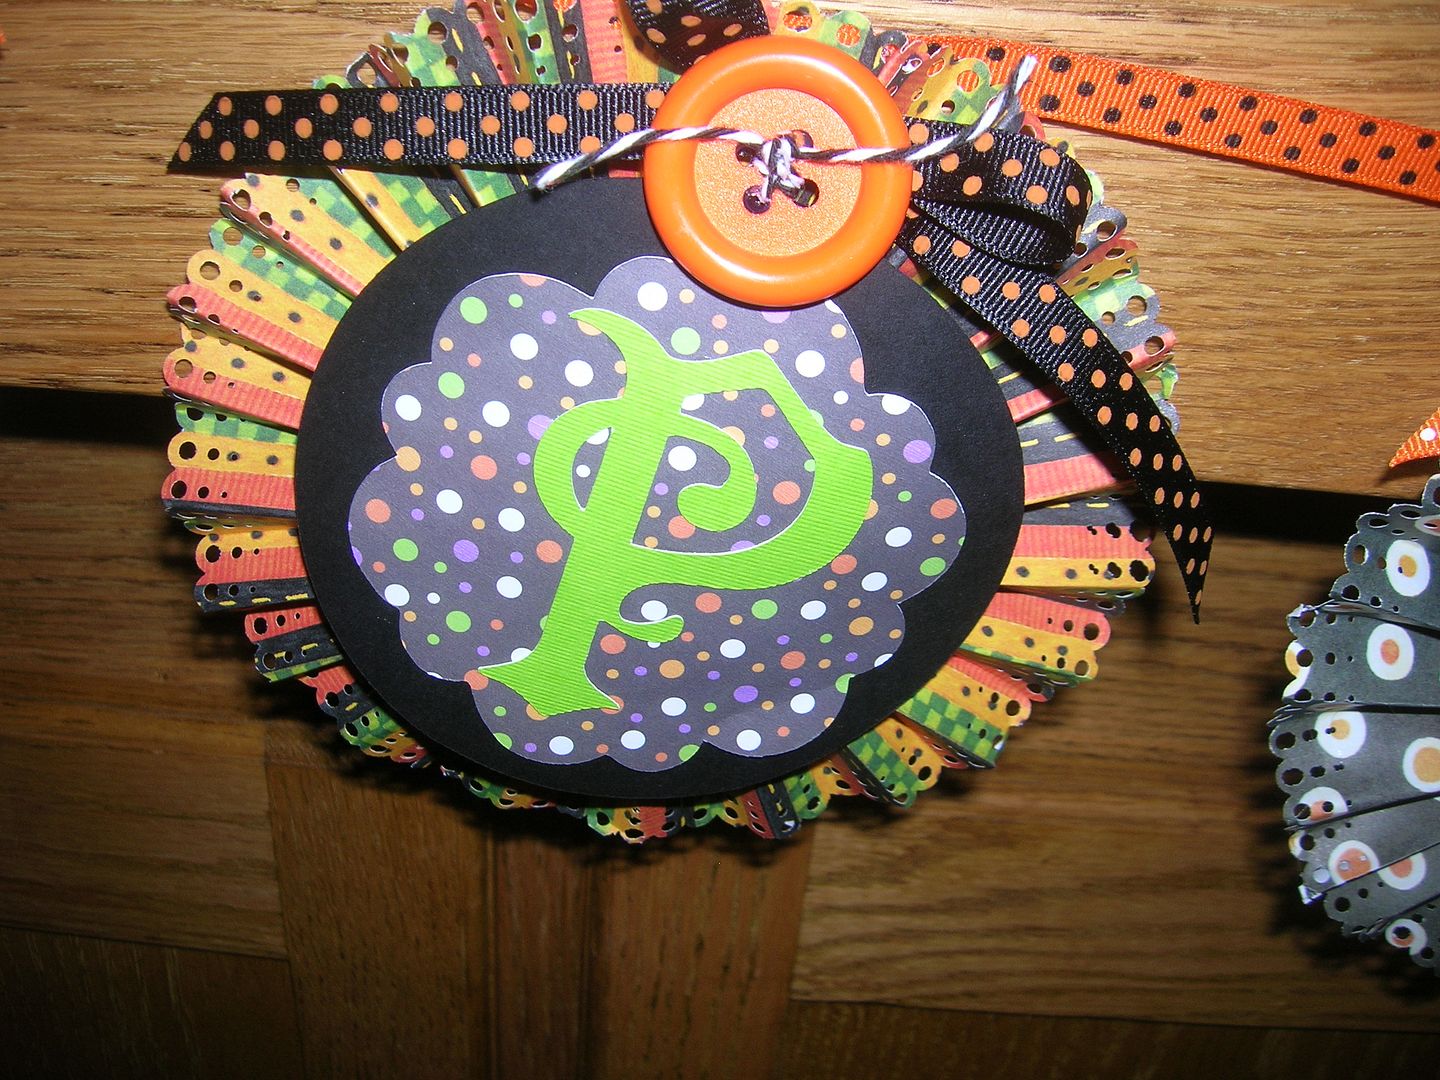
Here are some closeups.
To make the banner I started out with two 3 inch x 12 inch strips of paper.
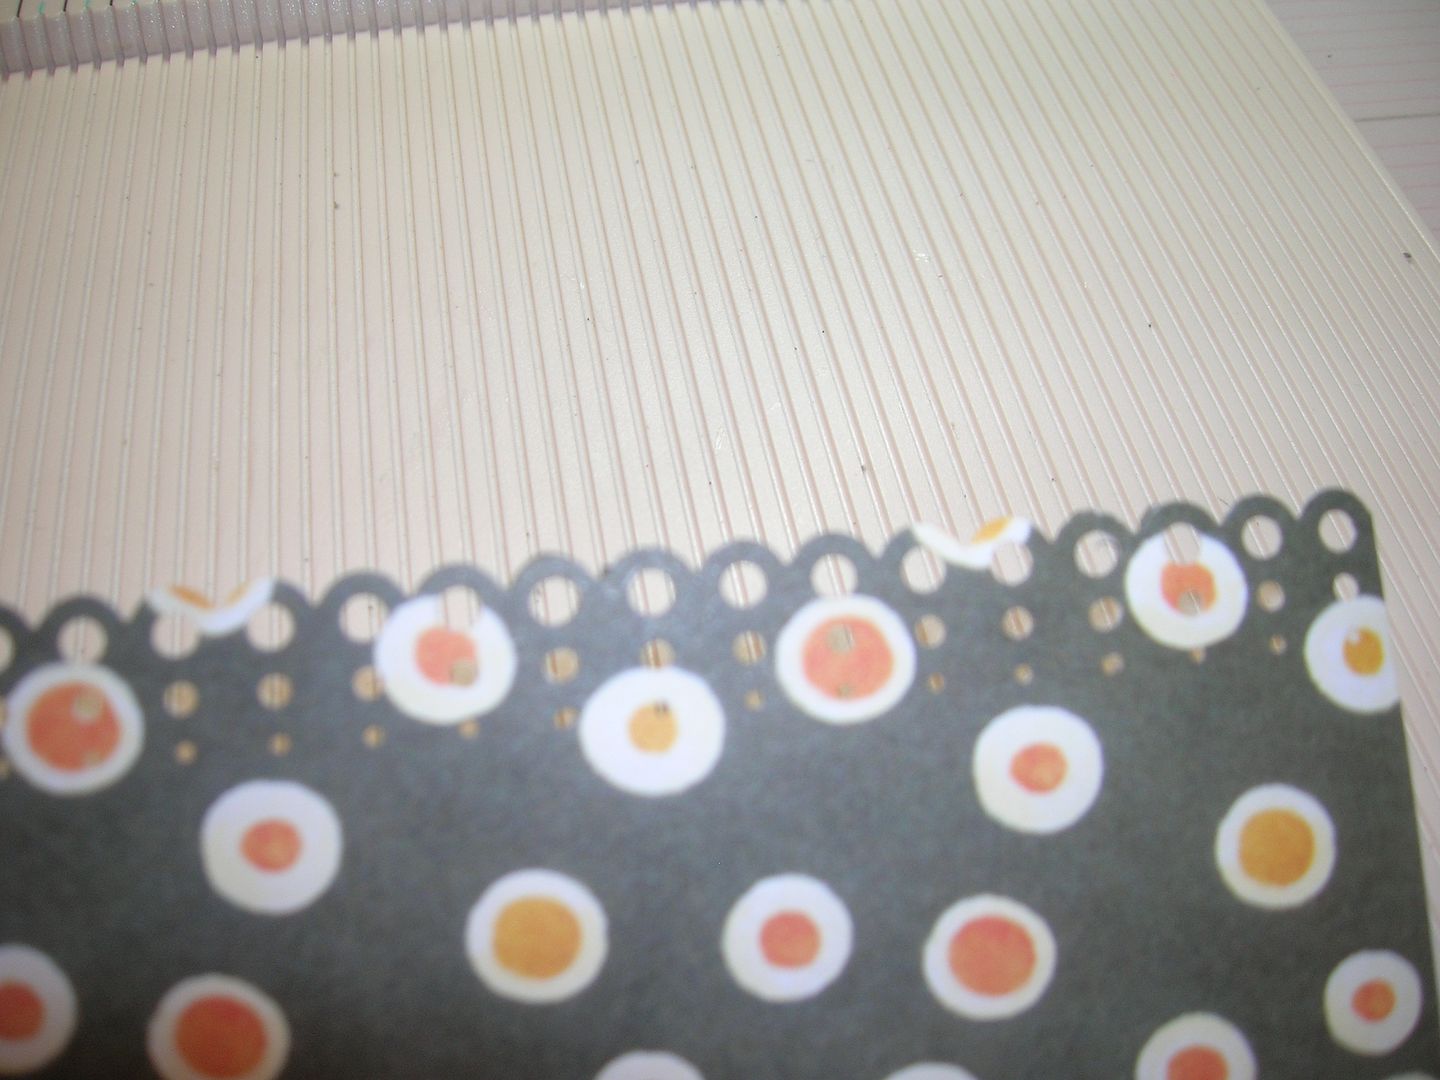
I chose 6 different prints since there were 6 letters in Spooky. Smaller prints or stripes work the best. I then took a MS Punch and
punched all the edges. I will tell you a secret if you do mess up on one
side you can do the other side and use the messed up side in the center.
Next I score using the punch as a guide. So for this one I scored after
two designs which is about 1/2 an inch. 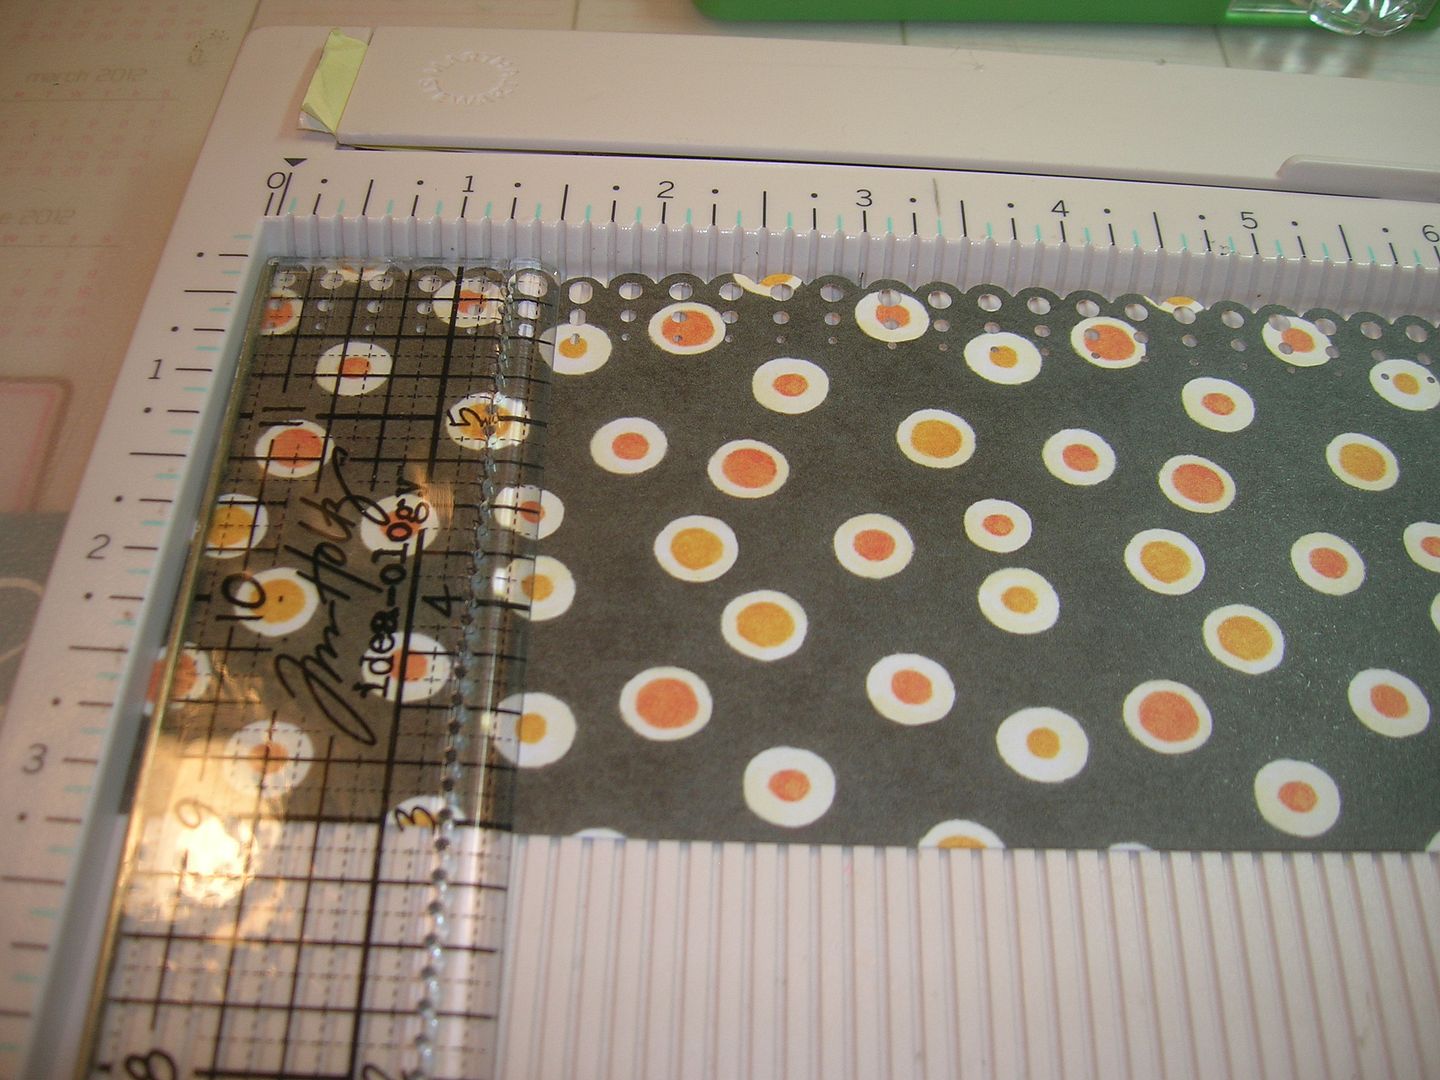
I then accordian fold the paper and glue the ends together with hot glue.

Cut two circles with a punch or Cricut. Push the circle of paper down and
glue a circle to the top and a circle to the bottom to hold in place. 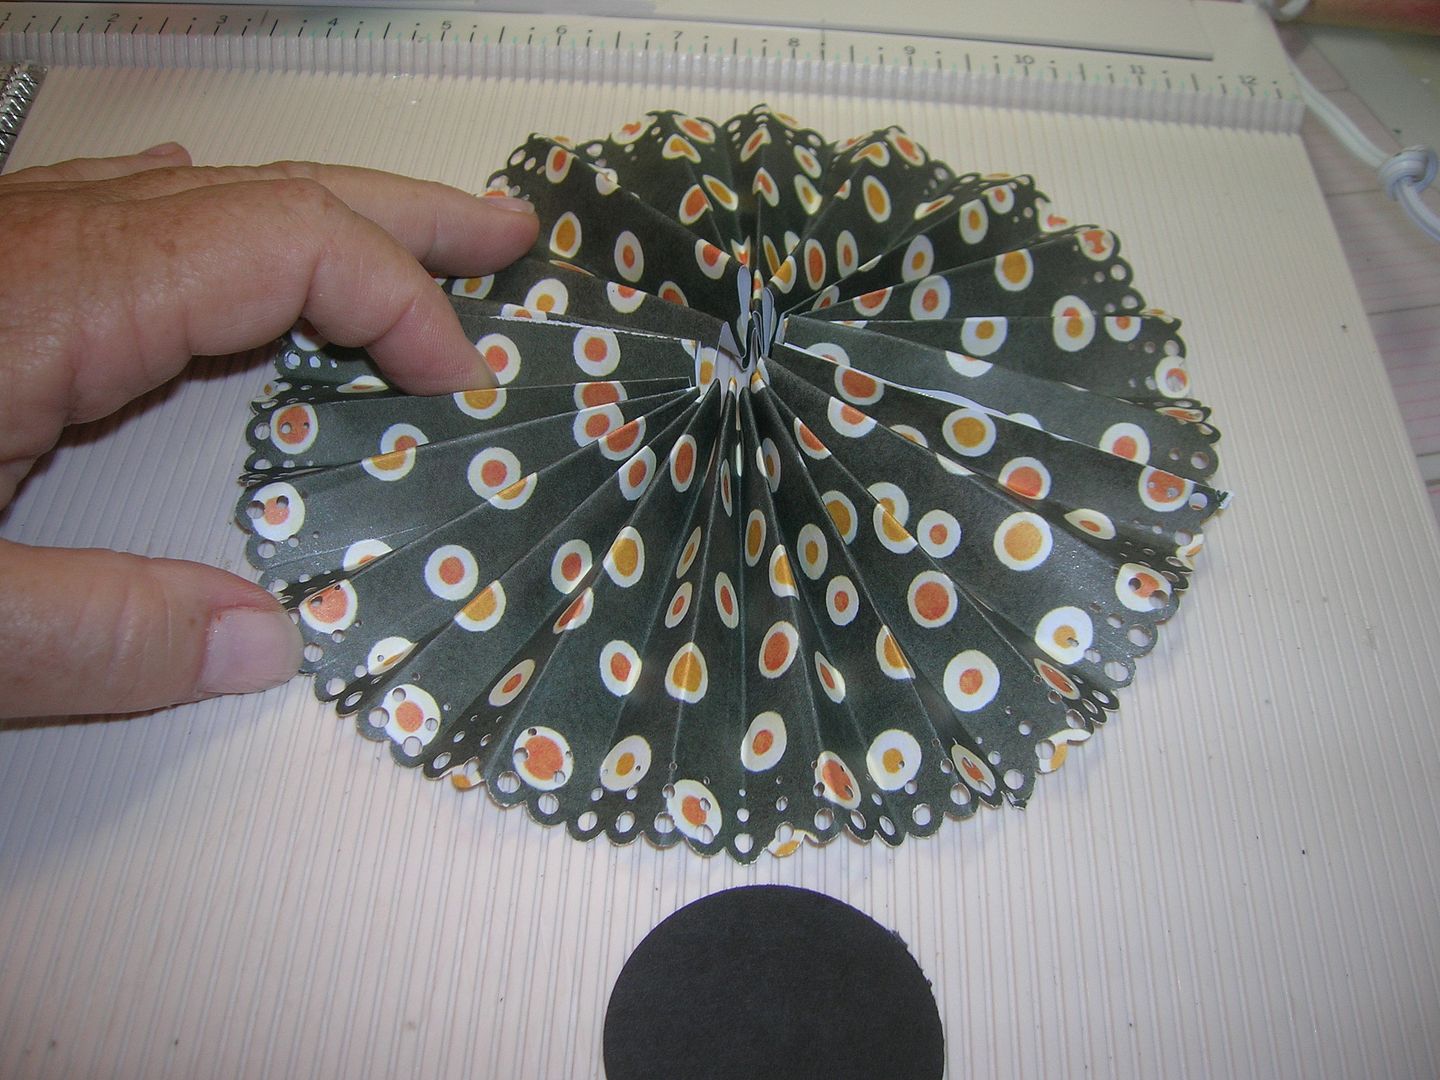
I then cut orange and black circles from George at 4 1/2 inches and scalloped
circles from Lacy Labels at 3 1/2 inches from leftover rosette paper. I added some ribbon and large buttons I had in my stash which I threaded with
twine. The letters were cut from Happy Hauntings at 3 inches in Cricut
green so they would stand out.
else I have been up to. Happy craftin everyone!


1 comment:
Love it I have not attempted a rosette larger than 2" so thank you for the details for the 3".
Cherylann (prinkles)
Post a Comment