MyFreeCopyright.com Registered & Protected

December 31, 2010

New Years Celebration!

Rather than go out and fight the crowds especially with the fog and the rain that will turn to a sheet of ice after midnight, we decided to spend a nice intimate New Years Celebration at home.  Here are some things that we are enjoying for our New Years Celebration! 

Creme Brulee is an absolute favorite and I had it the first time in Paris on our honeymoon.  I cannot believe that we are going into our 10th year. 

So...I'm tackling some at home for the first time.  Here is a recipe that I found for Creme Brulee on the Food Network.

It sure smells yummy while it's cooking! wow!!


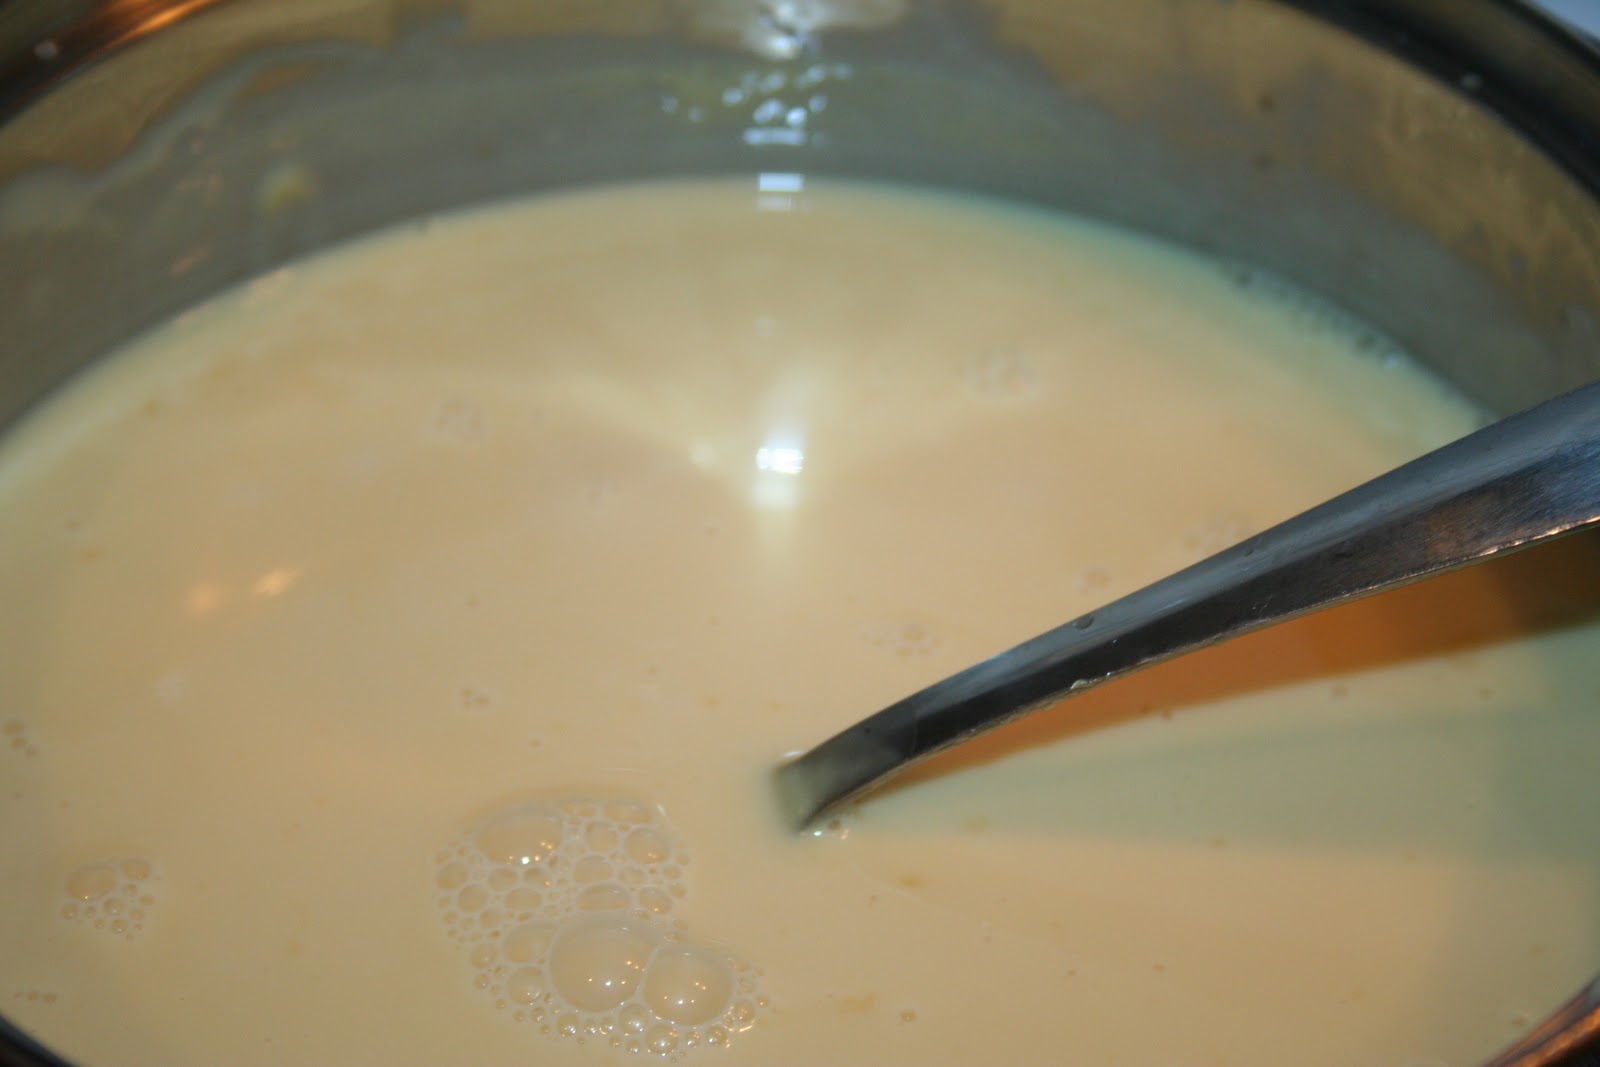
Now, the wait time....chilling..... I love mine cold so, it will be ready later.

So....I was starting to feel nostalgia and thought...Paris....Creme Brule.....ummmm need some escargot!

I have some garlic butter imported from Europe so, I used that but, if you go to Garlicster: Escargots (snails) with garlic butter you can get a recipe for their version of garlic butter.  I couldn't find my escargot coquette and I don't know how many of you have them handy (I sure don't!) so, I used some ramekins. 


I also picked up a loaf of Asagio Garlic crusty bread from the bakery.  I warmed it in the oven and it is ready for the Escargot garlic butter! YUM!!!! Paired with a fine bottle of Merlot that has been waiting for a special occasion.  Well, as we bought a case and have a few bottles left that just must be enjoyed before it turns, we are enjoying that this evening. 


YUM! The warm bread dipped in the garlic butter with the escargot is like no other!

We also took advantage of some sales and picked up some yummy filets. 


Turf n Surf are in order especially as I couldn't resist the lobster tails.  My Father always took care of the lobster but, here it is my task.  In fact, I do not think that my darling husband had lobster until he met me. 

The one year while living in Europe, I ordered lobster tails from a friend of ours that owned a restaurant.  Well...needless to say there was more than I bargained for because he had the tail and all the other parts with it.  On top of it....they were moving! Yes, they were alive! That was something to remember.  I prefer to stick to the tail only. 


Yes, I was unable to put them in the boiling water!  I must admit you can't get any fresher though.

Meanwhile, my husband has learned his way around the grill and the filets are his department.  And you have to have some fresh garlic butter mushrooms and a baked potato with all the toppings. 


Viola!


We will be enjoying our creme brulee later because there is not any room now.  Never mind that it is better in my opinion chilled. 

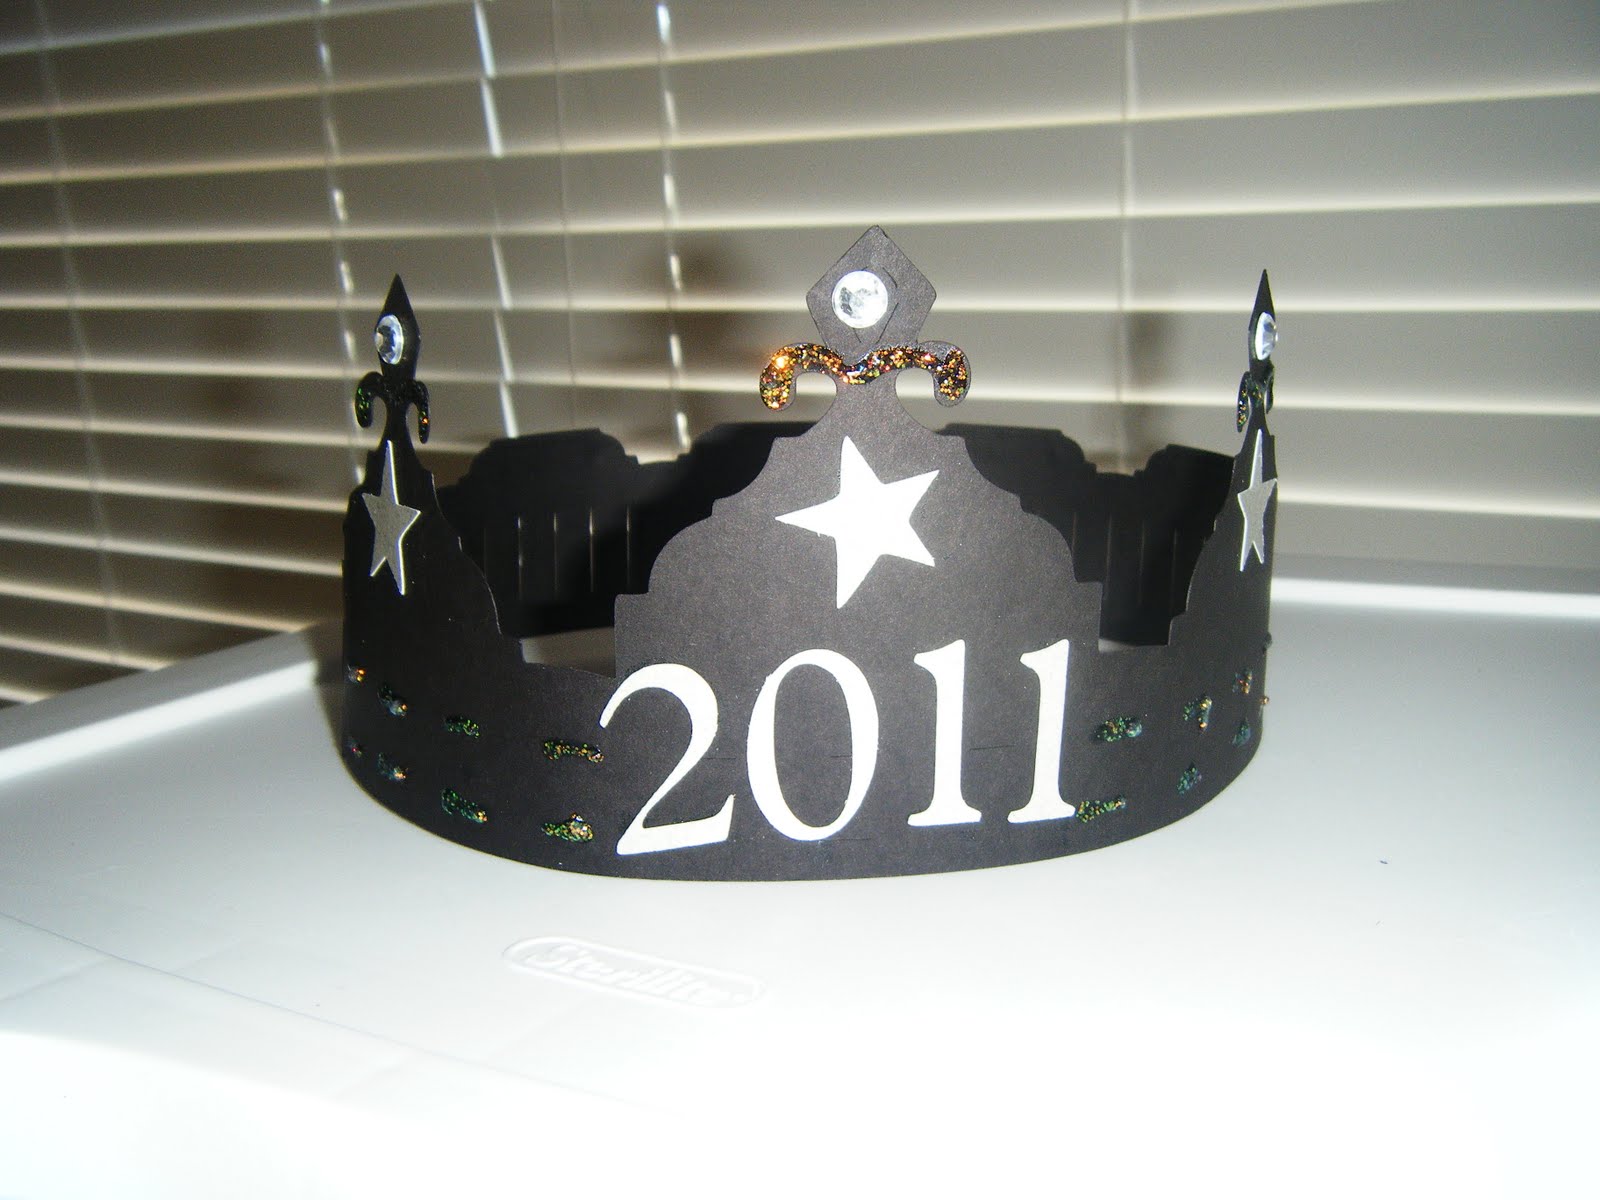
Time to enjoy some quiet time and crack open that Moet just before midnight! Oh and then there are those traditions of herring, poppy seed cake and all those other things. 

In Europe, they shoot off fireworks to celebrate the New Year!


This was taken a few years ago by myself in Europe on New Years when we stayed at Rupunzel's castle.  Great memories!

Happy New Year and make it a safe one!  How are you spending your New Year?  Do you have traditions?


Photobucket

Happy New Year Banner!

I had so much fun making the Thanksgiving Banner; I decided to make a Banner for my New Year’s Project too. I’m traveling again, so hope you can see the pictures clearly.


Supplies:
2 Blue Card Stock Sheets
1 Lighter Blue Card Stock Sheet
1 Blue Christmas Patterned Paper
1 Sparkling White Card Stock
Snowflake Stickers
Beyond Birthday Cartridge
Black Letter Cartridge
Martha Stewart Lace Punch
Glue Pen and Adhesive
Ice Blue Ink and Sponge
Hole Punch
Smaller Blue or White Ribbon or Embroidery Thread
Larger White or Blue Ribbon for Bows
Bling


Cut (12) 4 X 4 1/2 inch squares out of the Blue Card Stock.

Cut (12) 3 X 4 inch squares out of the Blue Christmas Patterned Paper.

Cut the letters for Happy New Year from Light Blue Card Stock at 2.06 (Gypsy size) from Shadow of Capital Letters.

Cut another set of letters for Happy New Year from Sparkling White Card Stock at 2.06 (Gypsy size) from Capital Letters.


Cut Party Hat out of Sparking White Card Stock using Beyond Birthdays Cartridge at 3.12 (Gypsy size).

Cut 2 Balloons out of Sparkling White Card Stock using Beyond Birthdays Cartridge at 3.94 (Gypsy size).

Cut the Whistle Blower out of Sparkling White Card Stock using Beyond Birthdays Cartridge at 2.76 (Gypsy size).

Cut Layer for Party Hat and Whistle Blower out of Light Blue Card Stock at 3.12 (Gypsy size).

Punch bottom of every Blue Card Stock Square and Blue Christmas Patterned Square with the Martha Stewart Lace Punch.

Using sponge, Ink sides and bottoms of all of the squares with Ice Blue Ink.

Adhere all Blue Christmas Patterned Squares to the Blue Card Stock squares, centering the Patterned Paper onto the Card Stock at the top.

Using a Glue Pen, adhere the Sparkling White Letters onto the Blue Shadow letters.

Using a Glue Pen, adhere the letters to the center of the Patterned Paper squares that you just adhered to the Blue Card Stock squares.

Adhere the Party Hat to the top left of the “H” piece in “Happy.”

Adhere the Snowflake Sticker to the top right corner of the “Y” piece in “Happy” and another one to the top right corner of the “W” in “New Year.”


Adhere one Balloon to the top left of the “N” in “New”, and the other to the top right of the “R” in “Year.”


Adhere the Whistle Blower to the top left corner of the “Y” in “Year”.


Place Jewels and Pearls onto each enhancement.

Cut 2 holes in the top of each square and thread small blue or white ribbon so all squares are side by side to hang on the wall, etc.

Make a 2 big white or blue bows, one for each side of Banner.

Merry Christmas and Happy New Year (Donna)

December 30, 2010

Smiley Cards!


The smiley card handbook:


Click here for Smiley Cards Sample Sheets!

Click here for Smiley Cards Handbook!

New Years Party Hat!


This week at Sweet Sassy Diva, we were asked to make a New Year's Party Item! So my girls and I made these party crowns. So much fun, so fast and easy!
Recipe:
Once Upon a Princess Cart
Plantin School Book Cart
Black 12x12 card stock
Shimmer paper scrap (mine was from DCVW)
Stickles
Gems

First I cut two crown fronts and 2 crown backs at 4 inches(OUAP) and all pieces did come out of one 12x12 sheet. I cut the "2011" at 2 inches (PSB) and the stars at 1 inch. The front and back peice fit together easily I didnt even need any type of adhesive.

I then let my oldest DD go to town with the stickles and I think they turned out really cute!


Summer

New Years Favors!

I hope you all had a very MERRY CHRISTMAS! I know I sure did. This week our challenge for Sweet Sassy Diva was to make party favors for New Years. I made this cute and easy to make napkin holder
 And this cute little candy holder. My Gypsy broke half way through the projects so that is why there are no words on the party bag.  the gift bag was cut out using Tags, Bags & Boxes cut at fit 6 inches.


Hope you all have a Safe and Happy New Year!

Rebecca

December 29, 2010

New Years Party !


Some Things I Used


  • Cricut Cartridge Designers Calendar

  • Wrapping Paper

  • Gold Curling Ribbon

  • Gold Glitter Glue

  • Jingle Bells

  • Star Beads

  • Wire 


 Resources


I used the end of a paint brush to curl the wire, then attached the star beads and bells to it.  I covered the New Years Day title with glitter glue.  I used scissors to curl the ribbon, then glued it all around the hat.


December 28, 2010

Christmas Cheer Snowman!

A quick and easy tag/ornament is by using the Christmas Cheer cartridge and the Imagine More Cartridge for the Cricut
Imagine.  It's so convenient when you only need a white sheet of cardstock
and the Imagine does all the coloring for you!


Don't forget, SweetSassyDiva is the place where it's all at!


Blessings!


December 27, 2010

Celebrate the New Year!


This week at SweetSassyDiva DT we were asked to make a New Years project! I made this sleeve with a little card. It fits perfectly around sparkling apple cider (or even wine bottles I'm sure). I cut this down to approx 10 inches x 3.5 inches in the blue (for the entire cover). I took some firework stamps and stamped them randomly around the blue sleeve with white and silver ink. I took a white envelope and cut it down to about 2.5 x 3 inches and inked the edges in blue, wrote the sentiment and free handed the blue fireworks on the edges in blue Scribbles 3d paint. I then adhered the open side of the envelop and left the top open then glued the whole envelope down to make a little pocket. I made the card to go inside the pocket with some of the leftover blue. I stamped it with fireworks the same way and wrote the sentiments in white Scribbles 3d paint. The card its approx 2.25x2.75 when folded in half. The top is some silver tissue paper wrapped around and tied on with a blue ribbon. simple and super cute hope you enjoy!

Jamie

December 26, 2010

In-Store Coupon : Weekly In-Store Specials : Hobby Lobby - Hobby Lobby

In-Store Coupon : Weekly In-Store Specials : Hobby Lobby - Hobby Lobby

LAST week to enter for a chance to win! Also, special on the Pink!

Enter for your chance to win....CHAMPAGNE EXPRESSION AND BROWN LEATHER TOTE & A SCRAP'N TOTE also, other prizes such as a Gypsy!! Just click on the picture of the Scrap'n Tote below for details to enter for a chance to win!

PINK SALE!! - Pink Scrap'n Tote Is On Sale This Week Only! $64.99 or $119.99 When You Buy 2 - Plus Get An Extra 10% Off With Coupon Code: IHEARTSCRAP'NTOTE Click on picture below for more details and to order.


Happy Holidays!


Happy New Year!

New Years Card
using 3M Post-it Adhesive Craft Paper


In person this card is soooooooooooo sparkly!


RECIPE

6x12 white cardstock
6x6 blue 3M Post-It Adhesive Craft Paper
4x4 light blue 3M Post-It Adhesive Craft Paper
small piece of pink cardstock for sentiment
muliple colors of shake on glitter
graphics of your choice
dimensionals
Martha Stewart snowflake border punch
scraps of white 3M Post-It Adhesive Craft Paper

DIRECTIONS

Score and fold your 6x12 white cardstock to create base

peel backing off blue 3M Post-It Adhesive Card stock
take glitter of your choice and sprinkle on to to cardstock...I chose dark blue, gold, and red...trying to make it look like fireworks with my random pattern

attach glittered piece to main base with glue runner or atg gun

Next I took the light blue 3M Post-It Adhesive Cardstock and combined my ribbon and confetti graphic then added my drinks images in Corel and printed...then inked the edges

Center in the middle of your glittered card and attach with glue of your choice

Now print out or stamp your sentiment on the pink card stock and center and I used dimensionals to adhere to card I also inked the edges

Now take some scrap white 3M Post-It Adhesive Cardstock and use border snowflake punch...peel off adhesive and adhere to both sides of the card

In person it is so much prettier......sparkles like crazy!

Laura


Imagine What You Can Do - Clipart, Custom Cards, and Embroidered Gifts
Imagine What You Can Do Blog - Become a follower and get updates and changes to win free stuff!

December 25, 2010

Santa's Sweet Express!

We enjoyed some family time and decorated a train cake made from a formed cake pan.  It was fun to decorate it with all kinds of sweet edibles!  Plus, any mistakes can be eaten or use the method of eat one place one!


You can see the cute smoke coming out of it.  I guess that means it is bitter cold out!  That yummy smoke coming out of the smoke stack is rock candy.  The wheels are made from lifesavers rolling down a liquorice whip track!  Even some yummy candy rocks line the path that this Express train takes to bring some sweet treats. 

It was a fun project especially to do with young kids OK I admit the adults have fun too.  You could use many varieties of colorful candies to really make it a kids delight.  I used some chocolate jimmies but, it would look cute with some colorful ones too.  What other candies can you spot in the pictures?  I see a bunch of varieties and there are many more that you could pick to decorate it. 

Here is the whole ensemble and I can say it won't last long!  Now, a whole village made from Gingerbread would look perfect for the back drop of this fun train cake. 


We're in the countdown to Christmas and the kids are getting so excited that Santa is coming soon!  I think if he sees this, he might be temped to arrive early to get a piece of cake!

Merry Christmas!

SweetSassyDiva

Glitter

Glitter is the herpes of the arts & crafts world.
- Zachary Levi

Glitter it up!!! Spread the love.

George and Basic Shapes Gift Box!

I hope you are all having a wonderful Holiday season! I know we are. Our temperature has been dropping and the apple cider has been brewing. Today we were able to reach a high of 1 degree. That's right I said 1 degree! For my project this week I made a cute little gift box. It comes from a 5-in-1 Template idea but I re sized it out to fit my needs as the example was a 4 inch and I needed a 5 1/2 inch. I picked out 3 colors of card stock to make my box from. I went with blues and greens.

I took the piece I wanted as my top and flipped it over to trace out my pattern. I used my Expression to cut out a 5 1/2 inch circle then I folded it in half to form the edges of the box.

I cut out the lid pattern and then scored it with my fabulous Martha Stewart score tool.

I used the same 5 1/2 inch circle I cut with my Expression and traced 2 circles on my green paper. I then cut them in half and folded the half circles in half. So you have 4 half circle corners.

I took the folded half circles and glued them on the inside of my lid on both sides to make my 4 corners. Glue the other ends to the side to make your lid.

Next I got out my bottom paper and traced the pattern on the paper.

I cut in on two sides flipped and cut in on the other two side just opposite. Scored the other lines.

Folded them up and glued them down to make the bottom of the box.

Slid the little lid on top and added ribbon and a flower bow that I constructed out of a few flower cuts on George and Basic Shapes cart.


~*Recipe*~
~*3 pieces of 12x12 cardstock
~*ribbon
I love making these little gift boxes. They are so cute! For the original tutorial you can find that at.... www.splitcoaststampers.com/resources/tutorials/five_in_one_template_box/
Thanks so much and I hope you have a wonderful holiday season!!
~*Jen*~