

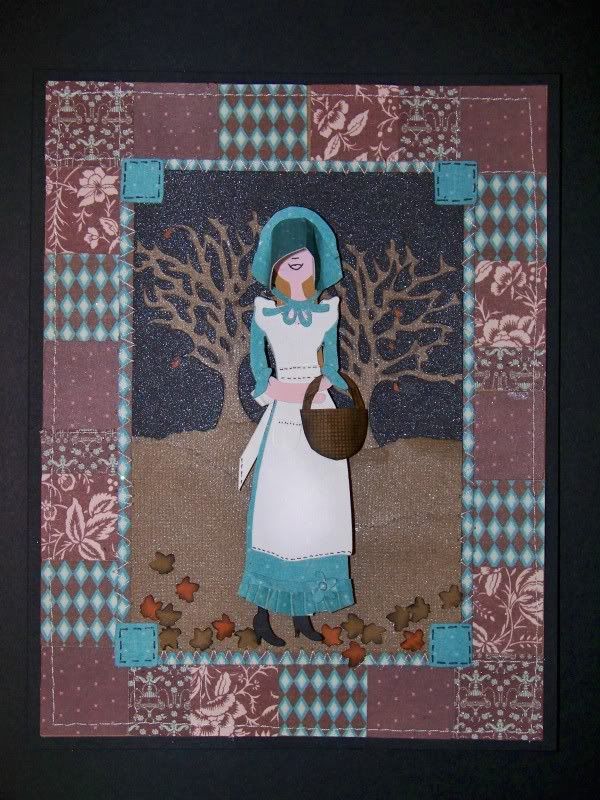
The figure is from Country Life, cut at 5". The dress on the cart is used here as an apron, with a few added cuts for detail. Her dress is hand-cut, using the dress on the cart as a pattern. I cut a separate figure in black, but flipped her feet. Her juxtaposed her apron helps give the illusion that her lower body is slightly turned.
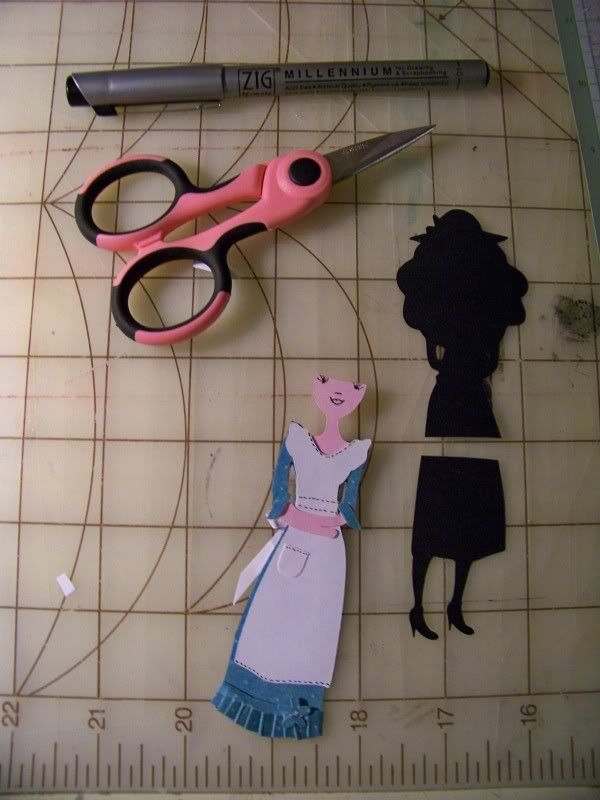
On her dress, you can see that I added a few details, like the pleated hemline. The flower is straight off the cart from the original hat. The bonnet tie is also from the original hat. I added hand-cut elements to create a sunbonnet, which is something that I have been struggling with! (There is a fantastic bonnet on Heritage, but I wanted a forward-facing figure and that hat is in silhouette, so it had to be made by hand.)

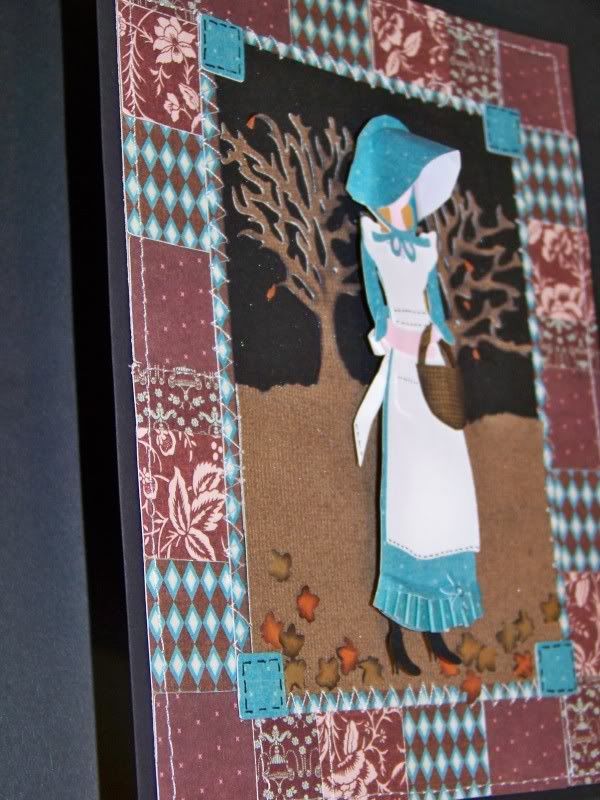
The background is actually two separate elements. The base for the figure is black cardstock. I added two trees from Heritage (page 25), cut at 2-1/2". I used torn paper for the ground and sprayed the whole base with Glimmer Mist. I applied that to a printed paper to create a small border.
The quilt layer is the second element. I used George & Basic Shapes and cut 1" squares and adhered them to form a border. The fun part was a little straight stitching randomly to imitate machine quilting.
I combined the two backgrounds by zigzagging them together on the sewing machine and gluing on 1/2" squares on the inside corners (also from George).
I attached the figure with 1/4" pop dots to bring it off the surface. Small leaves were cut from Straight From the Nest (page 56), cut at 1", inked with black, and glued on for a little fall interest.
Thank you for checking out my project. You are invited to visit my blog to see other projects I would love to share with you!


5 comments:
Beautoful card... Can't wait tilll Thrusday for the Hop....
Very cute and very cool how you just changed it up to be what you needed. Love that.
I love this! I think I need this cartridge. Love your choice in colors.
Very cool, love this card!
You did a wonderful job!! I love taking one cut and making it look completely different!! Your card looks beautiful
Post a Comment