Recipe:
brown striped paper
dark brown cardstock
tan cardstock - 6 3/8 x 4 6/8 inches
white pre-made card - 6.5 x 5 inches
2 medium google eyes
red Scribbles 3D paint
yellow Scribbles 3D paint
fancy feathers
"Autumn Time" ribbon (from Michaels)
adhesive
Create A Critter (and a Cricut Machine)
Swiss Dots embossing folder(and a Cuttlebug Machine)
I embossed the tan cardstock using Swiss Dots and my Cuttlebug, glued it to the middle of the front of the card using my ATG gun. The turkey was cut using Create A Critter, the brown striped paper was the main body of the turkey.. I cut this part at 3.5 inches using the
Happy Thanksgiving Card!
Recipe:
white pre-made card approx 6.5x 5 inches
sage green cardstock approx 6 3/8 x 4 7/8 inches
tan cardstock approx 6 3/8 x 1.5 inches
clear embossing ink
clear embossing powder
embossing gun
orange ink pad
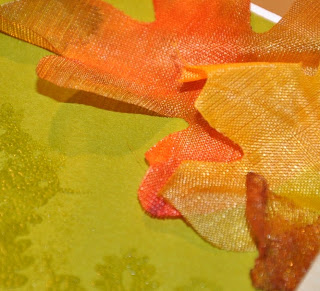
3 material fall leaves
leaf stamp (hero arts)
turkey stamp (hero arts)
"happy thanksgiving" stamp (hero arts)
7in of thin orange ribbon
xacto knife
adhesive
Instructions:
I started with a white pre-made card and first added the sage green paper to the center.
I then adhered the leaves to the right side in a line from top to bottom. I took the tan strip and my xacto knife and sliced small openings approx. every two centimeters.
I took my orange ribbon and threaded it through the openings. I stamped the turkey with orange ink to the middle of the tan strip and then the "happy thanksgiving" stamp on either side of the turkey adhering the tan strip to the bottom area of the card.
- Jamie
Veterans Day Blog Hop!
November 11th!
Land of the Free Because of the Brave
Enter during the blog hop for a chance to win....
Click the picture to see more details and color options on this wonderful storage system!
So gracious that they are sponsoring the blog hop and donating a Scrap'N Tote to one lucky winner! Mark your calendar and be sure to stop by for your chance to win! Also, there will be 16 awesome bloggers with beautiful crafts and some offering additional blog candy. Stay tuned for more details to follow!


4 comments:
Very cute! I love the turkey.
Very nice. Love the added touch of color with the leaves!
Oh man those 2 cards are so cute.....gotta love that turkey! Hey that reminds me getting close to gobble gobble time! gggggggggg
Sassy, I love both cards but my fav is the li'l turkey. He looks "sassy", just like you! ;-)
Post a Comment