As you may know, Provocraft had a 'free' online course this week.

It was November 11th at 7pm (mountain) to make this beautiful banner! It uses the cricut cartridges Country Life and Sentimentals. They also provided the optional Gypsy cut file before the class.
Well a few of the SweetSassyDiva Designers decided to share their take on the banner. I hope you enjoy their take on it. Also, if you did the banner or had your own twist, please upload and link your picture below. We would love to see what you create! You do not have to use their paper package. Imagine all of the different beautiful banners!
First up......Travelin' Nana!
Well, Travelin' Nana here did not register for the class while she was on the road. So she used the "It's Time for Class" email picture to get an idea of what they were going to teach and hunted up some carts that she could use to create her own. It was definitely fun.
Supplies:
Carts: Stand and Salute, Accent Essentials, and Plantin Schoolbook
Leaf Patterned Paper, Shiny Pumpkin and Truffle (Brown) Card Stock
Stampin Up 1 3/4 Scallop Paper Shaper Punch
Brown and White Ink
Brown and Cream Piercing Thread
Piercing Tool
Needle
Pot Dots and Tape Runner
Cut 8 flags just under 5.59" height from the Shiny Pumpkin card stock for the Banner, from Stand and Salute Cart. in Blackout mode.
Cut the foundation to put the "Thankful" letters on with the Accent Essentials cart. Use Leaf patterned paper and cut 8 at 2.88" height, and cut 8 Brown for the borders at 3.24" height.
Cut the letters for Thankful out of Brown card stock at 1.47" height, using the Plantin Schoolbook Cart. Adhere them to the leaf foundation.
Use brown ink around edges of flag and leaf foundation. I didn't ink the borders.
After inking the Leaf foundation adhere them onto the Borders. Adhere letters to the Leaf foundation, and then adhere that finished element to the flags using three small pop dot on the back of the boarder pieces.
Cut 16 scallop pieces from Brown card stock using the punch. Set 8 aside.
Take 8 of the Brown scalloped pieces and put the words you are thankful for onto them. I choose to paper pierce and sew mine for a homey look. I used the words, God, Family, Church, Home, Friends, Freedom, Health, and Wealth.
Pierce the words you want to use onto the scallop and then use embroidery thread to sew them on the scallop. I cheated and cut white scallops out of printer paper to write my words on and put the white piece over the actual scallop to pierce. Take the white paper away and the sew the words on the actual scallop.
After sewing the words on with cream embroidery thread (quite that challenge as you probably noticed), I glued the other Brown scallop pieces, right side out, to the back of the scallop with the words on them. (no glue at the top middle-see below).
Place and adhere the tip of the flag down into the top middle of the double scallop to hold it on so the glue won't show. Put the glue on the scallop vs the flag as the tip if flimsy.
Thread the flags together using embroidery thread whatever thickness you like. I used the thickness it comes in and choose to thread from back to front because I like that look.
- Donna
Here is another version by Jennifer:
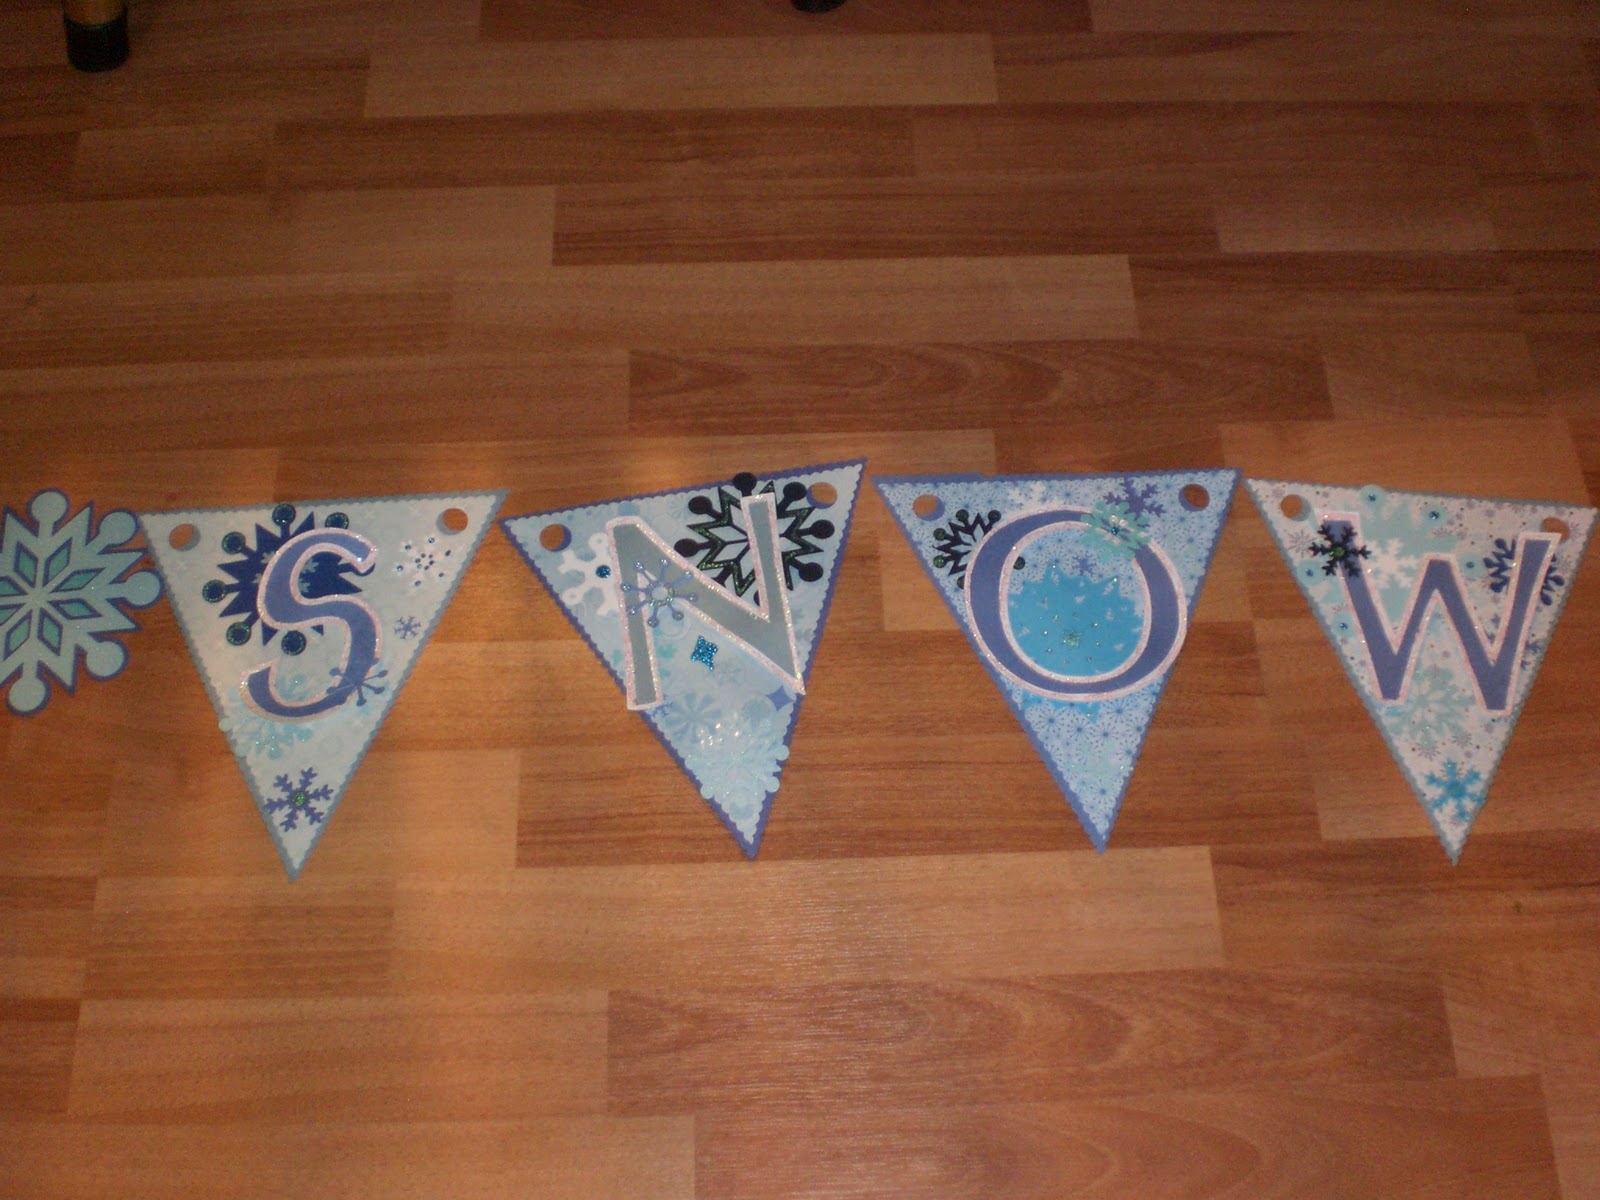
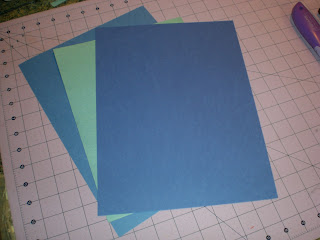
Heya Everyone! I had a chance back on the 11th of this month to sit in on a free class offered by Cricut. When I signed up for this class and saw they were going to be making a banner my wheels got a turnin'. Yes, there was smoke and a lot of screeching but eventually they stopped resisting and turned. ;) When I signed up, they listed the items you would need to complete the same banner they were making. I didn't have anything that they had listed but it didnt keep me from sitting in to get some tips and ideas. I had thought for a week or so on what I want to make for my banner. If you follow my blog or know me, then you would know my choice was simple! I chose to do a winter themed banner that reads 'Let it Snow'. With my obsession being snowflakes, I jumped all over using as many snowflakes as I could. I asked my crafty partner in crime (Kristine) if I could use her Expression because I only have the baby Cricut. I started out with picking 3 different shades of blue paper. The words 'Let It Snow' has 9 letters so I would need 9 sheets of 8x11 (3 pages of each shade) or a 12x12 will fit 2 on each sheet if you roate it.
I pluged in the 'Celebrations' cartridge and and use the foundation of the triangular banner on the bottom right of the key overlay. I set the Chicut to 9 inches and cut out 9 banner triangles.
I then picked out 5 different patterns of winter type paper.


I stuck them down one at a time on the cutting mat and set the Cricut to cut at 8 1/2 inches on the same banner foundation as above. It still looked a little 'sharp ' along the edges to me so I got out my scalloped edged scissors from X-acto and cut the edges of both the blue and patterned paper banners. I looked through a few cartridges and found that Doodlecharms, Accent Essentials and Designers Calendar has snowflakes in them. So I used thoes cartridges to cut out a bunch of miscellaneous sizes, white and shades of blue snowflakes. I glued the snowflakes to the pattered paper banner pieces. Then I plugged in the George and Basic Shapes cartridge and cut out the letters at a size of 4 1/2 inches in the same shades of blue as the banners. Grabbed more white cardstock and cut the shadow image of the same letters I just cut. Glued the letters and their shadows together. I outlined the white part of the shadow letter with irridescent glitter glue.

After the glitter was dry I got out my Helmar Liquid Scrap Dots and glued the letters to the patterned paper banner with snowflakes already glued down.
It still didnt look like I wanted it to look yet...not only do I have an obsession with snowflakes but I bathe in glitter on a regular basis. I think glitter is the answer to world peace. Im not sayin, Im just sayin. So I got out some blue glitter glues and went to work.
I plugged in Accent Essentials again and cut out the word divider snowflakes at 5 inches in light blue cardstock then did it in shadow in dark blue cardstock. Took out Accent Essentials and pluged in George and Basic Shapes and cut out a 3 inch circle in a teal blue and constructed the snowflakes.
After all that, I layed it all out across my floor. Let me tell you something here. For some very strange and odd reason when ever anything is layed on the floor in my house my 2 dogs and my 2 kids think its an invite to come and lay on it or run past it so it flips over or sit on it. I have no idea what draws them to my stuff, on the floor, but it happens EVERY TIME! Back to the instructions.....so I layed it out on the floor so that I could get a general feel of how it will look in its 'banner' form.
Pleased with the results I sifted through my ribbon tin (It is an old vintage tin that was used for ribbon candy. Thought it was kinda fitting :D) and pulled out all the blue ribbon I could find. And tied the banner pieces together.
And the result was a fun and fitting banner I can leave up for pretty much 6 months out of the year here :D :D
I hope that inspires you to make your own fun banner!! If you have any questions about any of the steps you can leave me a comment here or on my own blog! Thanks!!
~*Jen*~
Here you have seen three examples. First, is the class version, another Thankful version and a Let it Snow version! Would love to see what banner you are inspired to make! Pst your picture on facebook.
- SweetSassyDiva