MyFreeCopyright.com Registered & Protected
Showing posts with label Lori. Show all posts

November 1, 2012

Trick or Treat! Share your Treats!


It is Halloween week ~ time to pass out some treats!!!  Lori from ScrappinMyStressAway here to share how I made my treats today!


I created two different treat containers using a Starbucks glass container and.......


a Crystal Lite drink plastic container.


I used this two sided paper from K and Company.  I cut the paper into strips to go around each container.


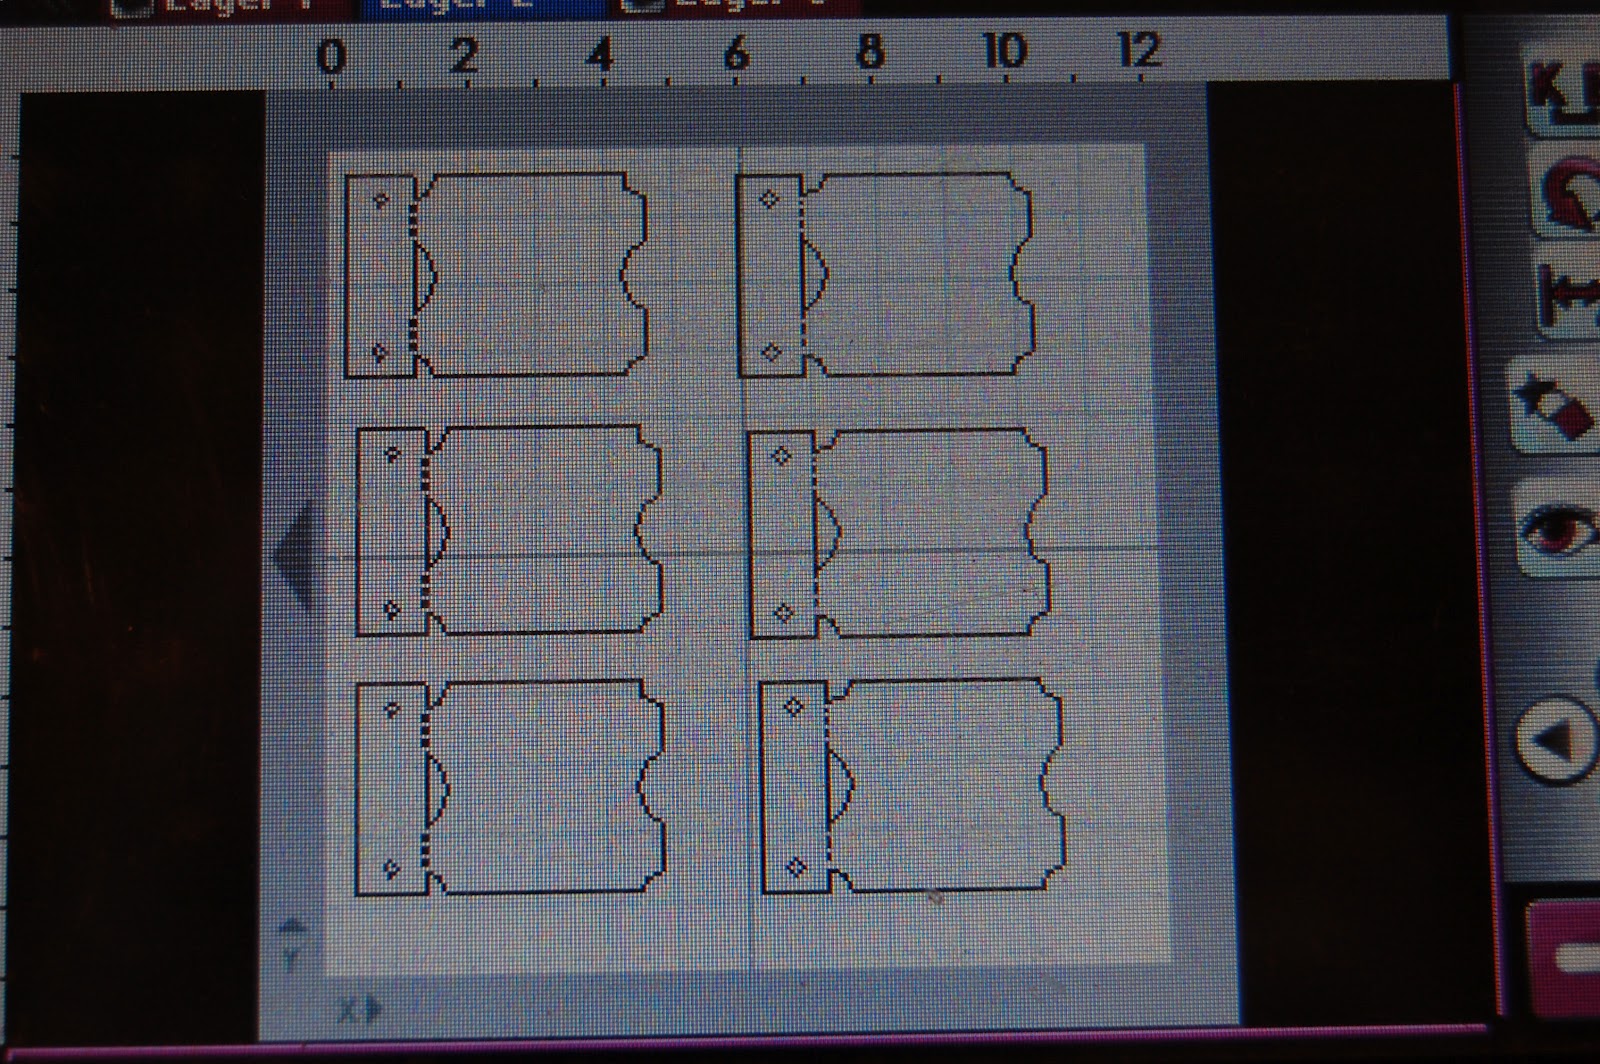
I put this square pumpkin face on my Gypsy mat from Pumpkin Carving at 1.5 inches.  One set of two were cut as is, and the other set of two I hid the eye and mouth cuts.  I cut out the jack-o-lanterns in orange cardstock and the squares in yellow cardstock.


I originally planned on mounting the pumpkin squares on this scallop circle shape from Easter 2010 sized at 2.5 inches.


 I cut one set of scallops out of the black side of the double sided paper.  I also cut out a scallop out of orange and yellow cardstock to put on the back.


I adhered the strips of paper around my containers.  The scallop circles covered too much if the strips of paper, so I modified my design.  I trimmed some squares to back the pumpkins and used some washi tape for the stems.


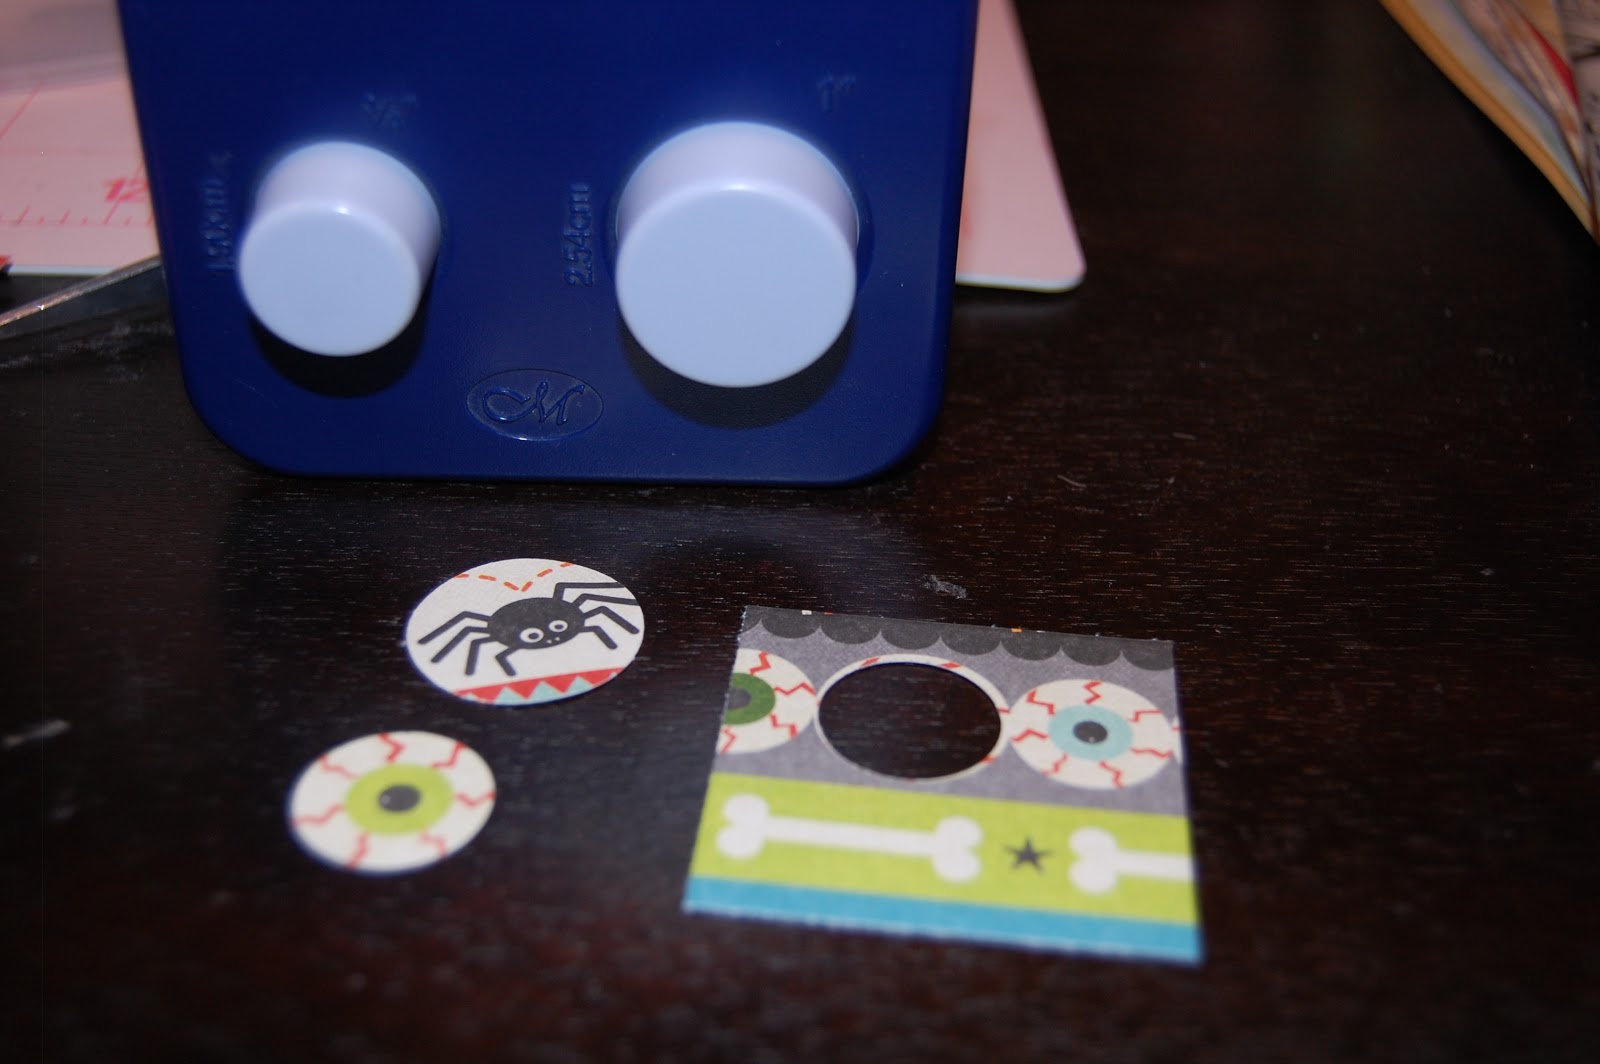
I used my Creative Memories circle punch to punch out an eyeball and spider for my lids.


I used added some washi tape to my containers too!


Thank you for stopping by today ~ I hope you have a wonderful Halloween!!


--


Lori~

www.scrappinmystressaway.blogspot.com

September 8, 2012

Coupon Book!

This week at Sweet Sassy Diva's BLOG we are celebrating All About Grandparents in honor of Grandparent's Day Sunday September 9th.

This is Lori from Scrappin My Stress Away and I used one of the free Cricut Digital Images that was loaded on my Gypsy when I updated in August.  The Digi is called Mother's Day Coupon Book.  There is a similar cut on the Mother's Day 2010 Cartridge that would work too.


I sized the coupon book cover to 3 inches.  I wanted to add Mimi and Papa to the cover and used Doodletype for the font.  I sized the letters to 0.69 inches.

I opened Layer 2 and placed 6 coupon pages on my mat sized to 3 inches.

I opened Layer 3 and kept Layer 2 visible.  I used Doodletype to place my words in the center of each coupon.  The letters are sized at 0.61 inches.
After trying both of my gel pen holders and failing, I used a mini Crayola marker with a pencil gripper to draw on my paper.


Bottom right coupon did not print very well, so I left it out of the book.  Had I not just spent a half an hour trying the other pens, I probably would have had the patience to re-do that coupon.
Who am I kidding....Tanner would not help "bake" the cookies, he would "eat" them anyway!!

I cut the cover out of patterned cardstock.  I cut the title out of dark blue cardstock.  I kept the template from my title and ran the letters through my 1" Xyron.

I used the template to line up my letters.

Perfect titles every time!!

I scored the cover and assembled the coupons inside.

I used a dark blue ribbon to bind the coupon book.  Here you can see the inside pages.


Tanner will love giving this book to his Mimi and Papa for Grandparent's Day!

What do you do to celebrate Grandparent's Day?


August 21, 2012

Gift Bag!

Hi!!  This is Lori from Scrappin'MyStressAway!!  This week at Sweet Sassy Diva's, our theme is Back to School projects.  I bought some extra school supplies and hand sanitizer to take to Tanner's Back to School night/Meet the Teacher night.

I started out by cutting a piece of red cardstock to fit the front of the bag (8x10 for this bag), then cutting the school book paper 1/4" smaller to layer on top.
Next, I grabbed my Gypsy and grabbed these books from the Recess Lite Cartridge sized to 2.41 inches.

I cut them out using red, blue, green and white cardstock.

I grabbed the Back to School image also from Recess sized to 3.10 inches.

I cut them out using red, blue and green cardstock.

I put the images on the bag using my ATG adhesive.

Here is a sneak peek to what I put inside (so far)....maybe I should have used a bigger bag!!
In our school, they can only require the basic school supplies for our children.  I know that the teachers provide most of the extras out of their own pockets.  I like to donate what I can...plus I just LOVE back to school supplies so it's a win-win!!!

Thank you for having me over today Bobbi Jo!!

August 14, 2012

Sing!

This week, our theme at Sweet Sassy Diva's is One Word Title.  Lori here from Srappin'MyStressAway with a layout of my son's kindergarten music program.  They sang and danced to several songs.  It was so cute!!!


I started out by printing this musical note paper from Vintage Papers on my Cricut Imagine.

I had at least one head (from the parents in front of me) in every picture I took, so I trimmed the best one up a bit and cut four others to 2 x 2.5 inches.  


I grabbed my Gypsy and Quarter Note and got to work.

I spelled out "SING" with the notes sized to 1.25 inches.  The piano is sized at 2.18 inches.  I moved the layers around so I could cut out each layer in a different color.

I had a little trouble with the blue paper.  It was a bit thinner than the black and red cardstock.  I re-cut it with thicker cardstock and had better luck.

I wanted to add something behind the notes, so I cut out these banner shapes from Beyond Birthdays sized to 2.25 inches.  I used the same blue cardstock.

I needed somewhere to journal, so I put a 3" music note on my mat.  I also wanted to add a few more musical symbols in black.  The treble clef and microphone are both sized to 1.88 inches, and the music notes are sized to 1.94 inches. 

Tanner is in the top row, second from the right.

I pop-dotted the piano and journaling "note" to the page.

I added some tissue tape from Michaels behind my musical note letters and pop-dotted them down.  A little twine connected my banner flags together.

I added some twine to my photo booth row of photos.  I also tucked the microphone behind the photos, but layered the music notes on top.

I made some flags out of tissue tape.  The strip of photos is pop-dotted to the paper, so the tape is just tucked behind.

This was our music teacher's very last program as she retired at the end of the school year.  We are excited for her to begin her retirement and excited for our new music teacher as well!!

Thanks Bobbi Jo for having me over today!!

July 19, 2012

Lake Fun!

Hi!!  Lori here from ScrappinMyStressAway!!

This week at Sweet Sassy Diva's Blog our theme is Vacation Anyone?  I took these pictures at my brother's cabin in May.  The kids were fishing and riding in the paddle boat and having a great time!!

I started out with my Gypsy:

I saw a layout on Pinterest that had some paper waves and wanted to make some.  I found this border from Martha Stewart Elegant Cake Art and sized it to 4.8w x 1.58h and welded two together.  I hid the inside cuts with Hide Contour.

I cut out LAKE FUN from Martha Stewart Birthday Cake Art sized to .88 inches.  

I cut out three waves and trimmed 1/4" off of one and 1/2" of a second wave in order to stack them.

I used this bright paper from Quick Quotes to layer my photos with!

I inked the waves with Opaque ink.

Next, I added some fish and fishing poles from the accessories on Everyday Paper Dolls.  I sized the fish to 2.41 inches and 2.18 inches.  I sized the fishing poles to 2.06 inches.

I added the sun and chair from Life is a Beach.  The sun is sized to 1.82 inches.  I copied another sun and hid all of the cuts except for the circle pieces to create a circle layer.  The chair is sized to 1.82.

I cut out the pieces from my cardstock scrap stash.

I inked the fish with a little pink and put them in between the waves.  I tied a knot in orange and blue twine and tucked it behind the waves.

I added the title on the water and put the chair in the corner.  The fishing pole is just above the fish.  I adhered one to the layout and pop-dotted the second one on top.

I changed the background paper to something more subdued and added a touch of orange twine.

I hope you enjoyed my layout from our mini vacation.  We usually all go to the Ozarks together every August, but this year (after 13 years) we are not able to all go.  It makes me a little sad, but I look forward to future family vacations!!!

Thanks Bobbi Jo for having me over today!!!

July 10, 2012

Diving into customization!

Lori here from ScrappinMyStressAway.  My wrist is healing!!!  My cast is off and I am in the middle of PT!  I am getting my range of motion back and can now cut with scissors YAY!!!  They told me that crafting will help :)

This week at SweetSassyDiva, our theme is Lazy Days of Summer.

This summer my son Tanner took swimming lessons with a friend (and daycare kid of mine).  I really loved their instructor Drew.  He worked with Jadon a lot and let Tanner do the tricks he wanted to do.  He had endless patience with them which is rare from a high school boy!!  I wanted to boys to give Drew a special card to say thanks.

I used the card feature from Life is a Beach and sized the cards to 4 inches and 5 inches.  Because of the paper I used that looked like pool water, I set up the cards to cut out a little different than my normal "paper saver" mode.

The cards do not have layers for the swimmer, so I created my own.  I copied and pasted the card after hiding the extra cuts I did not need.

Here is a screen shot of the "cut" page.  I cut out the images in cream, red, yellow and blue cardstock scraps.

I used a micro pen to draw in the face, mask and details on the trunks and flippers.  I used Glossy Accents for the mask and the bubbles.  I had to get out my scissors to cut out the bubbles, leg and flipper that overlapped the frame of the card.

For this guy, there was a layer piece inside the cutout of the card.

Here are the two cards side by side.  I had so much fun making these simple cards!!