I felt a bond with SweetSassyDiva a while ago on facebook as we are both working hard at losing weight. We have been passing back and forth praise and support! I have been a follower of her blog for a while now and when she announced a Design Team Call I thought it sounded like a lot of fun. I wanted to make sure I had enough time to dedicate to her blog, so I kind of waited until the last possible minute to decide.....and I am so glad I did!!! I am super excited to be on her Design Team!!! Here is my Day at the Beach Layout and how I created it.
Usually I start every layout with the pictures, but every now and then I do it backwards! For this one I started with the paper!!
I used my Creative Memories wavy cutter to trim my blue paper into waves. I adhered the larger wave onto the sand colored cardstock (on the bottom) and pop-dotted the shorter wave on top of it. I tore my blue cardstock for the sky, inked it with Vintage Photo ink and adhered it to the top of the sand colored cardstock for my sky.

On my Gypsy, I opened up a new project with a 12x24 mat. From Life is a Beach, I put two beach chairs (3.32w x 3.00h) on my screen. I flipped one of the chairs sideways so they are leaning towards each other. I put a beach umbrella on the screen and sized it to 4.29w x 4.29h. I grabbed the sun from Just Because Cards and sized it to 3.13w x 6.85h. I grabbed the water duckie tube toy from H2O and sized it and the layer piece at 2.67w x 1.92h. I used Cherry Limeade for my font and put the words DAY and BEACH at 2" height on my mat. I welded "at" on top of "the" (both at 1" height) and then sized a cloud from Create A Critter to 3.09w x 3.27h to fit the "at the" on it.


My favorite part was welding the sand castle border from Life is a Beach to make a border. I opened up Layer 2 and put 2 borders on my mat at 1" height. I used my Y axis to line them up and welded them together. Then I changed the width to 12" for a true 12" border. I started my border at 1" and ended it at 13" on my 12x24 mat, then cut out two.
I glued down the sand castle borders just above the waves.
On Layer 3, I copied and pasted the umbrella two times because this cart does not include layers. I hid the inner cuts on one of the umbrellas and cut it out in silver paper. I trimmed off the pole of one of the other umbrella that I cut out in the star paper. I used purple stickles to outline the seams on the umbrella.
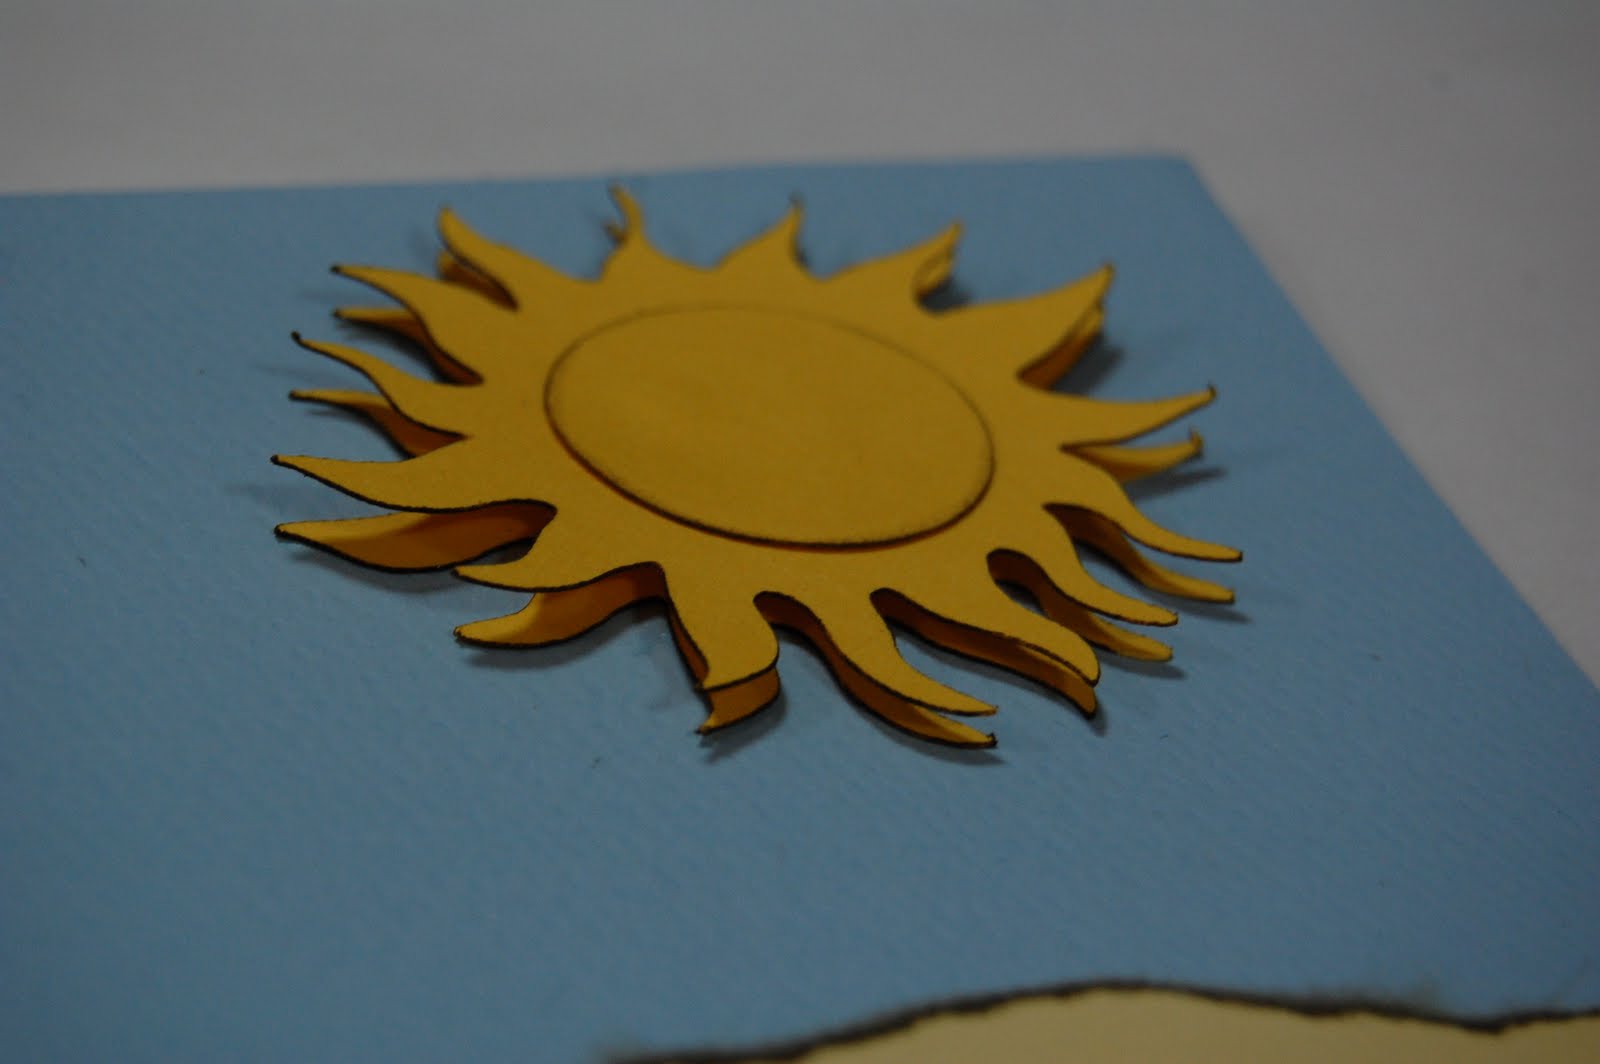
On Layer 4, I copied and pasted two suns, the duckie pieces, the chairs and the cloud. I also put a circle on my mat at 1.26w x 1.21h for the inner circle of the sun. I cut out the sun pieces and the layer of the duckie in yellow and the rest in white. I inked the sun pieces and the chairs in Vintage Photo, and the cloud in light blue. I assembled the pieces of the sun and duckie. I set the chairs and umbrellas on my page to make sure I had enough room for my 4x4 photo.
On Layer 5, I copied and pasted the title which I cut out of dark brown cardstock. I used the same cardstock to mat my photos. I used the negative piece as a guide to glue down my title perfectly straight.
I glued the "at the" onto the cloud.
I put the duckie in the water off the page and trimmed him up.
I glued down one of the sun pieces and then pop dotted the other sun piece with the circle on it.
I made a towel out of some red ribbon and I glued it over one of the chairs. I glued down the chairs and umbrella. I pop-dotted the chair on the right so it looked like the umbrella was further back.
I added some baker's twine on the photos. I also added some Jolee's sea shell/gem embellishments on one corner of each photo and along the sand castles.
In order to fit my photos in the layout, I trimmed two of them to 4x4. These photos were from our vacation last summer in the Ozarks.
And here is my "Beach" project, a 2-page layout that is almost as cute as the boys in the photos!!!
Thanks again SweetSassyDiva!!! I am so excited (did I say that already?) to be on your design team!!