MyFreeCopyright.com Registered & Protected
Showing posts with label Pink by Design. Show all posts

February 13, 2011

Made with Love!

Valentines is the time for love. Appreciating those that are close to you and those that are far away. What better way to express your feelings with a handmade card for your loved ones?! I just love to paper craft(as I have said many times)! I cant wait to make my projects as soon as they pop into my head. It usually takes me a full day to make just one card. I cant just slap some paper together and call it good. It is a representation of my skills and talents and I want it to look great. I want that 'wow' factor! I made this card using some embossed paper I got over 2 years ago that has sat untouched. I think it turned out well. Of course there are always a few tings that I think I would change for next time but all in all I give it the stamp of approval! ~*Jen*~


~*Recipe*~
~*black and white card stock
~*red rose embossed paper from Leaving Prints
~* misc heart cuts from my Cricut Cartridges worked up on my Gypsy
~*white lace and black yarn
~*Pink by Design stamp


I started out by picking my Valentines type colors and paper~
Planned out my cuts on my Gypsy~

Laid out my paper on my mats and cut~

Got a little paper doily for the envelope~


Filled it full of 'love'~

Put together my ribbon on my card~


Glued on a ribbon bow, the envelope and the greeting :D The result is a fun card to share with anyone!

January 27, 2011

Toilet Paper Roll Valentine Mini!

Hey everyone! Kristin from The Crafty Kitchen here. This week our project was to make something for Valentines Day BESIDES a card or layout using our Cricut. I made an adorable Valentines Day toilet paper roll mini album using both my Gypsy and my beautiful new blue Expression, plus my favorite new Martha Stewart punches.


Recipe:


*Toilet Paper Rolls (I used 4)
*Patterned Paper
*Cuttlebug or Big Shot (for flattening rolls)
*Martha Stewart Elegant Cake Art Cartridge
*Cricut Classic Font Cartridge
*Tags, Bags Boxes and More Cartridge
*Scalloped Flower Gypsy File
*Cinch or Bind It All
*Martha Stewart String Lace and Cherish Hearts Border Punches
*Martha Stewart Heart Lock and Key Punch
*Martha Stewart Flourish Heart Punch
*Pink By Design "All Girl" and "Scripted Year" stamp sets


I have more pictures and a video showing all the pages on my blog!


I wish I could claim ownership of the gorgeous flower file, but I got it from Jen from her awesome blog. It's just like the Sizzix 3D flower die, but you can cut it with your Cricut at whatever size you want!


January 20, 2011

Wrap up these favors!

Hey everyone! Kristin from The Crafty Kitchen here. This week at SSD our challenge was to create something for a Valentines Day Party. I love to make a little something for my friends every year around Valentines, and this year I've decided to do chocolate covered Oreos. I wanted to make a cute box and tag to package the cookies in, and the boxes on Wrap It Up are just too cute not to use. I used the blank box on the cartridge, and then used my new Valentines Day Martha Stewart Punch All Over the Page called Ruffled Heart to punch a window on every side. These punches are so easy to use and make a perfect window!


The tag is also from Wrap It Up, and I used clear Stickles on the flower. The "To" and "From" stamps are from Pink By Designs Christmas Wishes Stamp Set.

January 13, 2011

Bundle of Joy!

Hello all!! This is Carissa!! My favorite cartridge right now is Nursery Tales!! I love to use pop dots on the layers!! Super easy!! I cannot wait until more Imagine cartridges are released!

My project is a card set for my neighbor. She is due to have her baby this week!! I love how everything matches! Card, envelope and tags!


Recipe:

Imagine Art Cartridge Nursery Tales

3 sheets of white cardstock

Envelope - 4 3/4 x 6 1/2

3-D Dots

Adhesive

Ribbon

Stamp: Pink by Design Scripted Year

Chestnut Roan Colorbox Chalk Ink

Scoring tool or scoreboard


The envelope was lightly taped closed just in case.


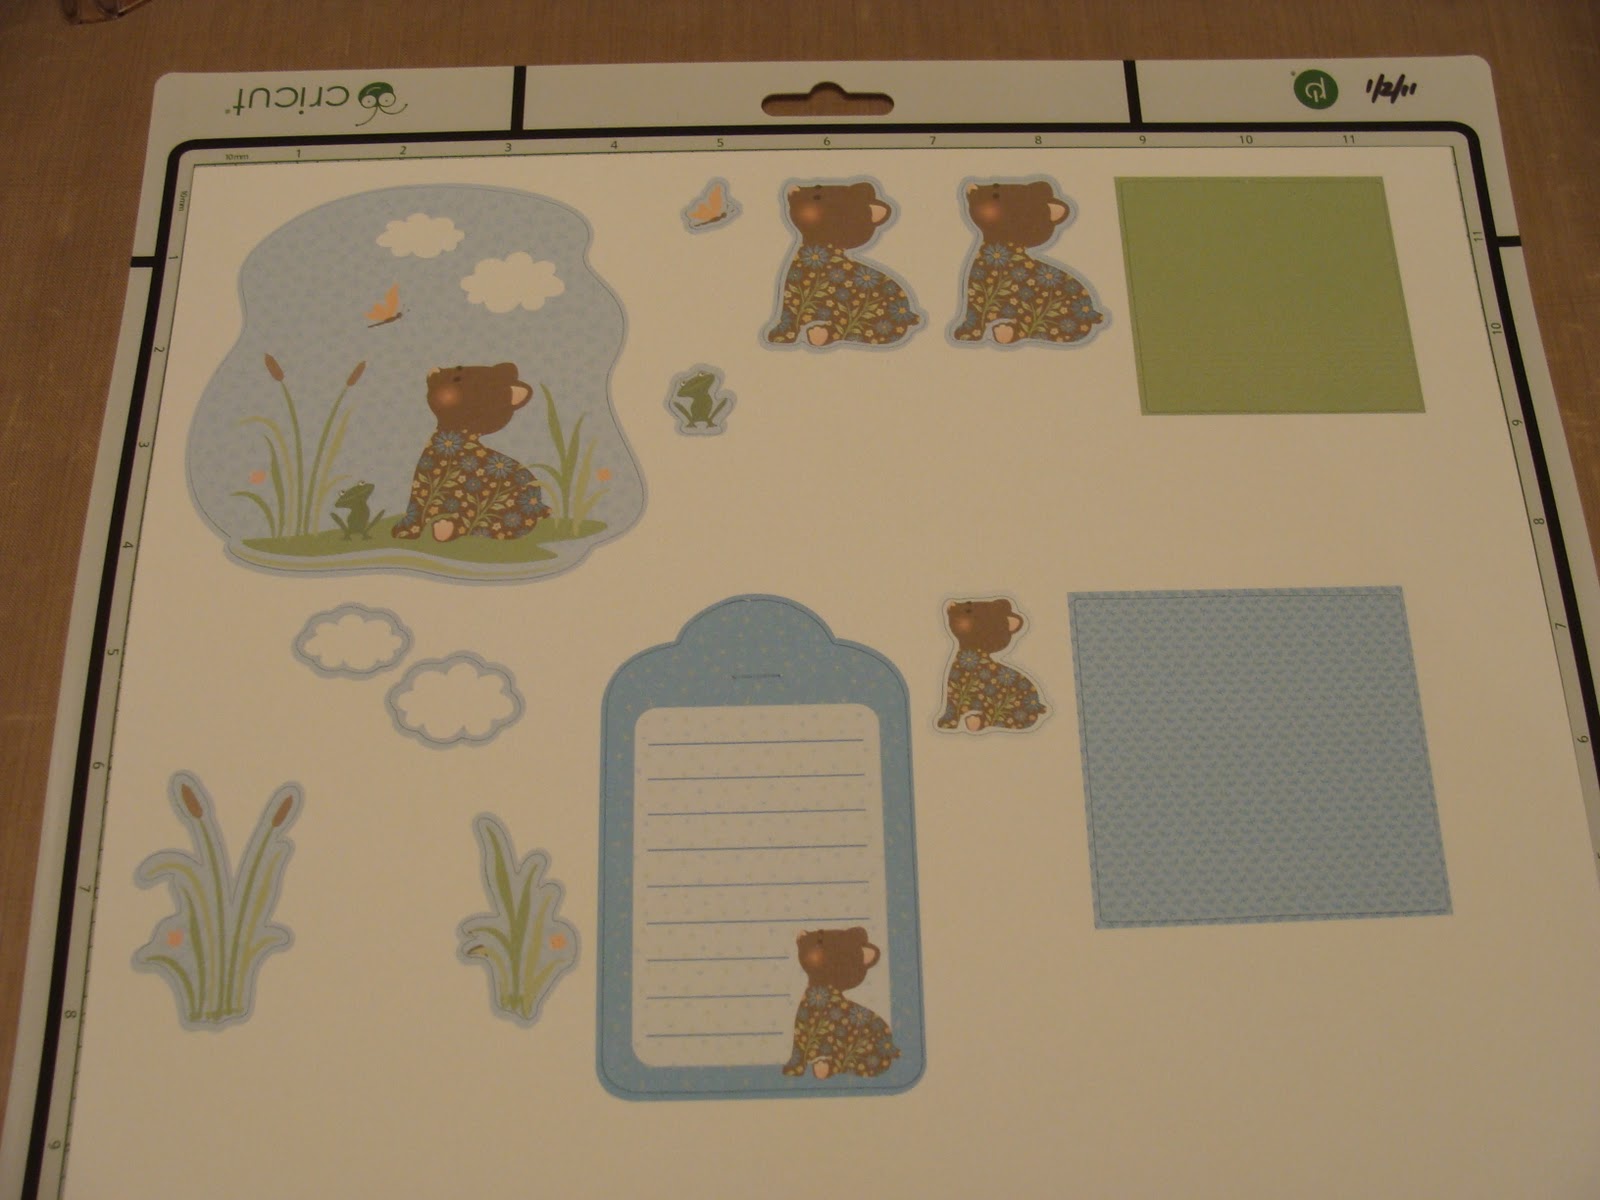
The bear is a layer from the main card image using the print only feature at 1.0


Love how it turned out!! I will definitely be doing this more often!!


For the card base start of with a piece of cardstock 9 x 6 1/4. Then score at 4 1/2.


The main image was cut at 4.0, added the layers plus another bear for the inside of the card. I didn't use the grass layer but had to print it because I wanted the clouds. The two squares are the mats for the sentiment. I used the square from the stock images and flood filled with a solid and a pattern. The light green cut at 2.5 and the light blue cut at 2.8. The tag was also cut at 4.0 and a bear layer added.


This is the background for the front of the card. Square from the stock images flood filled with pattern cut at 6.0. I trimmed it down to 6 x 4 3/8 to fit on the card.


This square is from the stock images flood filled with pattern cut at 5.0 for the inside of the card. Trimmed down to 5 x 4 to fit. I also cut a scrap of white cardstock to 4 1/2 x 3 3/4 to write your message.


Here is the inside of the card.


I used adhesive on the ribbon to attach to the front of the card and then added a piece of tape to both ends of the ribbon to keep in place.


The sentiment was stamped on the light green mat and then cut to 1 x 1 3/4. The light blue mat was cut to 1 1/4 x 2 1/8. 3D dots were used on the sentiment and the layers.


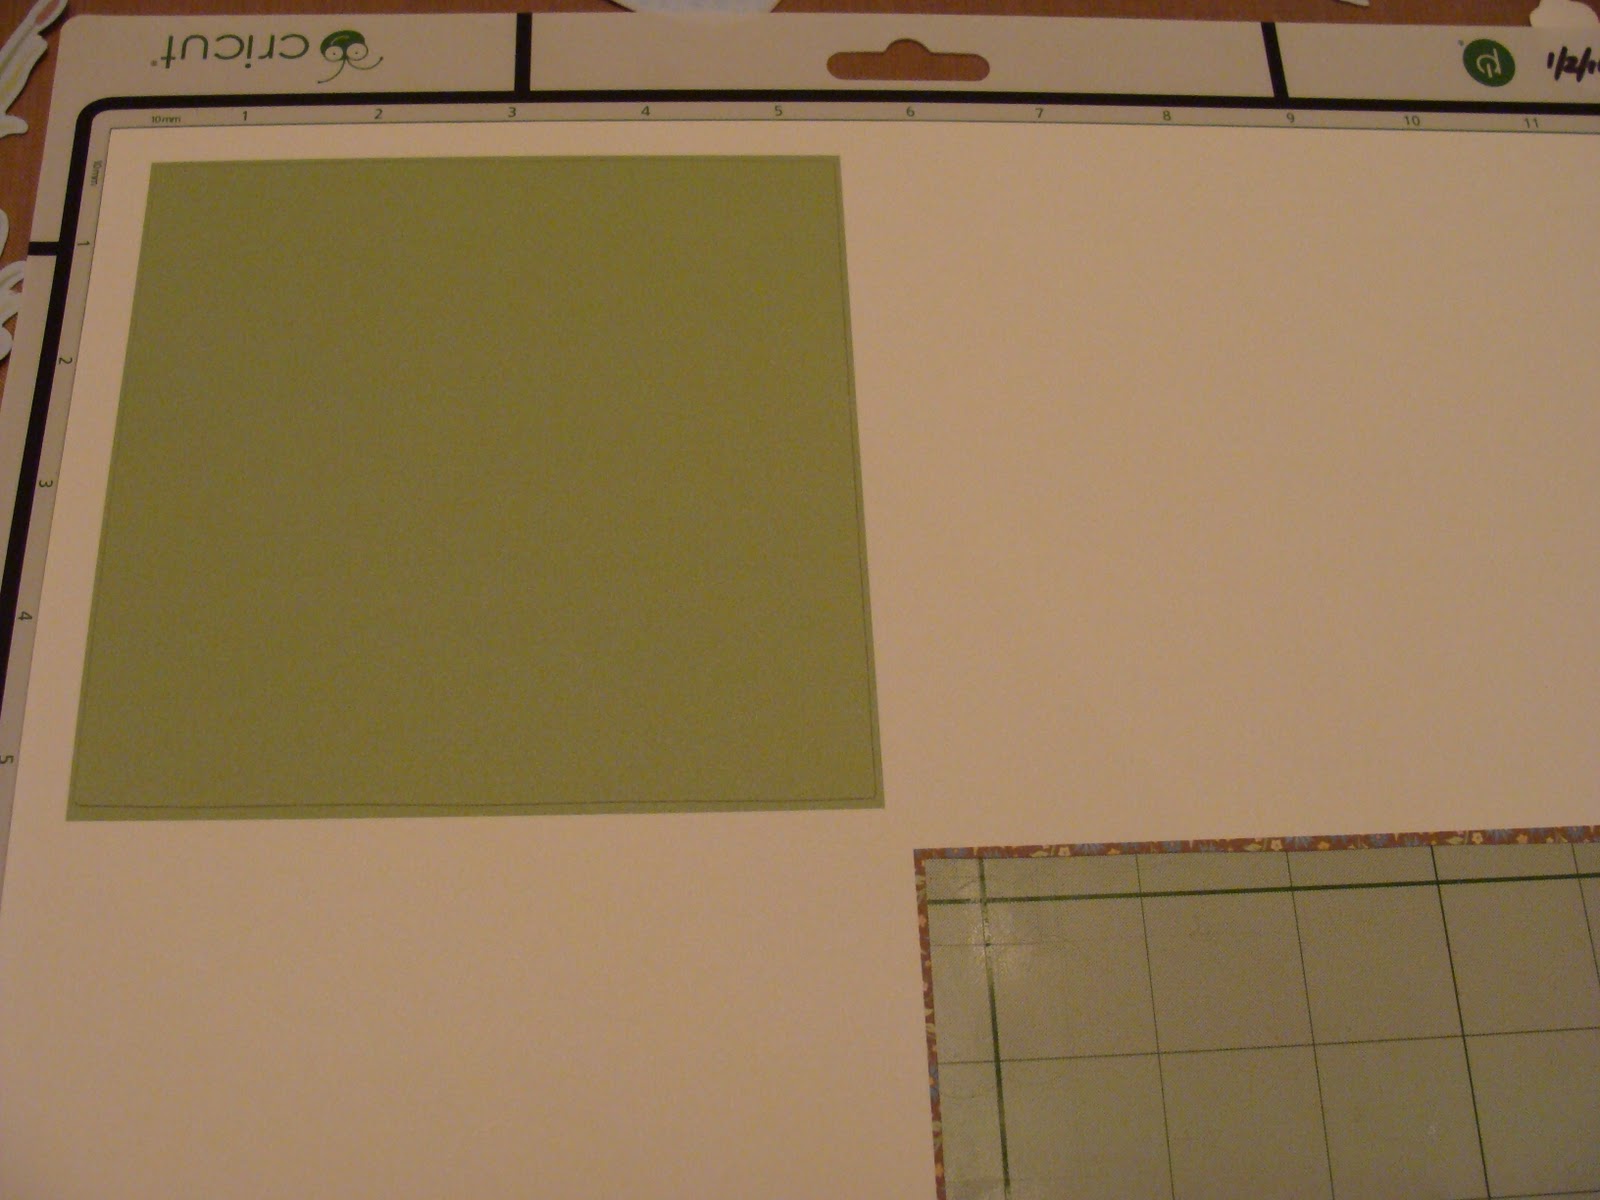
The tag for the gift bag was cut at 4.0 along with the layer of the bear. I had another piece of dark patterned cardstock and cut it out to use as a mat. Just to see how it would look. You can see both in the picture at the top of the post.

Enjoy!! Have a great week!!

January 10, 2011

Spring has Sprung!

I am so excited, to be a Guest Designer for the Sweet Sassy Diva today!

She is a super-sweet lady who always has something encouraging to say-- and she has some amazingly cute projects on her blog too! We both have a lot in common-- we both stay home, have 2 kids, love to be creative and love to cook and eat great food! :)

Today I have a sweet layout to share with all of you!


Recipe:
DCWV Green Stack
Martha Stewart Border Punch
Imagine Lori's Garden Cartridge
Divine Twine from Pink by Design Store
Buttons from Papertrey Ink
Stickles
Spring has Sprung stamped sentiment from Pink by Design Spring Has Sprung Stamp Set


Pink by Design Store now carries Divine Twine, 29 Sentiment Stamp sets, and has just introduced a Stamp of the Month Club!


Look at the yummy twine colors!  You can also get it in a smaller assortment package.  Be sure to check out
Divine Twine from Pink by Design Store

There are also specials on the stamp sets through Tuesday. While you are there, check out the exclusive stamp of the month set and tote before they are gone!

For more information to enter for a chance to win awesome prizes including cricut cartridges, Click here!  SweetSassyDiva is doing a drawing for a cricut cartridge. Be sure to enter for the drawing!

January 8, 2011

Winter Fun!

Click Picture for blog hop and chance to win awesome prizes including cricut cartridges!
Photobucket
It is extended to Monday.  Be sure to enter for the drawing!


Hello everyone! Kristin from The Crafty Kitchen here. This week our challenge was to either recycle something into a project, or use something new we got for Christmas. I decided to do BOTH!


I got an i-Top for Christmas and thought this would be the perfect project to break it out on. I made a snowman using white paper scraps out of the three different sizes of Brad Daddies and gave him buttons and a face using black Stickles. The twine actually came off of a package a received for Christmas :) The sentiment is from Pink By Designs "Winter Fun" stamp set, and I punched it out using an EK Success Punch. The snowflakes are a Martha Stewart punch, and I used my i-Rock to put some bling in the center. The patterned paper is from DCWVs Winter Combo stack, and the craft cardstock is Recollections. I absolutely love my new i-Top, I can't wait to combine it with my Cricut for some stunning cards and projects!

December 6, 2010

Baby it's cold outside!

Hey everyone! Kristin from The Crafty Kitchen here. This week, we needed to use our AWESOME new Post-It Craft paper to make a Christmas card. I decided to make the mitten from Simply Charmed entirely out of the paper and put it through the ringer. Let me tell you how much I LOVE this paper. It cuts beautifully in the Cricut, embosses beautifully in the Cuttlebug, and is GREAT for flocking and glitter. For his cuff, I kepIt the paper on the backing sheet, ran it through my Xyron and added Martha Stewart white flocking. I used the Swiss Dots folder on the green and added MS pink glitter for his cheeks.


The adorable patterned paper is from DCWVs Christmas Combo stack. The green mat behind it is also Post it paper, which is AWESOME because I didn't have to break out my ATG and use my precious tape to adhere the big square!!


I used Pink By Design's "Christmas Wishes" stamp set for the cute sentiment, and then I topped it all off by popping the mitten up on an Action Wobble! He looks SO CUTE wobbling back and forth on the card. I have a video showing you exactly how to use the Action Wobbles below.  They are so easy and add such a nice touch to the card!


If you are on email subscription, you can click on the picture below, to view the video.


I hope you enjoyed Kristin's card and video.  I have to agree that Baby, it's cold outside!!! Phew! It is cold all the way down to Florida even tonight.  Stay warm inside and enjoy a warm beverage and hop along the blogs and archive posts. 

- SweetSassyDiva