MyFreeCopyright.com Registered & Protected
Showing posts with label MS Holiday Cake. Show all posts

May 3, 2012

Diamonds....

are a girls best friend! And a great accent for a card maker. This weeks challenge at SweetSassyDiva is to use our Cricut to put some diamonds on ... whatever we chose.

I honestly had no plan when I sat down at my craft table today. I opened the Cricut booklet that happened to be out on my table - Holiday Cakes - and found this great diamond border  with a top layer. I then went to my Stampin Up Color Coach and picked a random combo... Pink Pirouette, Bravo Burgundy and Sahara Sand.

I cut the diamond border at 1.14 inches, 3 times and the top layer once. I laid the ribbon on the card front then attached the borders over the top and tied a bow. I made the flower from Art Philosophy at 4.5 inches ( next time I would make it smaller). I added some  extra loops and tails of ribbon and then used my hot glue gun to attach the flower. A bit of hot glue in the center to hold the clear rhinestone and some gel gen dots and this simple card is done.


I  hope you will come back tomorrow to see what my fellow DT members have created!

April 24, 2012

Many Thanks Cards!

Wow, the 'wild card' theme for this week took me a while... couldn't pin down a specific thing I wanted to do. I always need thank you's so here we are :) So simple and easy to make that I am thinking I will make a few sets to have as quick gifts.
The flower border is from Holiday Cakes page 52 , cut at 1 inch from card stock from my stash. I added some dots and dashes with various gel pens. The Many Thanks is from Wild Card ( had to do it, LOL ) page 42 and is cut at 5 inches from black card stock. I made the card from Kraft card stock, sponged the edges with a brown ink and made a faux bow from white seam binding. I am thinking these easy cards are going to need a cute box of some sort for giving as a set. Guess that will be my next project.

Melinda

January 26, 2012

Neighborhood Vignette!

Hello everyone. Mindy here from Grammies Craft Room. This weeks challenge nearly had me sitting on the sidelines 'cause I'm not a scrapper.... I know, I know, how can that be??? I love making cards and other paper crafts, but I leave the scrapbooking to my daughters! But Bobbi Jo took pity on me and is allowing me to follow the Scene It challenge in my own way. So I decided to make a wall hanging. The base for this is a wooden plaque that I bought years ago from the Dollar Spot at Target. I put it on the shelf in the closet and pretty much forgot about it. Until this weekend when I decided to use it for this project.
See why am choosing to cover it up :) I started out by covering it with a pale blue, layering it with the rolling hills, house, tree, fence and grass. The tree is a stamp from Stampin Up that I cut out. The hearts are from a Stampin Up Punch I popped the birds up with dimensionals and added some white gel pen dots. I sponged the edges of the grass and the hills and did black stitching on the fence.
I think I am going to hang this in my craft room.... It could use a little wall treatment :) After seeing these pictures, I think I am going to be adding some stickles and glitter and maybe some glossy accents... It looks a bit to plain to me :) The details: House ~ Pop Up Neighborhood ~ 4 inches Fence ~  Pop Up Neighborhood ~ 1.6 inches Rolling Hills ~  Pop Up Neighborhood ~ 4 inches Grass ~ Paper Trimmings ~ 2.5 inches Birds ~ Holiday Cakes 1.5 inches. All paper is from Stampin Up So, do you have something put away that would make a good background for a scene using some of your favorite Cricut cartridges??? If you are a scrapper, then jump in with a one or 2 page 12 x 12 layout. But if you are layout challenged, like I am, then find something to cover with a scene of your choice. When you are finished, I hope you will put a link to your creation in the comment section so we can stop by and check it out !

October 14, 2011

Falling in Love with Autumn!

I have to tell you, this is a VERY exciting day for me. This is my first project as a Design Team Member for Sweetsassydiva !

My name is Mindy Dickinson. My blog is called Grammies Craft Room ( I share my craft room with my 6 yr old granddaughter when she comes to visit )

I have only just been asked to join my first design team for Crafting When We Can Challenge ~ .
I am a Cricut Circle member and my message board name is NJGrammie.
I am mother to 3 grown kids and grandmother to 2 little ones. I have been crafting since I was 7 and my grandmother taught me to crochet. Since then I have tried just about everything out there. Paper Crafting and Counted Cross Stitch are my all time favorites.
I work as a ‘lunch lady’ to allow me to buy and play with all my crafting toys.
My husband bought my Expression for me 3 years ago and I haven’t looked back since. I now also own the E2 Anniversary edition ( bought at launch), the Imagine(bought at launch) and Gypsy (my favorite!). I have been playing around with the Craftroom and have been able to cut with the E2, but haven’t tried with the Imagine yet.

I have approximately 75 cartridges and use about 20 of them regularly. My most used cartridge has to be Kate’s ABCs. My summer project was to make a cut book with all the images from each cartridge in it... hahaha not finished !! maybe next year ! I have gotten more selective with my cartridge purchases, choosing ones that have a wider range of images.

I like to make cards, but I love to make ‘other’ projects the best.

My crafting style is definitely on the simple side. I know I am drawn to projects that seem to be on my crafting level. I love to look at the fancy, sophisticated ones, but I go back to the simple ones time and time again.

I hope you will visit my blog and see all the other things I have done in the past year.

This weeks challenge is to make a wreath. Since fall is my favorite time of year, of coarse I would be using warm, fall colors.


I started by using my Gypsy to make the wreath form. I put 2 circles from George and Basic shapes on my mat and sized them at 9.5" and 6.25"


and cut out using a 12x12 sheet of brown card stock.


Next came the leaves... lots of leaves...that are from Everyday Paper Dolls, cut at 2" in 3 colors. I used metalic gel pens to bring out the cut lines and sponged the edges in Close to Cocoa from Stampin Up. Then I embossed them using the Forest Branches Cuttlebug folder.


The acorn image is from Holiday Cakes. I cut the shadow, base and shift layer all at 2". For the base and shadow I used the auto fill feature on the Expression 2 . I set the paper size to 11" x8.5", chose the image, sized to 2", then hit the auto fill.


I did the same thing with the shadow and shift layer. After I had the 3 layers cut out I decided that I wanted more than the 2 basic colors, so I got the Gypsy out again and pulled up the shift layer. I did the hide contour thing so I could cut the berries in one color then the leaves in another color.


I inked all the edges and put them together. I have some spare parts to use in future projects :)


Some feather yarn for the hanger, a few rhinestones and some of the extra small leaves were added and I called it done.


One thing I want to mention is I used my hot glue gun to assemble this project. I have found that things that have been embossed are hard to attach with double stick tape or regular paper crafting glue.


My supply list:
Cricut Cartridges : Holiday Cakes, Everyday Paper Dolls, George and Basic Shapes
Cards stock - Stampin Up -More Mustard, Cajun Craze, Really Rust, Early Espresso, Mellow Moss, Tangerine Tango, Crumb Cake
Ink - Stampin Up Close to Cocoa
Patterned paper - old Stampin Up Designer paper
Sakura Gel Pens - Lime Star and Gold
Feather Yarn
Rhinestones

Melinda

January 29, 2011

Altered Journal!

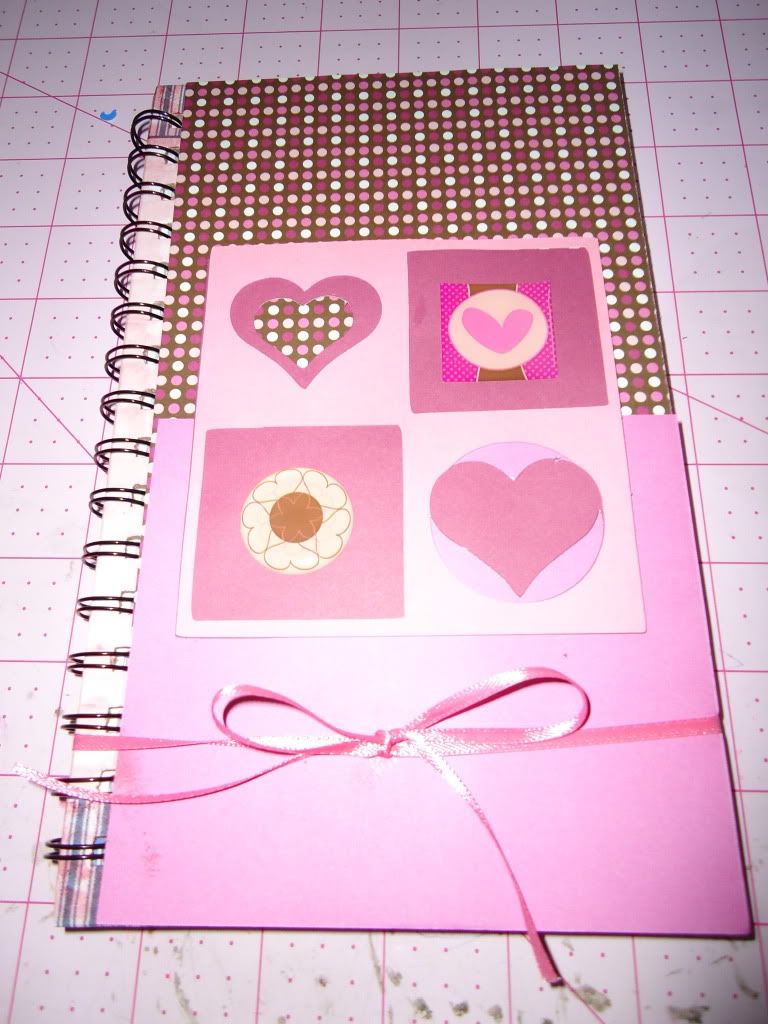
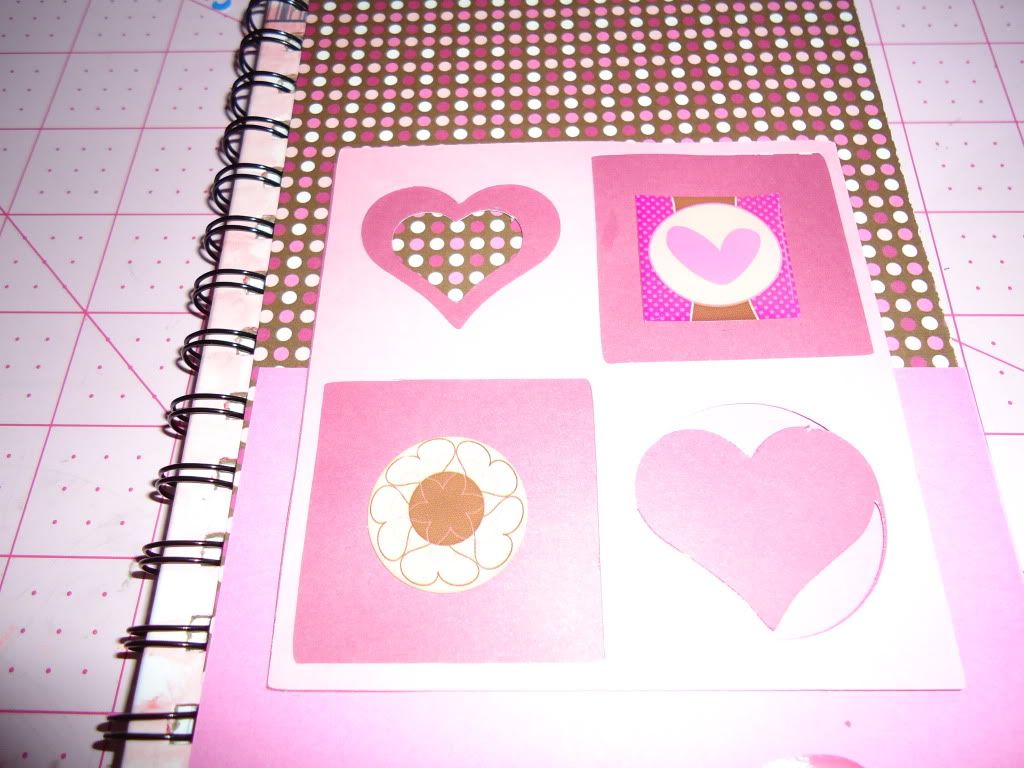
Hi Everyone, Rebecca here. This week Sweet Sassy Diva asked her DT to create a Valentine's Day project other then a card or layout. So I made this altered journal.
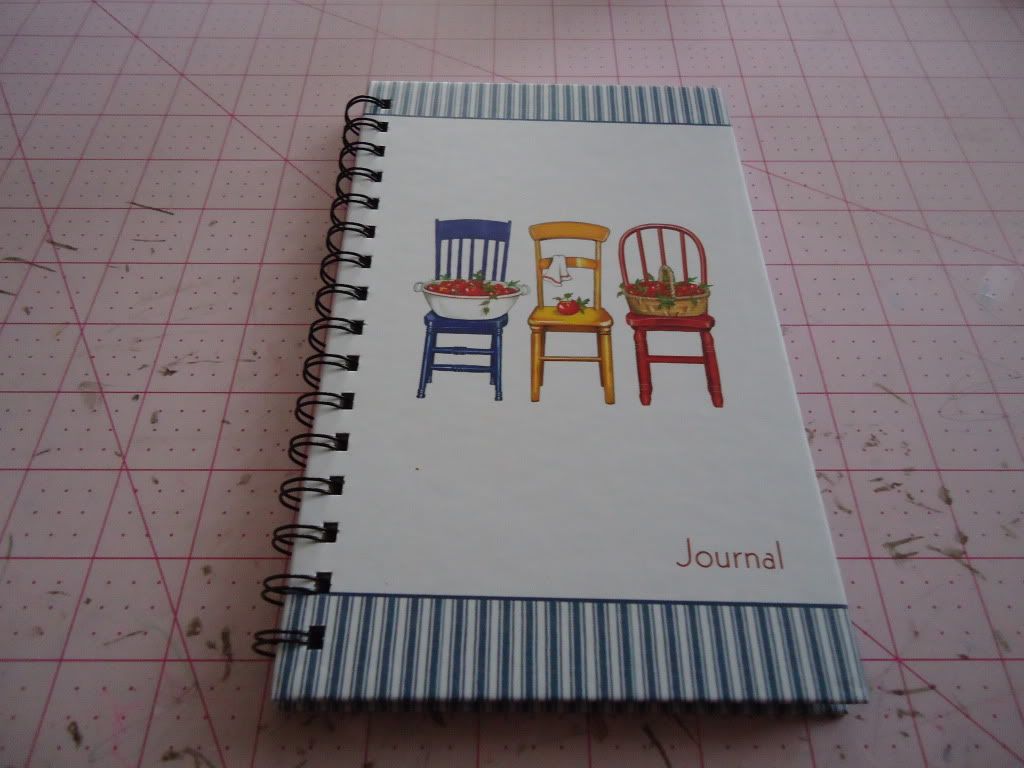
So for this project I picked up this journal at Michael's in the dollar section, WOOHOO gotta love the dollar section.
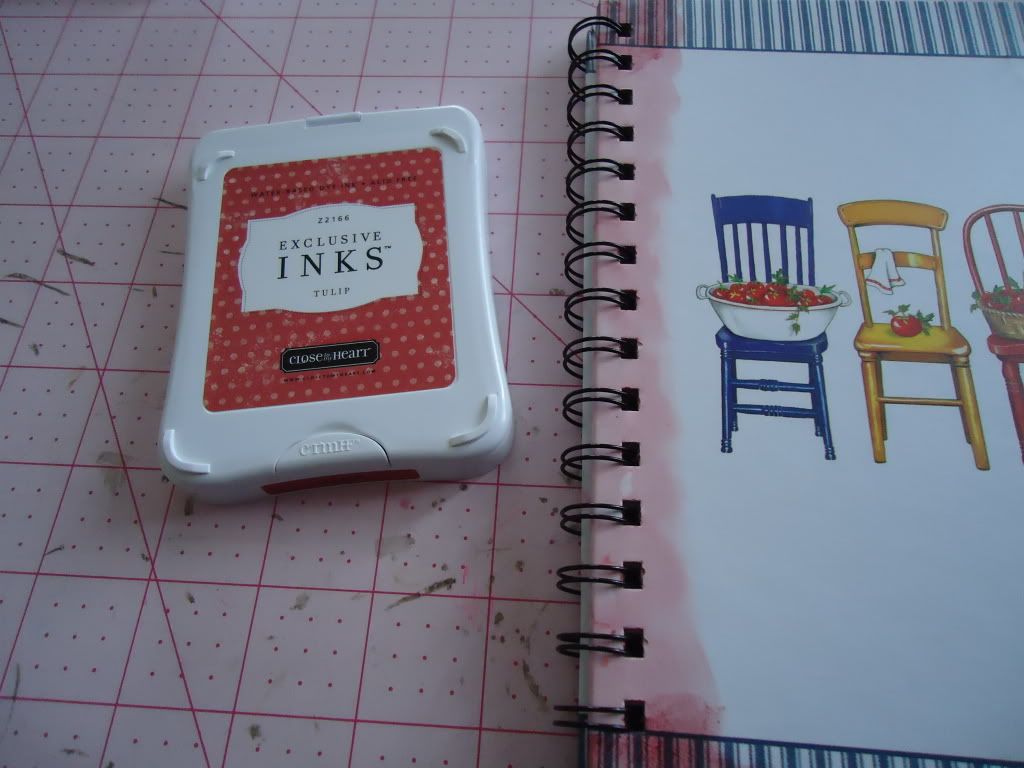
So the 1st thing I did was inked the edge with the spiral so that I could cover the rest of the cover with paper.
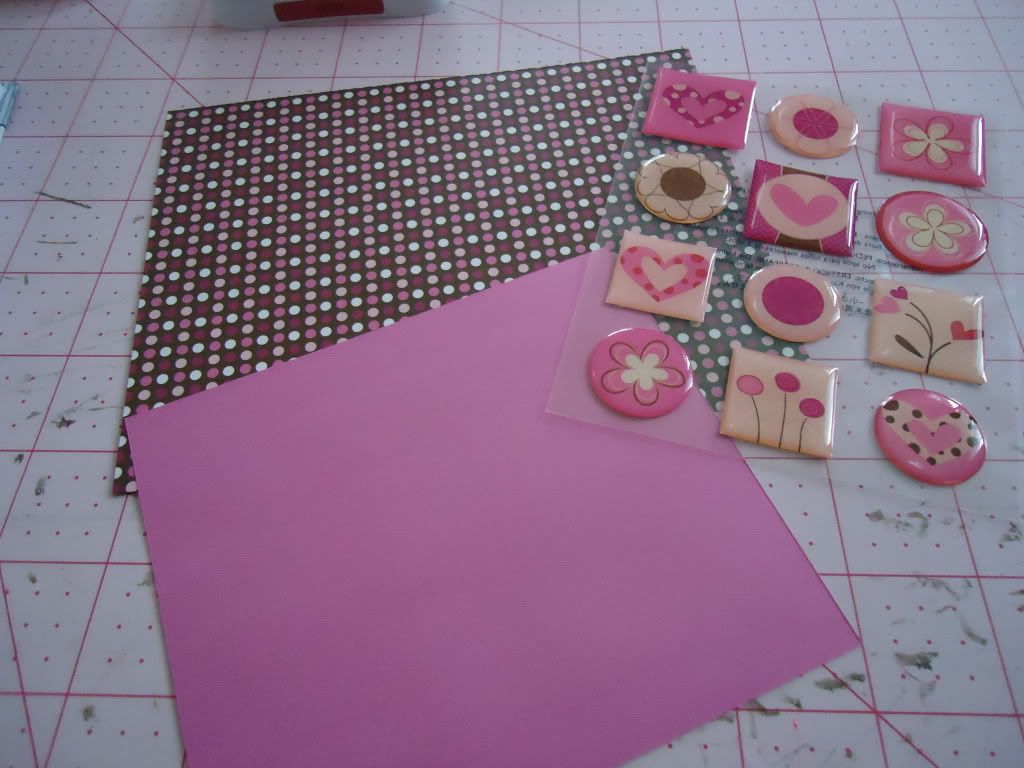
This is CM paper and stickers from the LOVE paper album kit they make. These were the left overs from the kit.
For this project I used Martha Stewart Holiday Cake cartridge. I cut the images at 4". I used the Love/Valentines image. This is how I set up the paper for the cuts, but I ended up not using the brown paper.  Instead of using the XO and Love sayings that were cut out I used the CM stickers.
Recipe
1- premade journal
CM Love paper album kit/ paper and stickers
light pink and dark pink cardstock
dark pink ink
Martha Stewart Holiday Cake cartridge
I hope you all enjoyed the project, it turned out nicely and was pretty easy to make.