MyFreeCopyright.com Registered & Protected
Showing posts with label Cricut Imagine. Show all posts

August 14, 2012

Sing!

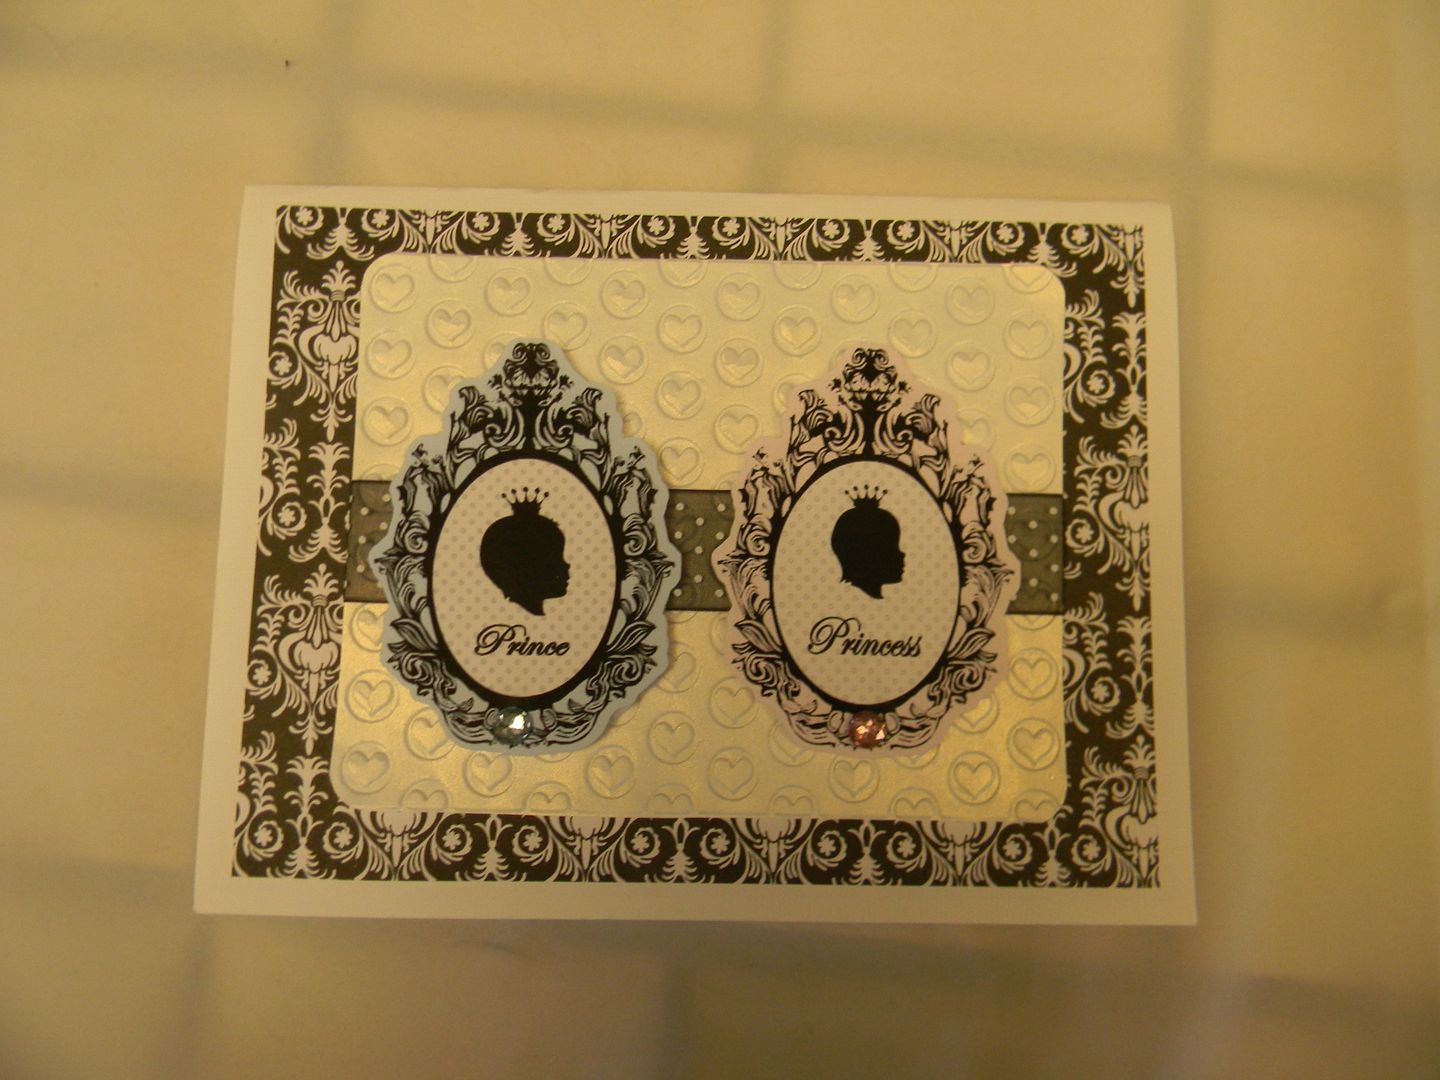
This week, our theme at Sweet Sassy Diva's is One Word Title.  Lori here from Srappin'MyStressAway with a layout of my son's kindergarten music program.  They sang and danced to several songs.  It was so cute!!!


I started out by printing this musical note paper from Vintage Papers on my Cricut Imagine.

I had at least one head (from the parents in front of me) in every picture I took, so I trimmed the best one up a bit and cut four others to 2 x 2.5 inches.  


I grabbed my Gypsy and Quarter Note and got to work.

I spelled out "SING" with the notes sized to 1.25 inches.  The piano is sized at 2.18 inches.  I moved the layers around so I could cut out each layer in a different color.

I had a little trouble with the blue paper.  It was a bit thinner than the black and red cardstock.  I re-cut it with thicker cardstock and had better luck.

I wanted to add something behind the notes, so I cut out these banner shapes from Beyond Birthdays sized to 2.25 inches.  I used the same blue cardstock.

I needed somewhere to journal, so I put a 3" music note on my mat.  I also wanted to add a few more musical symbols in black.  The treble clef and microphone are both sized to 1.88 inches, and the music notes are sized to 1.94 inches. 

Tanner is in the top row, second from the right.

I pop-dotted the piano and journaling "note" to the page.

I added some tissue tape from Michaels behind my musical note letters and pop-dotted them down.  A little twine connected my banner flags together.

I added some twine to my photo booth row of photos.  I also tucked the microphone behind the photos, but layered the music notes on top.

I made some flags out of tissue tape.  The strip of photos is pop-dotted to the paper, so the tape is just tucked behind.

This was our music teacher's very last program as she retired at the end of the school year.  We are excited for her to begin her retirement and excited for our new music teacher as well!!

Thanks Bobbi Jo for having me over today!!

August 11, 2012

Sweet Baby!

Hi my crafting friends Brenda here, this week at Sweet Sassy Diva we were issued the challeng of anything goes with the Cricut.  Well I took it one step farther and went with anything goes with the Imagine as well. lol  So  I have two very simple cards for you today. Simple because I had a very busy week and weekend so I needed to keep it simple to be able to just get them done and because I was too tired to get very creative!  I'm sorry ahead of time about that.  lol  I don't have a tutorial for you today as these were very simple to do. I started with a white A2 base, added a black mat and then printed some pink poka dot paper from the Imagine cart "Baby Boutique" by Teresa Collins.  I'm sorry this picture looks so washed out, the card in real life doesn't.  Next I used the print and cut feature of the Imagine and printed and cut out the baby carriage with it's layers.  I popped each layer which was the carriage top and the wheels.  Stamped "sweet baby" on which is a set from My Pink Stamper. Added some bling and called this one done on the front.


For the inside of my card I used the same papers and then used a stamp set that came with Art Philosophy.  I cut out my shape from the Art Philosophy and then stamped it.  Colored in my block with a black marker and added the "precious baby girl".  That's it,so simple!


For my second card I started with a 5x7 card base.  I printed the pink and brown card stock from the Imagine cart Word of Mouth. I added a 6.25 x 4.25 mat from a DCWV mat stack for my last layer.  Then I print and cut the phrase from Word of Mouth and popped it up on my card.  I didn't cut any layers on this phrase, cut a base cut.  Added some bling and called it done.


I hope that you have gotten some inspiration from the DT at Sweet Sassy Diva this week.  If so get out those Cricut machines and go created something no matter how simple it might be.  It's so rewarding to create no matter how detailed or simple.  There are so many great Cricut carts to get you going.   Send someone a hand made card and make their day!!  Happy crafting!


July 5, 2012

4th of July!

Happy 4th of July!!!!

Here is a cute layout I made using my Imagine.  I used Enjoy the Seasons and Stand and Salute.  All the patterned papers are from the Imagine.  I love using just white CS.  Pus I have a million ink refills to use.  :)


April 9, 2012

You are Truly Original!

Hello peeps! I hope you're having a fabulous Easter week. Tina here today with another hen and chick project from the sweetsassydiva Design team.

I decided I wanted to play a little with my Imagine and my new Stamp of the Month from CTMH. I think they were a perfect match.


I started by filling my images with patterns from the Kate's Kitchen cart. This is my favorite way to use my Imagine. I mean how easy is it to create matching pattern papers without going through my whole stash. I put in all the layers I needed to create my chicken and then filled them with the colors I wanted. I did a couple of extra so I could use my leftovers for another card. Hop on over to my blog tomorrow to see it. Then I chose the layers I wanted and put her together. I inked the edges, added a little pen work and some chalk for her cheeks and she really came to life.


I stamped the crosshatch background with grey wool. The words were stamped with barn red and then cut out. I adhered then onto an oval milepost shape. I love these little corrugated cardboard shapes to create with. The green base was printed with the Imagine as well.

I hope you enjoyed my card today. It totally makes me laugh because I can't keep from thinking KFC Original or Extra Crispy. LOL Of course my daughter looks at me like I've lost my mind. haha

Here are all the Details:
Cricut Imagine
Imagine Kate's Kitchen
Cricut Animal Kingdom
CTMH Milepost Shapes
CTMH April Stamp of the Month You Are
CTMH Cocoa Ink Pad
CTMH Barn Red Ink Pad
CTMH Grey Wool Ink Pad

You can click on the links above to order any of the supplies I used or click the shopping cart below to shop for any of the great CTMH products.*


Hugz


*Please note that http://sweetsassydiva.com/ does not receive any proceeds from your Close to my Heart purchase nor does it in any way help to support the cost of bringing you the free tutorials and content. 

March 23, 2012

Create a Critter Layout!

Hi this is Misty from The Daily Scrapper.
I had fun using my piecings from the Imagine swap for this layout. My Imagine will only print so I had to be creative for the swap and make the papers and then cut them from my Expression using a regular cartridge. It was fun to do. I used Create a Critter for the cuts and Hopscotch for the papers.
Thanks Guys Have a great day.

March 5, 2012

Chase a Rainbow!

Hi all you crafty friends!  Brenda here from Friends Craftin with Friends.  This week on Sweet Sassy Diva we were challenged to use things like a rainbow, leprechan, pot of gold, green, etc...So I knew right away what I wanted to do.  One New Year's Day we had a shower come through, then the sun came out and with all the black angry clouds was this beautiful double rainbow!!  So of course I had to take pics of it.  So that is what inspired my layout for today. I knew that I wanted to print some cloud paper as the base to my layout and I did so by using the Imagine cart "Best Friends".  Searched my Gypsy for images and to lay out my design. The cart I ended up using was "Simply Charmed" and one little cloud from "Pooh and Friends".
 Next I cut out, inked and assembled all my images. For my inks I used Tim Holtz distress inks: Vintage Photo, Scattered Straw, Barn Door, Pumice Stone, and Peeled Paint.
Here are my die cuts all assembled, inked and stickled. 
Then I printed my base paper from my Imagine using the "Best Friends" cart.  For the bottom of my base I used some green pattern paper from DCWV Farmers Market stack, love this print-reminds me of St. Patricks day. lol
Next I started placing my die cut images around on my base papers like I had it on my Gypsy.  The only thing I ended up changing was a pic size and orientation.  I thought I had taken a vertical picture, but I didn't.
Thanks for joining us here at Sweet Sassy Diva, I hope you find lots of inpiration this week!  Be sure to come back and see what all the Design Team has in store you for, I promise you won't be disappointed!!

February 28, 2012

Baby layout!

Hi Crafty friends!  Brenda here from Friends Craftin With Friends, the design team was asked to make a project using at least one button for Sweet Sassy Diva.  I wanted to do a layout of our newest grand daughter that was born on her Papaw's birthday.  So I started off with a crude, and I mean crude sketch. Yeah, I'm no artist! lol But it was something to give me a starting point.
Then I decided to make it a double page layout and I got the idea to punch my paper using a Martha Steward around the page punch. I also used the ticket punch from SU.
So I printed my paper that I wanted to punch and started punching.  But......
....the punching didn't work out so well for me. lol  I didn't want to waste the paper that I had already printed so I trimmed off the botched punching making my paper size 10 1/4 by 10 1/4.  Punched again and only had one little boo boo this time.  I can live with that, I can always hide it with an embellishment.
So with a smaller punched paper I had to add another paper cut down to 11 x 11 inch and I printed that a solid color of green.  Layered it with my base and my top layer.  Ok that is working alright-not what I had in mind but it is working.  Next I printed and cut the images that I wanted to use from my Imagine using Nursery Tails. I also printed my pics I wanted to use too.  I played around with my images and buttons for a while.
I finally had to go with just two pics and I also didn't use all my embellishments.  Here is how the finished layout turned out. I didn't fill out all the info on our grand daughter since it was on the internet. Over all I am pretty pleased with it after all the problems I had getting going.  It isn't how I envisioned it with the sketch, but I made the most out of my mistakes and I am ok with it now.  Always try to take your mistakes and turn them into something you can use.  It is always worth a try!!

February 24, 2012

Nursery Tails Toss!

So, yesterday Suzanne shared a Gender Reveal Party Invitation with you. Today, she is sharing a second card choice with you. 

The second card is made with my Imagine and the Nursery Tails cart.
I cut the house page at 7.7 with my Gypsy to fit on my card.  
It was too wide and I didn't want to distort the picture so cut the sides to use and threw away the center piece.  I cut the girl and boy medallions at 2.5 at the same time. 
Here is the front of the card.   You can see the piece that was cut out of center 
I also added a dress, oneside, and bibs at 2 inches to the inside flaps.  
The medallions are popdotted so they can be removed.  
I added some tiny blue and pink safety pins.  For this one they are asked to wear the medallion to vote for whether they think it is a boy or a girl.  
Hope you enjoyed my cards and ideas.  I can't wait to see what the rest of the DT makes this week for the Invitation Challenge.  

February 23, 2012

Gender Reveal Party!

Suzanne here.  This week the challenge at Sweet Sassy Diva is to make an invitation.  I actually was asked to make a couple invites for my oldest daughter and son in law as they just recently found out  they are expecting their second child.  They were thinking it would be fun to do a gender reveal party so I made two different invites for them to choose from.  If you don't know what this is let me explain. You invite your family and friends to a party to reveal whether you are having a boy or girl.  Usually by cutting into a cake that is either blue or pink.  That way you share the joy of finding out the gender together.  
For the first card I used my Imagine and Baby Boutique.  
I embossed the white background with a Sizzix love folder.  
The prince and princess medallion were cut at 3 inches and pop dotted.  
I then found black and white paper and black with white polka dot ribbon in my stash.  
This is a mock up of the inside.  

Stop by tomorrow to see the second card that I made for this occassion.

\


SweetSassyDiva here and I think it's so exciting to hear that Suzanne will be a grandma again.

What better reason to celebrate!  I recently joined Lot18 and saw it's only by special invite.  I think that everyone should be able to get the amazing deals on high-quality, hard-to-find wines and gourmet foods at great prices!  I guess that they limit the membership so that the members have a chance at some very limited quantiies of wonderful products that they want without worrying about  them disappearing too quickly.  I just can't not share with my wonderful readers and especially not you. so....shhhhhhh click here for the special invite! There is not a cost to join and you will get some special offers that are not out there for everyone and at great discounted prices up to 60% off on some too!


February 11, 2012

Love you!


Hey this is Misty over at The Daily Scrapper
Today I had fun making this Vintage Valentines Day card. I love the pink music note papers on the Heirloom Imagine Patterns Cart so I combined that with the Doodlecharms heart and tada easy peasy card!!! For those of you curious I do still have the same working Imagine woot woot!!!

February 4, 2012

Using Reverse Cuts!

Hello!  Michele here from http://www.michelegreen.com/.  I'm excited to be sharing with you on SweetSassyDiva today!  The challenge is to create either a layout with hidden journaling or a card with a hidden sentiment.  I took this as the perfect reason to get some scrapping done!  I know, this is a Halloween layout in the middle of all the Valentine posts you are seeing around but it's where I'm at in my latest scrapbook.  I also believe that people who scrapbook in chronological order like myself, are not always scrapping along with the current seasons or holidays. 

Today I am sharing with you a  double 12x12 layout that I made:


Awhile back I made 3.5" squares of the patterns available on the Cricut Imagine carts I own.  This created a bunch of papers that have 9 holes in them.  I kept them to try a layout just like this.  I love the way it turned out!


Since these are just white pages, I inked the papers with black ink, then orange.  I then went back and added more black to the corners and places where the rows crossed.

Once I had that done, I arranged my photos and cut them to be just under 4" square.  This way I could adhere them to the back of the grid.

Next up was cutting the Cricut pieces I wanted.  I used the Wrap It Up cart - tag feature.  The bat and spider tag on this page were cut at 2". 


Eeek is a Studio G stamp, while Boo came from this baby stamp set.  I didn't have any other Halloween saying small enough so I decided to use a Fantastix to ink just the Boo in Booty and use that!


For the right side of the layout, the title phrase was cut at 3", as was the witch tag.  I used orange Stickles on the pumpkin to make it shine. All of the tags have Trendy Twine tied on them. The purple paper is from a Recollections Halloween stack from this past year.


The journaling block was created by creating a card of sorts. I used the Martha Stewart Goo punch to create a fun edge.  The orange card is glued into the last grid space.


I always practice my journaling to make sure it is going to fit before I put it on the layout.  Here, I had a failed attempt at the insert so I used that to practice. 


A funny thing about me is that I always write bigger while practicing than I do on the actual page so I knew my writing would fit just fine.  It was close but it worked!


I hope you enjoyed the layout I shared with you today.  Thank you SweetSassyDiva for having me!