MyFreeCopyright.com Registered & Protected
Showing posts with label Paper Trimmings. Show all posts

May 15, 2012

Happy Birthday!

3 or More Cartridges! How fun is that!! I can't believe that I am saying this, but when I went to start this project I had a hard time finding images from 3 different cartridges that I thought I could put together. Sounds hard to believe, right?


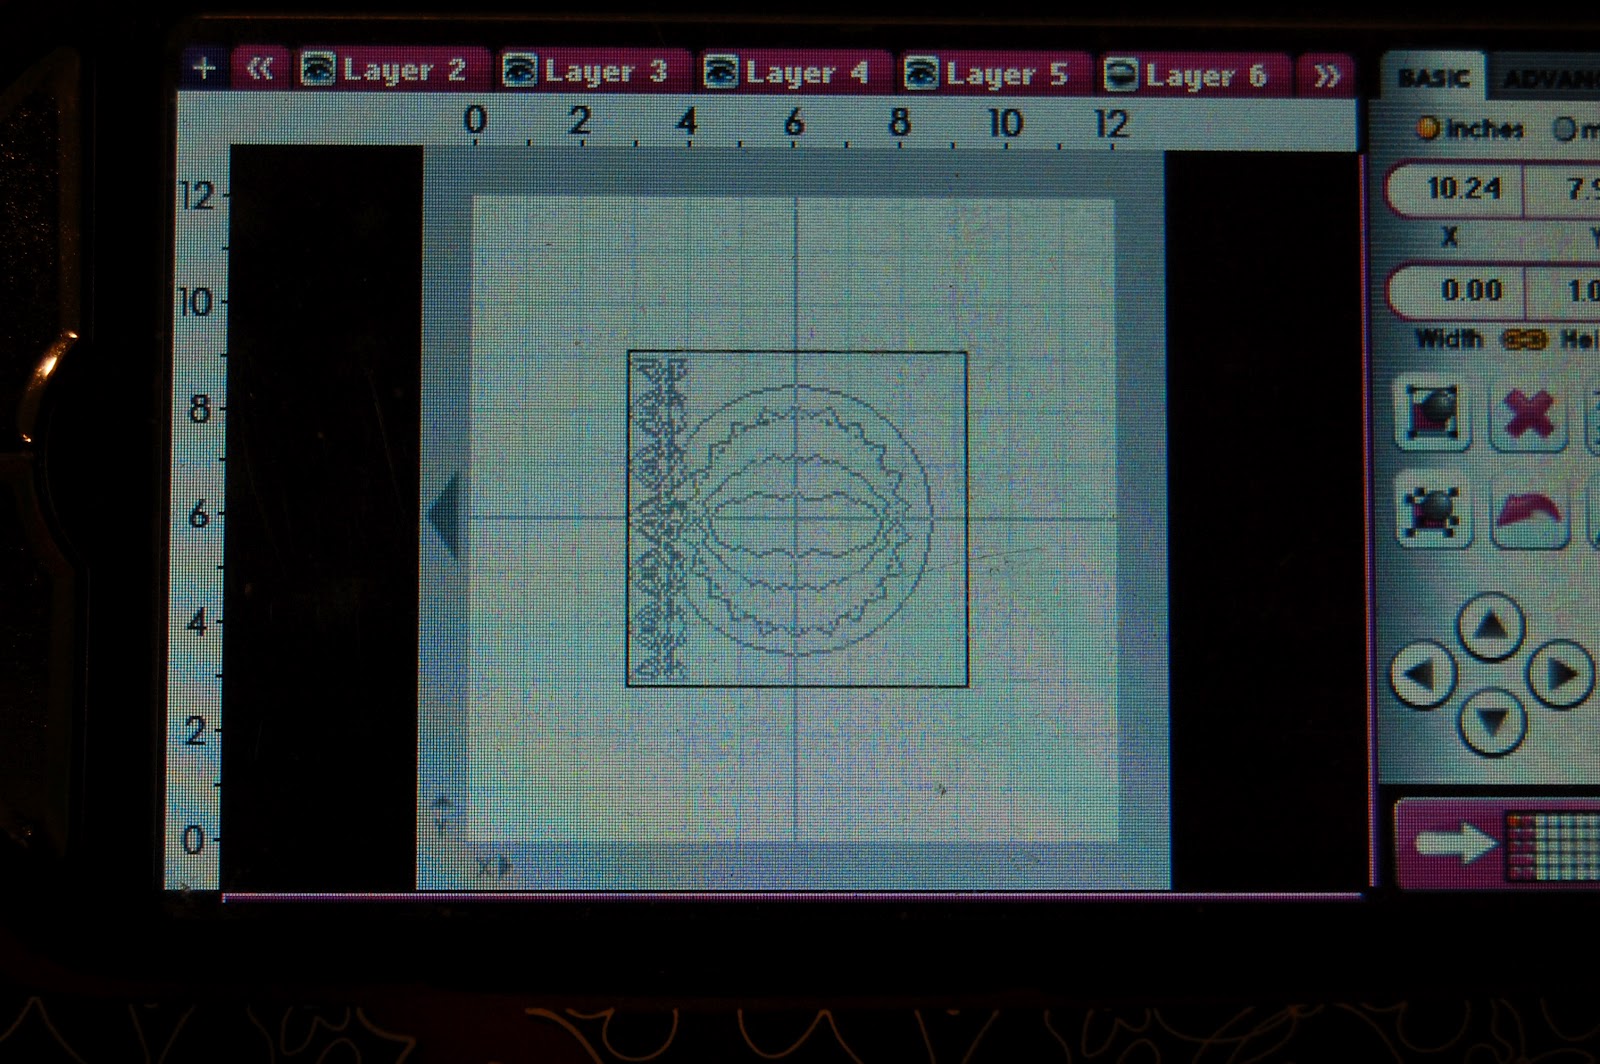
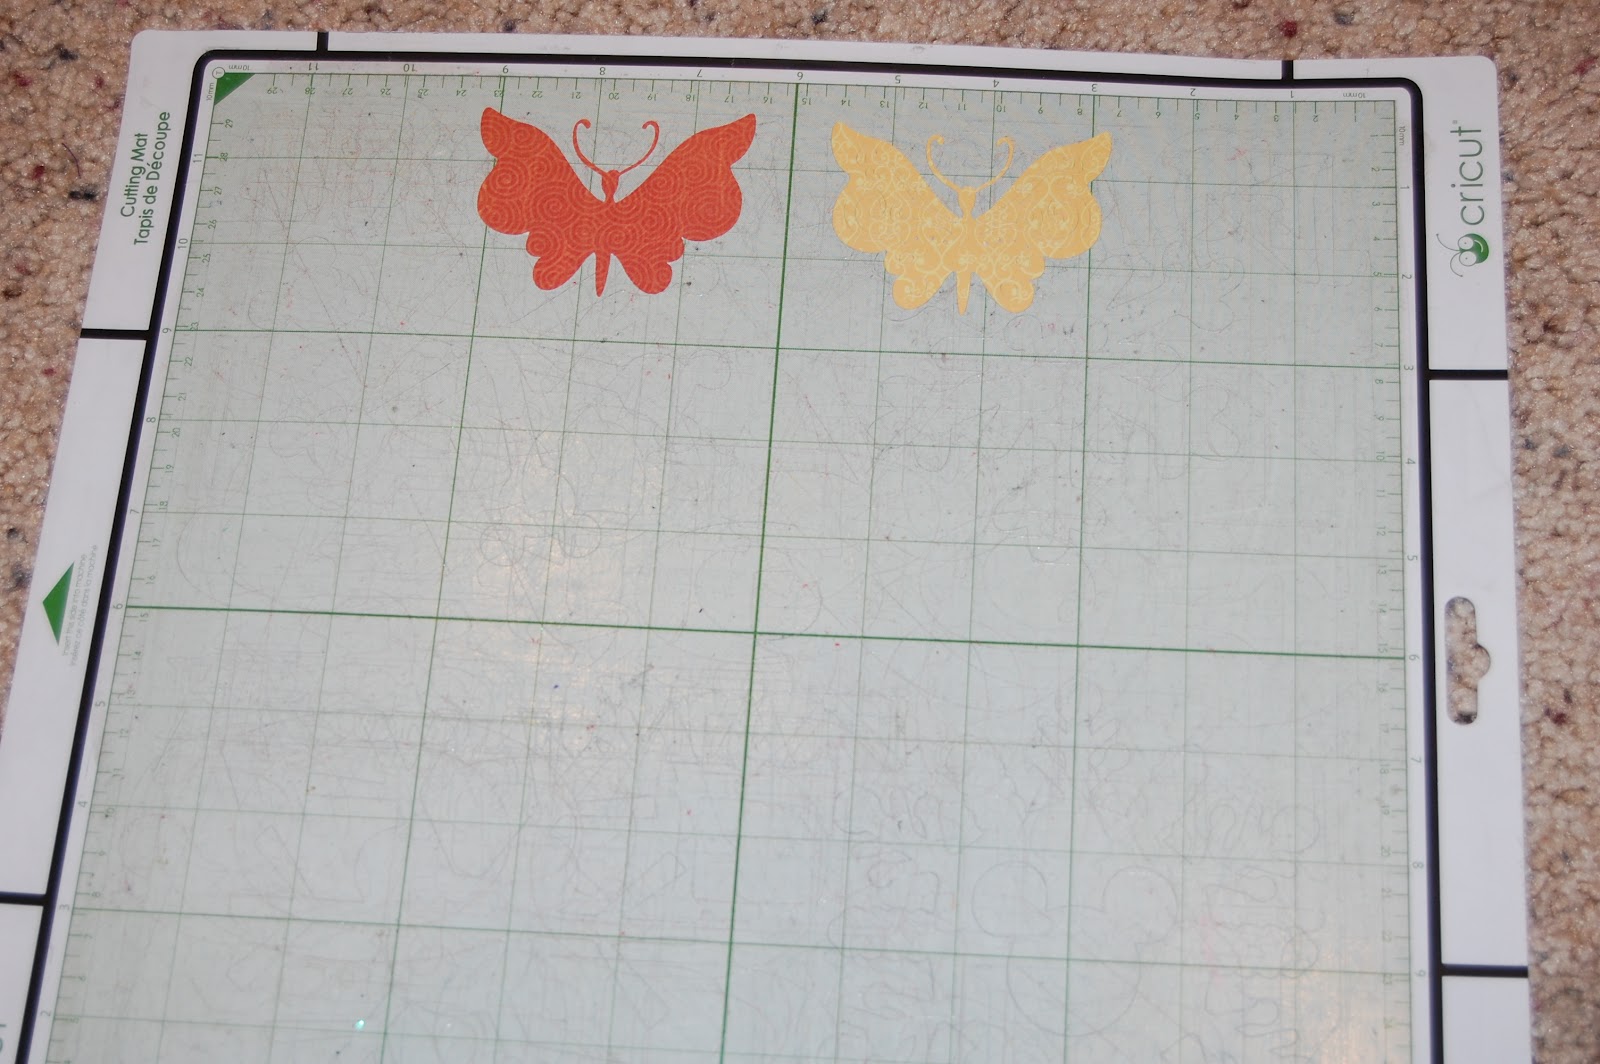
 I started with a card base from Wild Card cut at 5.25". This cut includes the spine piece, which I wanted in a second color so I set it up on the Gypsy so I could hide the parts I didn't want. The doily is from CTMH Art Philosophy cut at 3.35" and the butterfly is from Paper Trimmings cut at 2". I put 3 self adhesive rhinestones down the center of the butterfly and 3 in the upper corner. The sentiment - from CTMH - was stamped on white and centered in the opening from the inside. Some where in blog land I saw a great tutorial on how to stamp inside a cut out like this, but of coarse when I actually wanted to do .... couldn't find it.

As little side note... The doily was cut from the textured cardstock that Walmart sells and It cut out great. I adjusted the settings so the blade was at 6 and the pressure was on high. The mat I used was still pretty sticky so I didn't have to worry about the paper sliding around. I think I am going to experiment and see how small I get it to cut and still look good. I will let you know.

I bet that after I finish this post, I will have a revelation of 3 cart combos I could have done... oh well, I'll save them for another time!

Join it here!

March 18, 2012

Rub-a-dub!

Good Morning! This is Jen, from 3 Cats and a Bug. The theme this week at Sweetsassydiva's; is to follow a sketch. (This sketch is from Scrapbooks etc)
I did stick to the sizes on the sketch. I used the Paper Trimmings for the bubbles border, cut @ 1.1.
I used Splish Splash for the soap bottle~ cut @ 3, fish~ cut @ 3, sea horse~ cut @ 3.5 and rub-a-dub ` cut @ 2.
I used my white gel pen to add stitching all around the outside border and also down the inside of the bubbles borders. I added stickles wherever I could! :)
Thanks for looking!

March 13, 2012

Design Team Challenge: Spring Blooms

Good Morning! This is Jen from ; http://3catsandabug.blogspot.com/ . Today's theme at Sweetsassydiva's is Spring Blooms.
I used Flower Shoppe for 2 of the flowers and one leaf. The rest were flowers from my stash. For those who follow my blog know, I'm working on using up what I have before I buy anything else. To make the flowers from Flower Shoppe, I used the first one on the cartridge, cut @ 3.
I start rolling it with my tool from Hobby Lobby. I like to roll my flowers tight, but that's personal preference.
I added a glue dot to the bottom and the flower is complete.
Complete, but boring. lol I added Strawberry ice stickles to the petals.
I added liquid pearls, petal ink to the center.
From Paper Trimmings I cut 2 floral borders, at 1.5 each. Adding stickles to one border and pearls to another. I also added some left over swirled gems around the flowers.
I cut 4 pictures into various sized circles for something different. The main picture is 4 X 4. The light pink mat is 4 1/8 X 5.75 and I used Perfect Plumeria ink around the edges. The hot pink mat is 4.25 X 6. I added 2 colored circles matted on white for my journaling.
Thanks for looking! Did you apply for the design team? click the picture below and do it today. Photobucket
Still time to hop for a chance at some great prizes. Click the picture below to start the hop.

February 21, 2012

Slider Invitation!

You are invited!!!!  Hi ~ Lori here from ScrappinMyStressAway with a super fun invitation for you!

I saw a slider invitation in Hobby Lobby's  Scrapbooking Magazine (1st Quarter 2012) and thought it looked like fun to make.


As usual, I grabbed my Gypsy and got started.

I lined up all of my elements on separate Layers.  I started with a 6x6 square.  I put a circle at 5 inches on the next layer.  
I put the doily from Easter 2010 on the next layer at 3.13 inches.
I put a scalloped oval from Art Philosophy on the next layer at 2.57 inches.
I put the fancy oval tag on the next layer at 1.25 inches (the size of the coordinating stamp).

I welded two butterfly borders from Paper Trimmings at 1 inch and put them on the next layer.

I opened yet another layer and copied all of the pieces onto one mat to cut them out.

I used white card stock for my doily, orange cardstock for my circle, and scrap paper for the rest.

I cut a 6 1/4 x 6 1/4 square from light blue cards tock.  I cut my striped paper 6x6 and adhered it to the blue card stock.

The blue scalloped oval is cut on 2-sided paper.  I don't like the blue side as much as I thought I would.


I flipped it over!  Much better.

I used the You're Invited stamp from CTMH ~ these stamps come with the Art Philosophy Bundle.

I cut out this butterfly (2.24 inches) from Hannah Montana to attach to the slide.

I only glued the center of the butterfly layer and bent the wings up just a bit.
Here is the closed invitation.  I hope you can come!!

February 2, 2012

Loving You...


Here is a video on how I completed the card.  If you are on email subscription, please go to the sweetsassydiva blog to view.
Melinda

The details for this card are: Card stock 5 1/2 " x 11 15/16" Card stock 3 1/4" X 4 1/2" Border ~ Paper Trimmings 1 x 11" Birds ~ Celebrate with Flourish 1.25 " Heart Topper ~ Cricut American Alphabet .80" Template below:
This is an easy project that has many uses. I  hope you will give it a try.

January 26, 2012

Neighborhood Vignette!

Hello everyone. Mindy here from Grammies Craft Room. This weeks challenge nearly had me sitting on the sidelines 'cause I'm not a scrapper.... I know, I know, how can that be??? I love making cards and other paper crafts, but I leave the scrapbooking to my daughters! But Bobbi Jo took pity on me and is allowing me to follow the Scene It challenge in my own way. So I decided to make a wall hanging. The base for this is a wooden plaque that I bought years ago from the Dollar Spot at Target. I put it on the shelf in the closet and pretty much forgot about it. Until this weekend when I decided to use it for this project.
See why am choosing to cover it up :) I started out by covering it with a pale blue, layering it with the rolling hills, house, tree, fence and grass. The tree is a stamp from Stampin Up that I cut out. The hearts are from a Stampin Up Punch I popped the birds up with dimensionals and added some white gel pen dots. I sponged the edges of the grass and the hills and did black stitching on the fence.
I think I am going to hang this in my craft room.... It could use a little wall treatment :) After seeing these pictures, I think I am going to be adding some stickles and glitter and maybe some glossy accents... It looks a bit to plain to me :) The details: House ~ Pop Up Neighborhood ~ 4 inches Fence ~  Pop Up Neighborhood ~ 1.6 inches Rolling Hills ~  Pop Up Neighborhood ~ 4 inches Grass ~ Paper Trimmings ~ 2.5 inches Birds ~ Holiday Cakes 1.5 inches. All paper is from Stampin Up So, do you have something put away that would make a good background for a scene using some of your favorite Cricut cartridges??? If you are a scrapper, then jump in with a one or 2 page 12 x 12 layout. But if you are layout challenged, like I am, then find something to cover with a scene of your choice. When you are finished, I hope you will put a link to your creation in the comment section so we can stop by and check it out !

January 19, 2012

Happy Valentine's Day!

Hello everyone! Mindy from Grammies Craft Room with you today. The Challenge this week is to use a sketch, and the one that Jennifer provided is awesome. I'm sure I will be pulling it out often.
Lets get Sketch-y
 I started out by placing my border cuts - from Ribbons and Rosettes - on my Gypsy. The larger on is the 2 x 6 inch  and the two smaller ones are 1 x 6 inch. I cut them out from 2 different papers, both from Hobby Lobby, to have a choice of layering, 
Next I used Paper Trimmings for the square - sized at 2 inches and the corner which is 1.5 inches, cutting both in red and white cardstock. I only used the shadow cut for the corner, as once again I wanted it just a little to small for the cut to come out right. I ended up using the little hearts that were left on the mat from the 2 inch border, for the top layer of the corner.
I used heart stamps from Stampin Up on the patterned papers and punched out with the Stampin Up punch. The sentiment is also from SU and punched with their punches as well. The only other embellishments I used was Glossy Accents and some Tim Holz ink on the edges of the border cuts.
I used dimensionals to pop up the square, the corner and the sentiment.
I can't wait to see how the rest of the team uses this awesome sketch. I hope you will give it a try and maybe put a link to your creation in the comments so we can admire your work !!


If you haven't checked out the Blitsy site, you are missing some great crafting deals! It's free to take a peek and never a fee! :D Click here! New items added three times a week.