Some Things I Used
- Cricut
Imagine Cartridge Imagine More - Cricut
Cartridge From the Kitchen - Chalks
- Sewing
Machine - Sandpaper
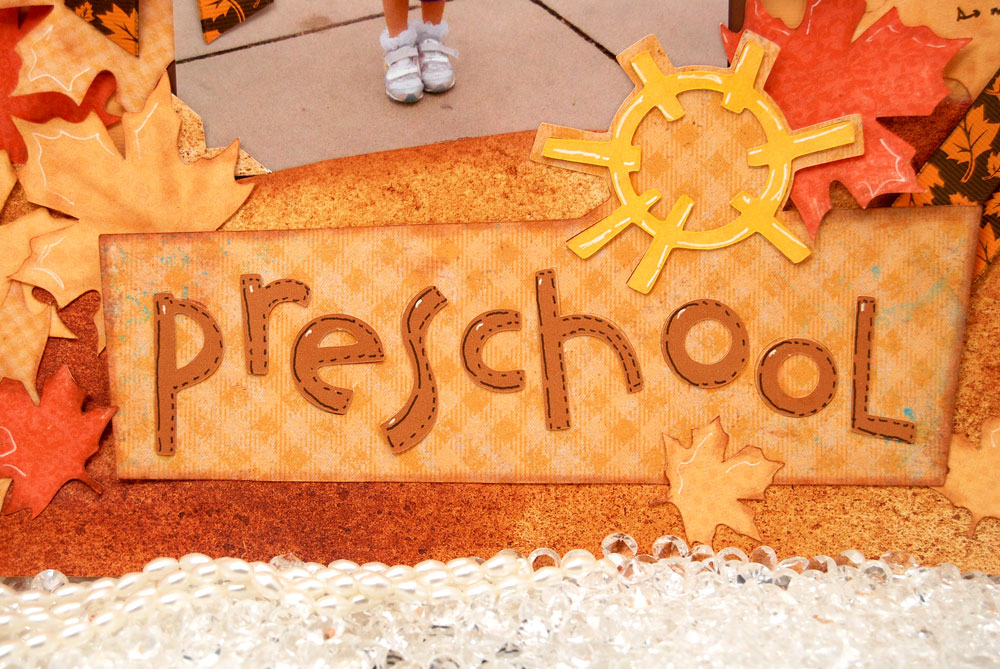
I used
patterned cardstock I bought at Joann Fabrics and sanded and chalked the
edges.
patterned cardstock I bought at Joann Fabrics and sanded and chalked the
edges.
I used the Cricut to print and
cut the eggs, "stir", timer and title. I used a typewriter to tell the
story. I used my sewing machine to decorate the edges and left a little of
the thread hanging. I like to do that because it makes the page feel
humble to me.
cut the eggs, "stir", timer and title. I used a typewriter to tell the
story. I used my sewing machine to decorate the edges and left a little of
the thread hanging. I like to do that because it makes the page feel
humble to me.