MyFreeCopyright.com Registered & Protected
Showing posts with label MS Seasonal. Show all posts

May 21, 2012

Mortar Board!

This week at Sweet Sassy Diva its all about "Graduation".  In a way, its also a graduation for me as I complete a year as part of the Sweet Sassy Diva Design Team.  One year ago Bobbi Jo gave me the opportunity to be on my first Design Team and I have learned so much and had a great time this past year.  However,  I have decided to step down at this time to design on other teams.  Thank you Bobbi Jo and all my design team buddies for inspiring me this past year.   I hope you will continue to follow me and keep in touch on my blog cricutcraftingrammyblogspot.com. 
So for my graduation project I made a neighbor for a family friend that is graduating from High School in June.  Since my girls and I all went to the same school I decided to use the school colors.  The mascot of the school is a Bulldog so I selected this great ribbon I had in my stash.  
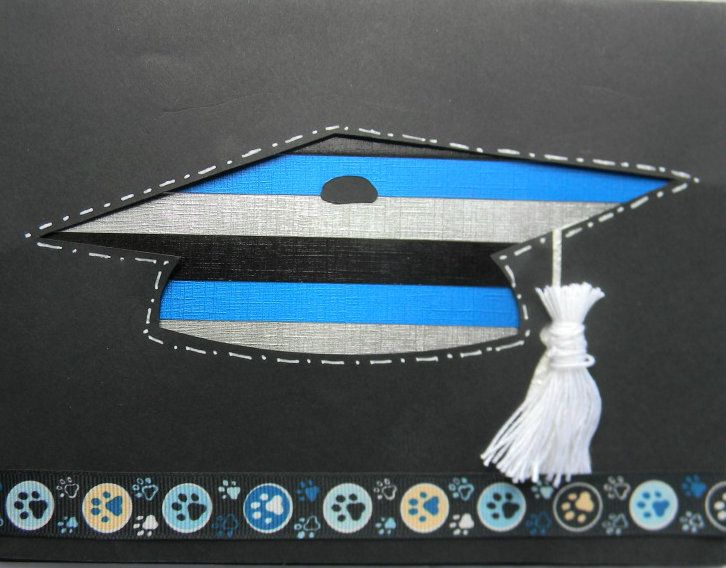
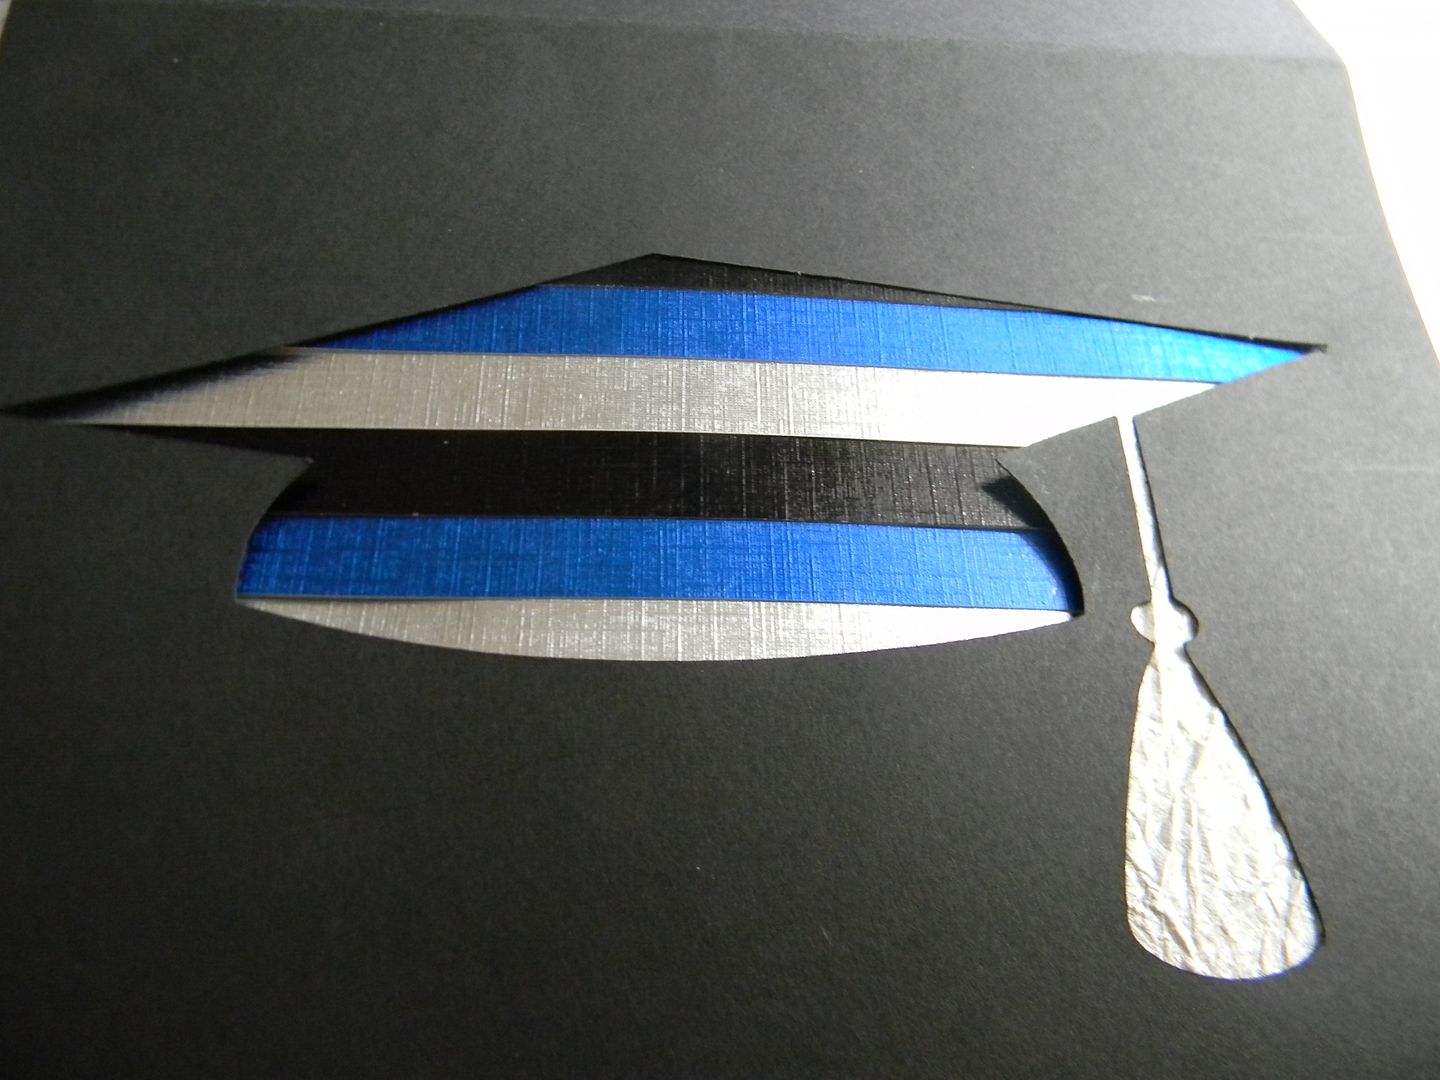
Here is the front of the card.

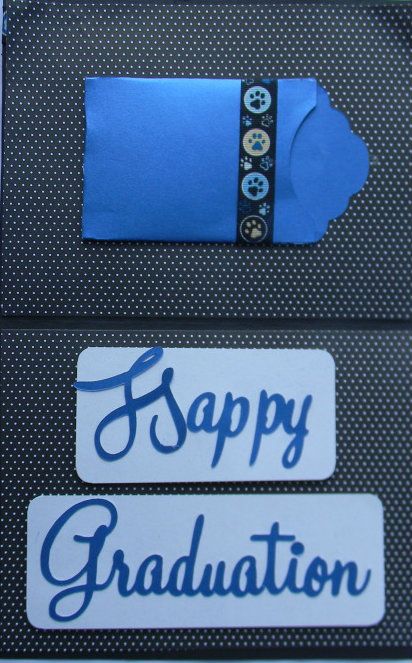
Here is the inside.  I covered over the top and bottom 1/2 with dotted black and white paper.  This covers the pieces you taped in place.  
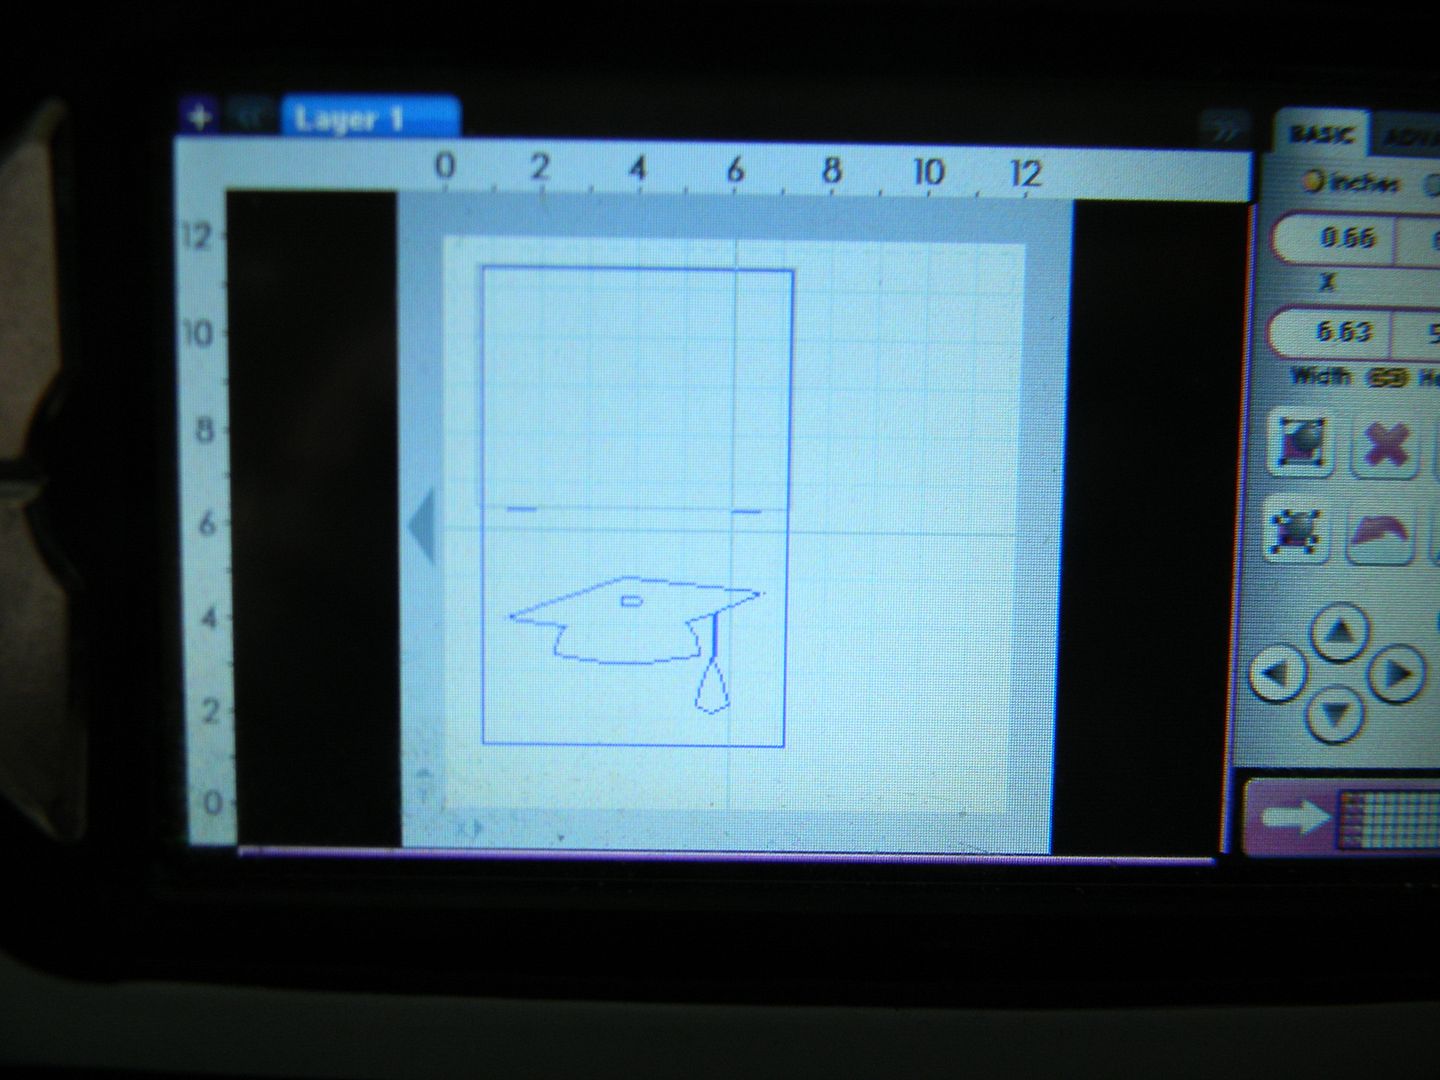
The graduation cap is the card cut from Wrap it Up page 67 cut at 5.75 width.  
I covered the tassel with some white crinkly paper on the back side of the card.
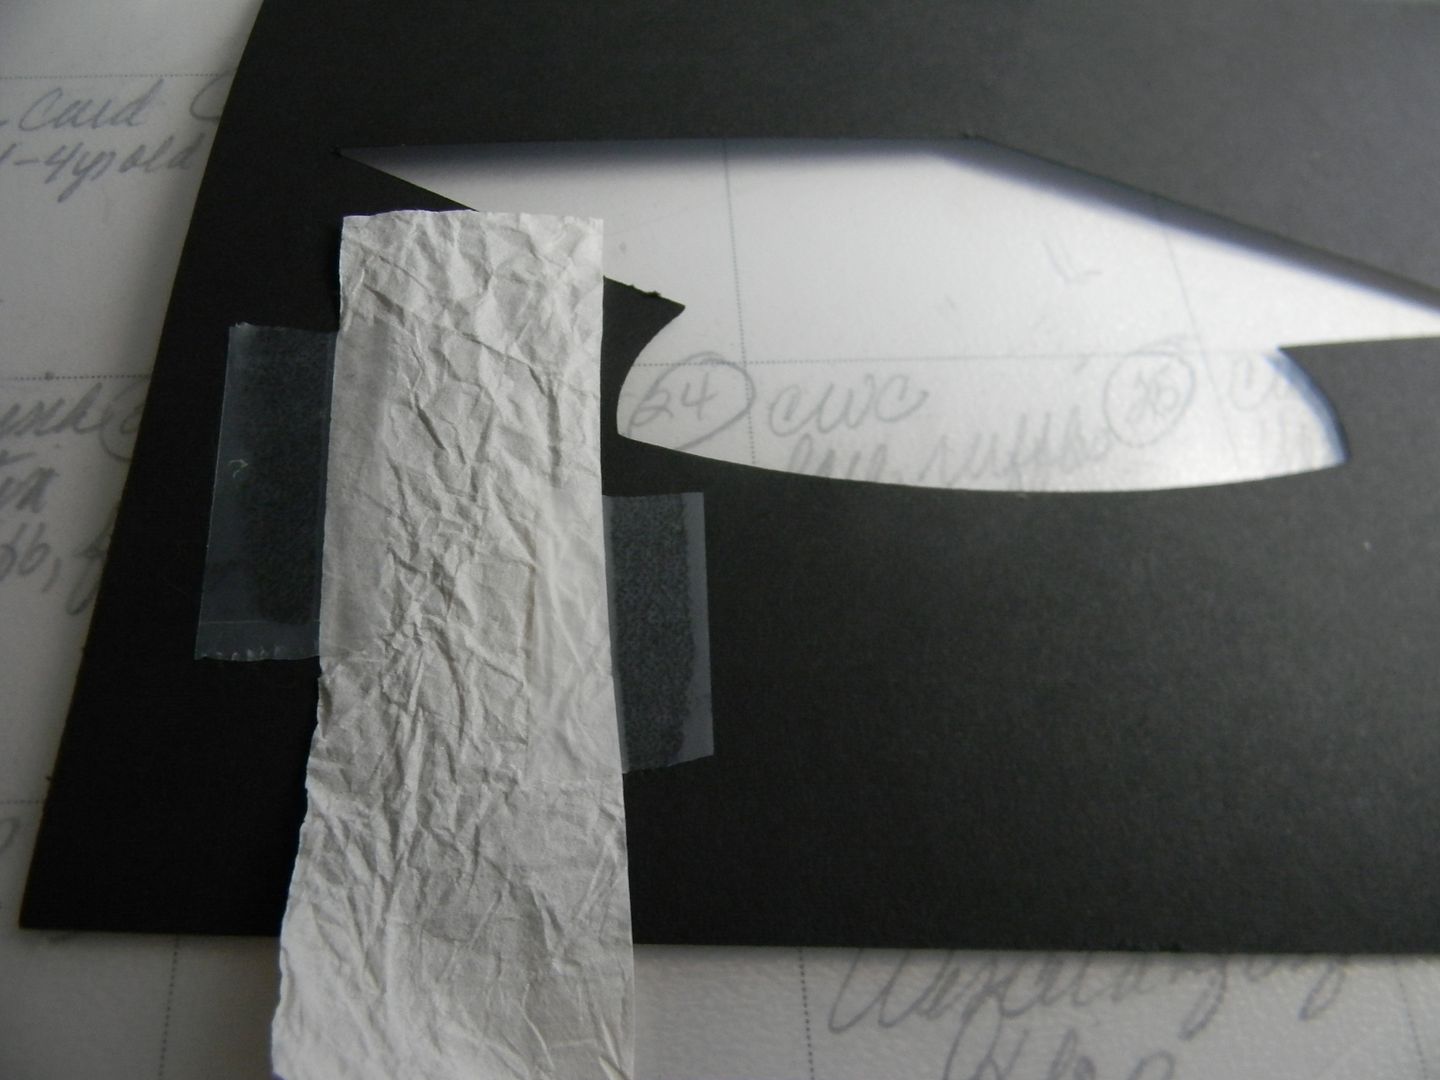
I then cut out 1/2 inch strips of this foil paper from Recollections.  
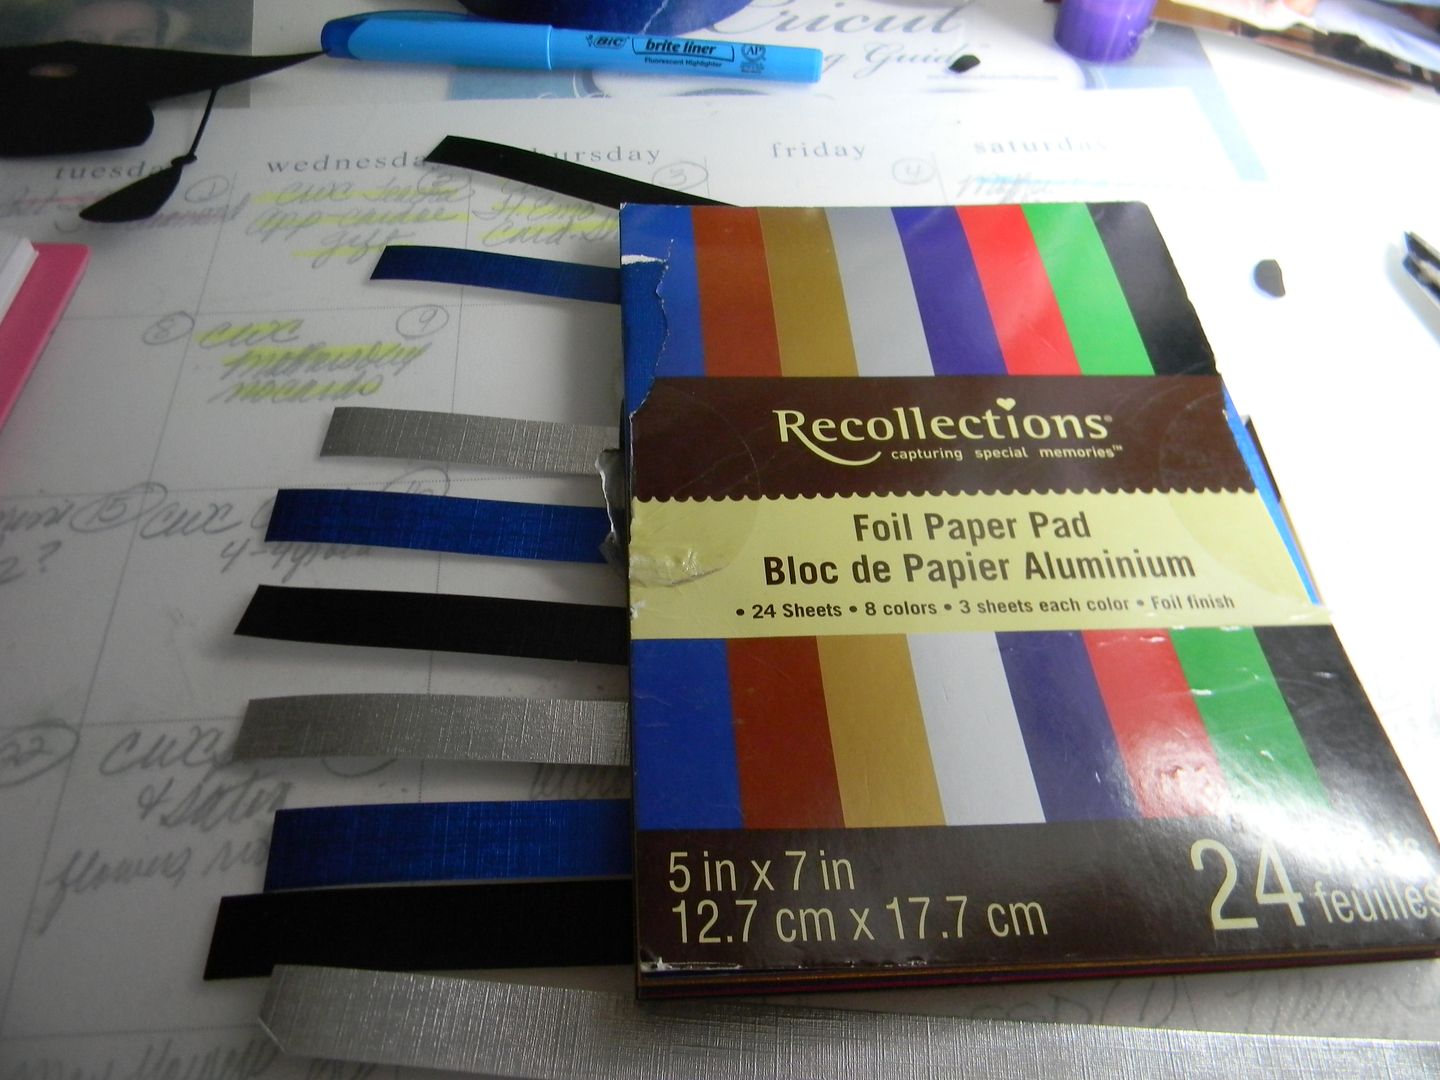
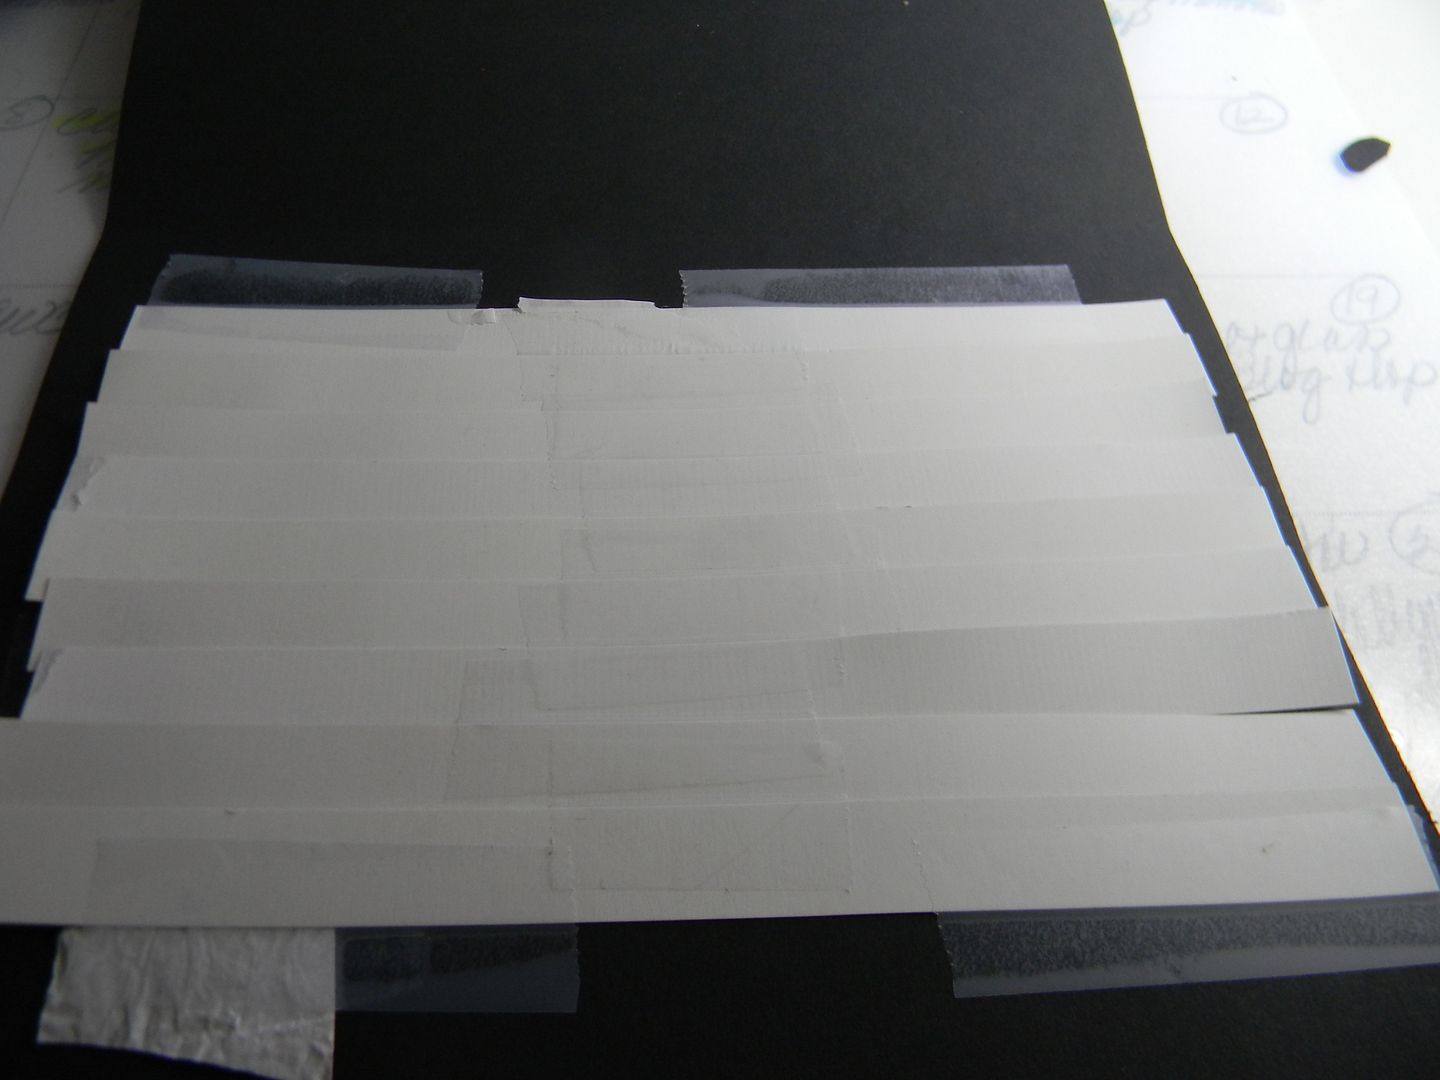
I taped the strips together 9 in total and then adjusted until I liked how it looked and taped it down over the cutout of the cap.  
Here is how it came out.  
Next I doodled around the edge of the card and added the center button piece.  
I then made a tassel out of white crochet thread ti give the card more dimension.   
For the inside the Happy Graduation was cut at 1.5 inches from MS Seasonal Cart.  
The pocket for the gift card was cut from Tags, Bags, and More page 112 at 9 inches. 
Thanks for stopping by and please come back and check out what the other designers have in store for "Graduation." 
Happy Craftin.   
-- Suzanne

September 18, 2011

Happy Haunting!

This is Jen from 3 Cats and a Bug. This week here at SweetSassyDiva's the DT is honoring the first day of Autumn (September 22!). Besides watching the leaves change color, Halloween is the next best thing! My kids are grown now, but I still remember all the fun I had taking them trick or treating. I still love watching all the cute kids come to the door. Next year will be even better watching my son with his baby, although there won't be any going door to door for several years yet. Ok, I got a bit off track there, so back to my project! LOL

I made a shape card from the Pumpkin Carvings cartridge using Design Studio. I used the owl cut @ 5, a rectangle shape cut @ 1/2 (from George and basic shapes) and another owl cut @ 5 and welded them all together. On the second owl (on top) I used the hide contour to hide everything except the outside shape. I also cut 2 more owls, again @ 5 using the hide contour to hide everything except the owl on one cut and on the second one (not shown) I hid everything except the outside cut. I cut the last one on brown patterned paper. I also cut the Happy Haunting @ 1.5 and hid the outside shape.


I used Flower Soft on the branches and stickles for the Owl's eyes and beak. I used a white gel pen to add faux stitching to the outside of the oval. I glued the brown patterned paper to the backside of the front of the card. Then I glued down the Happy Haunting.


On the inside of the card using MS Seasonal cart, I cut Happy Halloween @ 2.22.


Visit my blog at 3 Cats and a Bug to see more Halloween cards!

Be sure to enter the SweetSassyDiva Design Team Call!

August 28, 2011

Happy Halloween!

This week at SweetSassyDiva's; the design team was asked to make Halloween banners. I've made a few banners in the past, so I decided to do more of a mobile type wall hanging/banner. I started out with 4 sets of 3 scalloped ovals in orange @ 7.17, black @ 6.825 and purple @ 6.5.


Because the black was going to be hidden except for the edges anyway, I saved some paper and cut some of my images out of the black ovals. (I didn't do that on the orange because I wouldn't want that seen on the back side)


The easy part was gluing all three pieces together using my pink ATG tape.


For the top piece that my ovals would attach to, I used Lacy Labels. I cut all three layers at 4.5 and glued them down. Happy Halloween was cut from MS Seasonal @ 2.25. (the picture is missing the orange piece I hadn't added yet)


Using Design Studio I picked out all the images I wanted to use on my ovals. To save typing and time, I'll just list a recipe of them.


From PDDU, the skelton was cut @ 5, the bat @ .75, the bag @ 1.5 and the cat @ 2.15. I used pop dots on the cat and bat.


The Wizzard was cut @ 4, also from Paper Doll Dress Up. I used stickels on the beard and a black marker.


The Magician was cut @ 5. I used a white gel pen, a black marker and a pink marker. (NOTE: I added the eyes and "buttons" after I attached them to the ovals on all 3 "dolls", after these pictures were taken.)


The ballerina was cut @ 5. I used gold stickles on her headpiece. I used my Viva Decor violet pen on the floral belt and shoes.


I used some craft ribbon to make a double bow, which I used glue dots to attach to the top piece of the banner. I then cut 2 strips of 35 inch ribbon and attached to the back of the top banner.


I used my pink ATG tape to attach each oval at intervals.


I love how this turned out! A major bonus was the fun I had making it. PDDU has so many great cuts on it.


Thanks for looking!