MyFreeCopyright.com Registered & Protected
Showing posts with label layout. Show all posts

March 13, 2012

Design Team Challenge: Spring Blooms

Good Morning! This is Jen from ; http://3catsandabug.blogspot.com/ . Today's theme at Sweetsassydiva's is Spring Blooms.
I used Flower Shoppe for 2 of the flowers and one leaf. The rest were flowers from my stash. For those who follow my blog know, I'm working on using up what I have before I buy anything else. To make the flowers from Flower Shoppe, I used the first one on the cartridge, cut @ 3.
I start rolling it with my tool from Hobby Lobby. I like to roll my flowers tight, but that's personal preference.
I added a glue dot to the bottom and the flower is complete.
Complete, but boring. lol I added Strawberry ice stickles to the petals.
I added liquid pearls, petal ink to the center.
From Paper Trimmings I cut 2 floral borders, at 1.5 each. Adding stickles to one border and pearls to another. I also added some left over swirled gems around the flowers.
I cut 4 pictures into various sized circles for something different. The main picture is 4 X 4. The light pink mat is 4 1/8 X 5.75 and I used Perfect Plumeria ink around the edges. The hot pink mat is 4.25 X 6. I added 2 colored circles matted on white for my journaling.
Thanks for looking! Did you apply for the design team? click the picture below and do it today. Photobucket
Still time to hop for a chance at some great prizes. Click the picture below to start the hop.

January 25, 2012

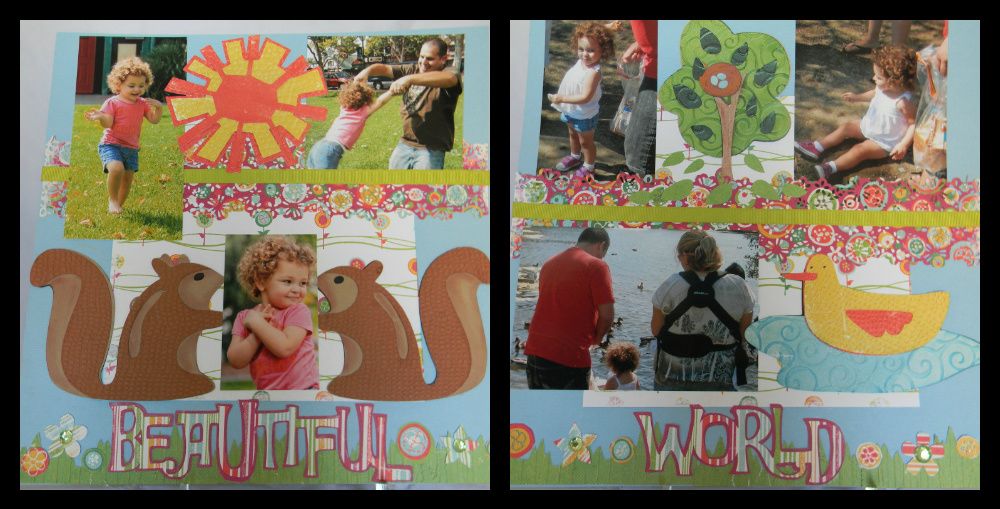
Beautiful World!

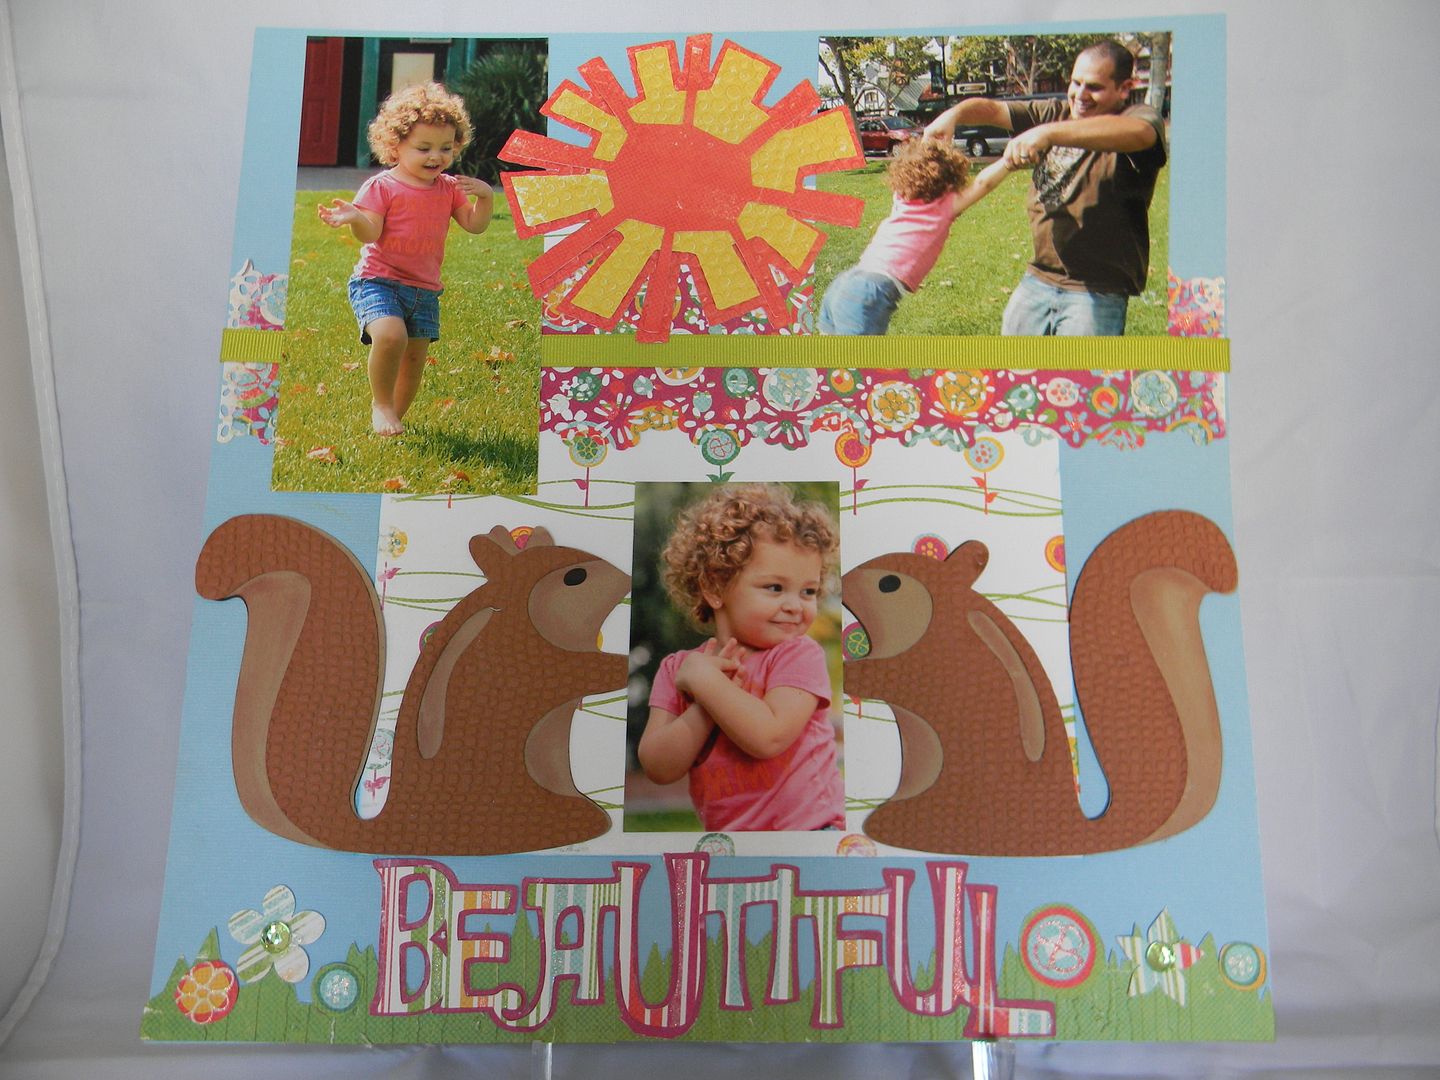
Hello Sassy Diva followers.  This week the DT was asked to create a scene of any theme.  I was organizing  a big pile of pictures and came across these adorable pics of my eldest granddaughter Katie at the park playing with her dad and then at the lake where we all went to feed the ducks.  For my scene I decided to use the Cricut Cartridge  Give a Hoot which I had not used yet even though I have had it for quite awhile.  I took pictures while working on the layout but they have seemed to disappear.  I do have the recipe however.
Here is the complete two page layout 
The paper I used was an old stack by We R Memory Keepers called Rainbow.
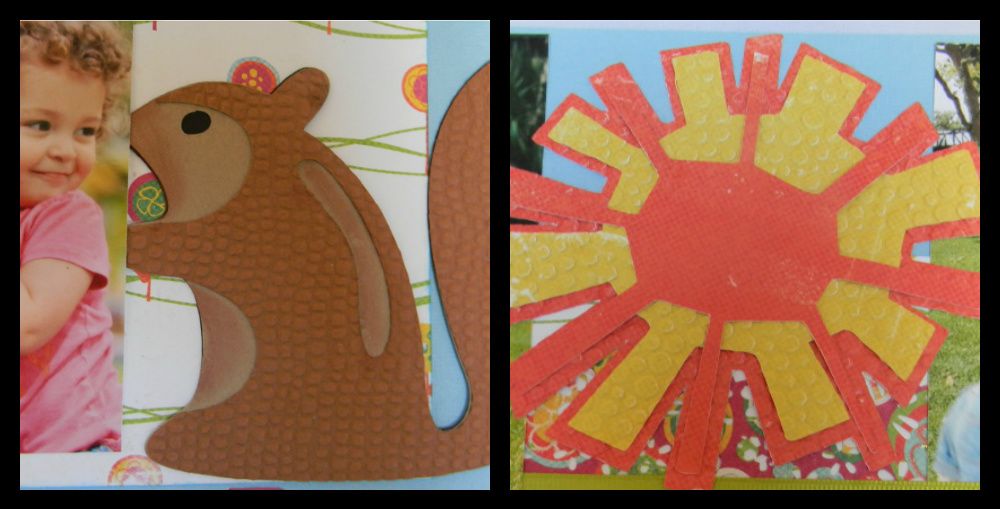
For the first page the sun was cut from page 64 at 4 inches for all 3 layers.
The squirrels were cut from page 52 at 4 inches.  They are one piece and I cut them apart to place the picture in the middle.  
The grass was cut from page 65 at 1 1/2 inches (cut 5 times to cover both pages)
Beautiful World was cut from page 36 at 3 3/4 inches and cut apart so I could use title on both pages.
Used MS flower border punch and green ribbon from stash
Squirrels and sun embossed 
Punched out flowers (Fiskar punch) and hand cut flowers from paper to add to grass
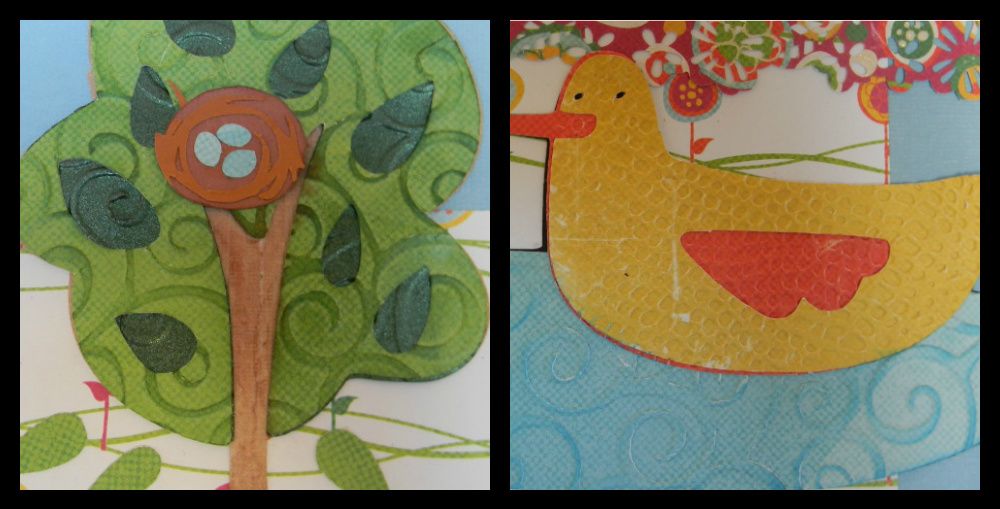
The tree was cut from page 67 at 5 inches and embossed.   There are 3 layers. 
Bird nest page 36 cut at 1 inch.  
Duck and pond cut at 3 inches.   
Closeups
Many of the edges and embossing are chalked with Quick Quotes Chalk Blue Hawaiian and Green Envy 
Hope you enjoyed my layout and will come back all week to see the "Scenes" that the other DT members create.  We always welcome your comments.  Happy Craftin! Suzanne


January 24, 2012

Take me back to Autumn!

Hi this is Lori from ScrappinMyStressAway.  This week at SweetSassyDiva's our theme is a Scene.  I created a Pumpkin Patch Scene 2 page layout.  Every fall, I take my daycare kids to The Bellevue Berry Farm and Pumpkin Patch near my house.  We look forward to it every year!

This layout took me 3 days and (merging) two different ideas to complete!!  I changed my mind so many times I lost count!
I started with this hill from Pop Up Neighborhood (found in the Accessory Function) sized at 5.00h x 11.49w.  I copied a second scene and flipped it.


I opened up a new Layer and took the shift layer of the Accessory Function and put the hills on my mat twice.  I flipped the second one.

I opened another Layer and put the Accessory Layers on it twice.  This was the trees and trunks.  I flipped the second layer.  I positioned the pieces on my mat by color for easier cutting.

Once I cut out the hill layer (without the trees) and set them on my workspace, I thought there was too much sky showing.  I cut another set of hills.

I needed some other pieces for my Pumpkin Patch, so I opened up an old file that I started but did not use.  I tried to cut the wheat from Pop Up Neighborhood, but as you can see below the paper tore.  I liked the barn, pull cart and the tractor.  I thought I might use the pumpkins but changed my mind. 


I went back to my first file and added these pumpkins from Pumpkin Carving.  I welded two sets together (sized at 1.24 inches) to make a large border.  I grabbed the cart and campfire from Old West, but ended up not using them.  I found the Pumpkins from Chic and Scary and sized it to 6.32w x 2.18h so it would fit across the top of my 4x6 photo.

I journaled on the hay in the cart.  I pop dotted the barn and some of the pumpkins.

I added twine across the bottom.  I filled in the pumpkin border with some additional pumpkins.

I used some lime green stickles to color the stems on the pumpkins.

I have been saving this cloud paper for some time ~ glad I finally got to use it!!  Thanks for stopping by!


April 27, 2011

May All Your Wishes Come True!


Click Here! to view the first entry. for the Cricut Expression 2 E2 Anniversary Edition contest. 


I inked all the cuts with a brown ink and added i-rock jewels to the title.  This cut is layered with an orange, red, blue, green and rainbow.  I used Sweet Treats cicut cartridge for the title.


These photo mats were cut using Nursery Rhymes cricut cartridge.  And the photo mat was cut using george and basic shapes.  I added a green ribbon to both mats and this mat has a sun charm.

Here I added a bushel apple button which coordinates with the apple in the tree on the following picture.


The children dancing around the tree is cut from the cricut cartridge Nursery Rhymes.


I used the irock on the i in birthday and stickled it to give it some bling.  Also, I added some white pen dots to the 'happy'.  These were cut from Sweet Treats and I hand cut them apart.


I used cosmo Cricket paper to make this along with solid cardstock.  I also cut the orange using the Cricut Imagine with RGB codes to get the correct color.

I hope you enjoyed my entry.  I look forward to my E2 arriving so, that I can play and do some projects and videos to post.

Click Here! to view the first entry.