For this weeks DT challenge we have been asked to create any type of project using our Cricut and adding any form of hens and chicks. Being a complete country girl this is right up my alley. All of the images on my card are from A Country Life cartridge. As with most of my projects, I started by setting up the images and their layers on my Gypsy. The sun and hills background and layers are cut at 3 inches
I laid out the papers and cut out.
The chickens and layers are cut at 1.75 inches.
I inked most of the edges before assembly. I made a background of light blue and tan to attach the hills to then added the chickens with dimensionals. The sentiment and butterfly stamps are from Close To My Heart.
A button, twine and some stitching lines and I called it done. I hope you like my little taste of country life and come back to see what great projects my DT partners have for you.
Showing posts with label Country Life. Show all posts
April 11, 2012
A note for you!
February 27, 2012
Cute as a Button!
Good Morning! This is Jen from 3 Cats and a Bug. The theme for Sweetsassydiva's this week is buttons. It couldn't have come at a better time for me, my Grandson IS cute as a button! I started out with a frame from Sophie. I used my Gypsy and enlarged the frame to 9.67 x 8.71. I added a square with rounded corners from George and Basic Shapes at 5.3 x 4.7 and centered it in my frame. While I was cutting that out in light blue, I used my gypsy again and removed the square and then used the "hide contours" button to only cut the outside frame. I cut that in dark blue. I took a 5x7 picture and trimmed it down to fit inside the frame and glued it all together. And that's when I remembered I didn't take pictures! :/
I used country life to cut out my letters @ 2. While that was cutting, I started sorting through my buttons.
I also cut out one button from the Wild Card cartridge, cut @20. I used a piece of purple ribbon to "sew" it.
Once I glued down all my words, I picked out all my buttons. I attached them using glue dots. I added a blue bow to the top of the page. All that's left to do is find a 12 x 12 frame and hang it on my wall!
Thanks for looking!
Labels:
Country Life,
Cricut,
George and Basic Shapes,
Gypsy,
Jen L,
Sophie,
Wild Card
January 23, 2012
Warming by the Fireplace!
Hi Crafty friends! Brenda here from Friends Craftin with Friends. I am thrilled to be guest designer today at Sweet Sassy Diva! Thank you for having me Bobbi Jo! For our challlenge we were asked to make a scene. My scene is from Christmas watching our DG open her presents from us. I used my Gypsy to lay out my overall design and yes, I do falter a little from it. lol
I also used my Gyspy along with my Imagine to print and cut out all my images. Here is my Imagine printing and cutting.
The carts that I used are: Country Life, Joys of the Season, Jolly Holidays, Imagine More, Imagine More Cards, Mr. Frosty and Kate's Kitchen. Here's my finished layout:
It was so much fun making this scene and I really love how it turned out. I hope you enjoy it too! If you haven't checked out the Blitsy site, you are missing some great crafting deals! It's free to take a peek and never a fee! :D Click here!
I also used my Gyspy along with my Imagine to print and cut out all my images. Here is my Imagine printing and cutting.
I then inked all my images before assembling them.
Here they are ready to go onto my lo now. The carts that I used are: Country Life, Joys of the Season, Jolly Holidays, Imagine More, Imagine More Cards, Mr. Frosty and Kate's Kitchen. Here's my finished layout:
It was so much fun making this scene and I really love how it turned out. I hope you enjoy it too! If you haven't checked out the Blitsy site, you are missing some great crafting deals! It's free to take a peek and never a fee! :D Click here!
Labels:
Brenda,
Country Life,
Cricut,
Cricut Imagine,
Cricut Imagine More,
Gypsy,
imagine more cards,
Jolly Holidays,
Joys of the Season,
Kate's Kitchen,
Mr. Frosty
November 13, 2011
Thankful....
Good Morning!
This is Jen from 3 Cats and a Bug.
This week on SweetSassyDiva's design team we were asked to do a "Thankful for" post. There are so many things I'm thankful for, but I don't have pictures of all of them! So for this post, the first thing I thought of was this picture I had taken of the sunset. My DH, Mom, Dad, Aunt and her BFF and myself took our boat out on the lake to watch the fireworks. Nothing compares to watching the fireworks on the water! That we watched the sun setting while doing a little fishing and whole lot of laughing made it that much better! I'm also Thankful to BobbiJo for bringing me along to CHA this year, where I received the Fancy Frames cartridge! Now, on to my project...
I started with Fancy Frames, cut @ 5.75 and tweeked in DS to fit my picture. I added some pearls and a lot of yellow and orange stickles.
The swirls were cut in Home Decor @ 1.25 with some bling added to them.
Simple pleasures was cut from Country Life @ 2.
I cut the borders from George @ 1. I used my cricut markers and country life for the words @ .50.
The paper is from DCWV Tradewinds pack.
It's a simple project, but I wanted to make sure the photo stood out. I love how it turned out!
![]()
Please stop by my blog, 3 Cats and a Bug to see what else I've been up to.
Thanks for looking!
This is Jen from 3 Cats and a Bug.
This week on SweetSassyDiva's design team we were asked to do a "Thankful for" post. There are so many things I'm thankful for, but I don't have pictures of all of them! So for this post, the first thing I thought of was this picture I had taken of the sunset. My DH, Mom, Dad, Aunt and her BFF and myself took our boat out on the lake to watch the fireworks. Nothing compares to watching the fireworks on the water! That we watched the sun setting while doing a little fishing and whole lot of laughing made it that much better! I'm also Thankful to BobbiJo for bringing me along to CHA this year, where I received the Fancy Frames cartridge! Now, on to my project...
I started with Fancy Frames, cut @ 5.75 and tweeked in DS to fit my picture. I added some pearls and a lot of yellow and orange stickles.
The swirls were cut in Home Decor @ 1.25 with some bling added to them.
Simple pleasures was cut from Country Life @ 2.
I cut the borders from George @ 1. I used my cricut markers and country life for the words @ .50.
The paper is from DCWV Tradewinds pack.
It's a simple project, but I wanted to make sure the photo stood out. I love how it turned out!
Please stop by my blog, 3 Cats and a Bug to see what else I've been up to.
Thanks for looking!
Labels:
Country Life,
Fancy Frames,
George and Basic Shapes,
Home Decor,
Jen L
October 31, 2011
The Magic of Winter!
This is Jen, from 3 Cats and a Bug. Part of the requirement to join 
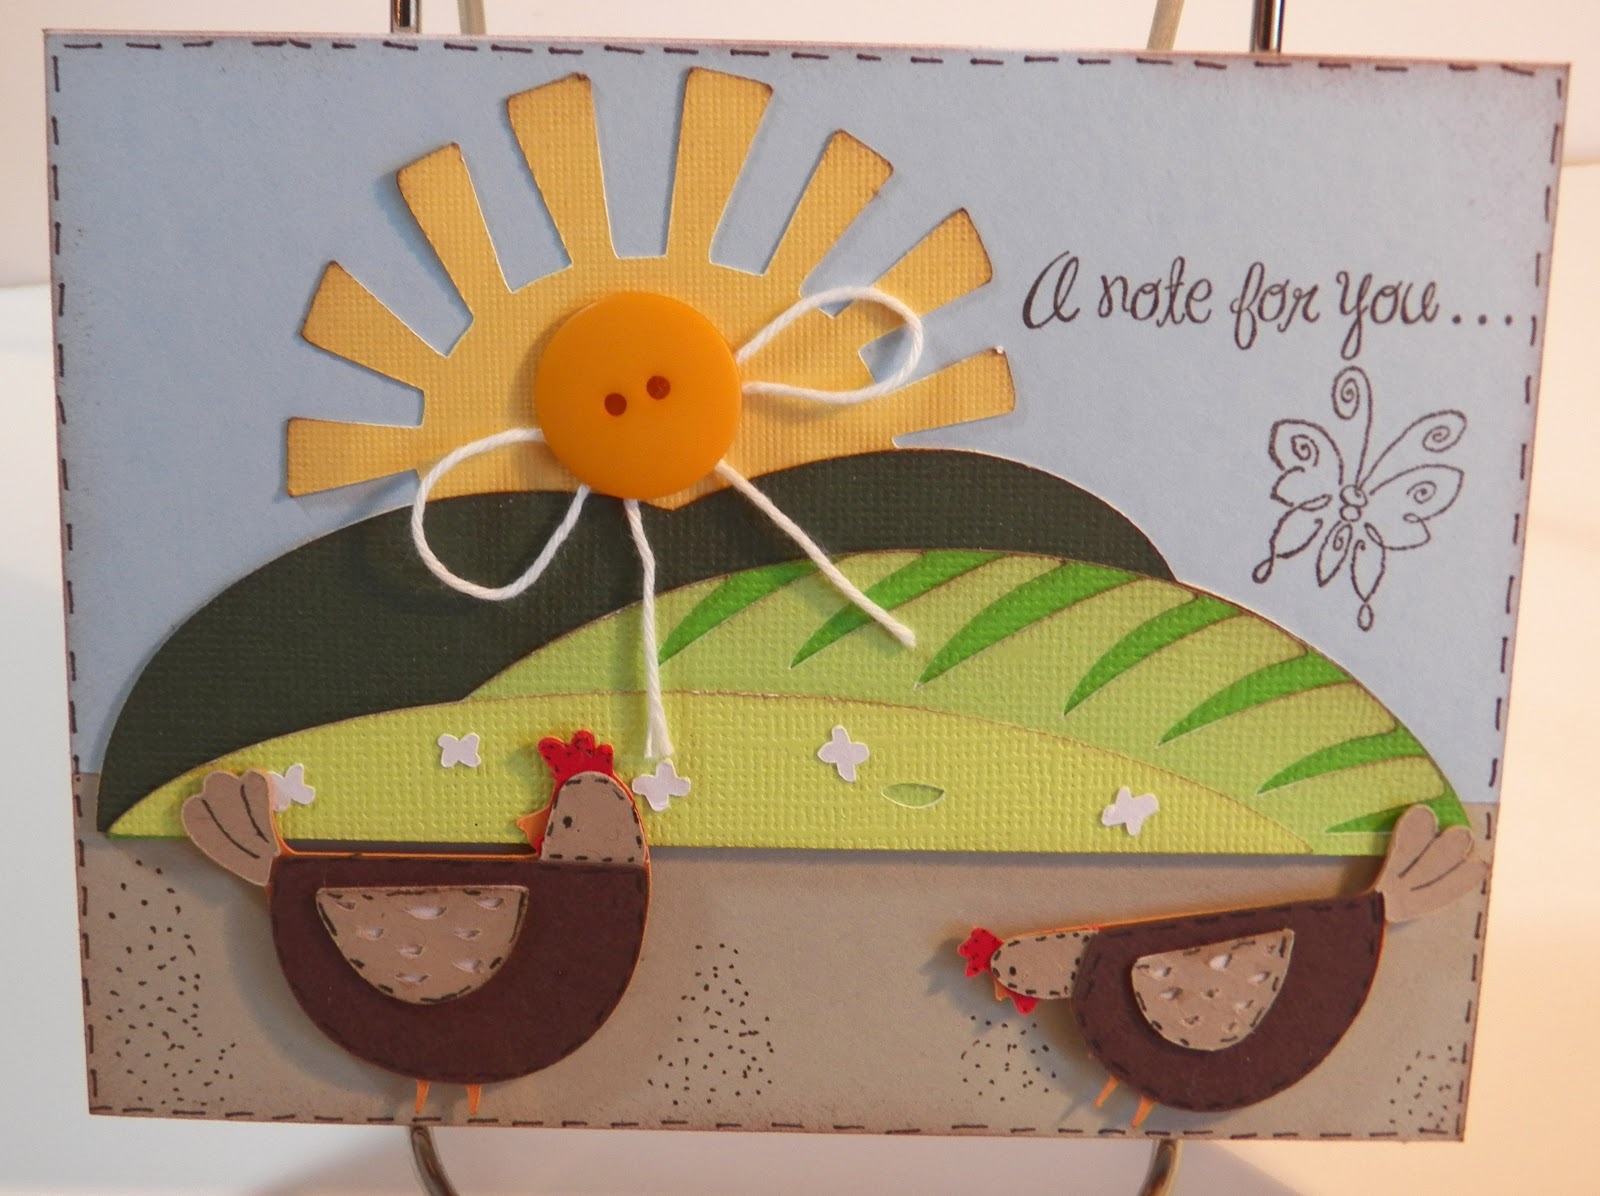
Sweetsassydiva's design team was doing a Tis The Season project. For my project, I decided to do a Tri Shutter card with more non traditional colors.
Tri Shutter cards look like they may be difficult to make, but they really are super easy. You start out with your card stock cut at 5.50 x 12. Next you start at 1 inch down from the top and 2 inches in and cut a line to the 10 inch mark. Do the same thing again only 1 inch up from the bottom. Now you score your card at 2, 4, 8 and 10. It should look like the photo below.
![]()
I decorated my card using two different patterned papers, but you can use only one if you like. I also like to have my patterned papers to be smaller than the card stock. That's also a personal choice, so the sizes you cut depend on what you want your card to look like. I also used my color box chalk to ink the outside of light colored paper.
![]()
You can see the green borders once I attached my paper.
![]()
I did the same thing with the darker patterned paper, except the inking.
![]()
Now it's ready to decorate! Around my house, all winter long and sometimes even into spring, you'll hear me say "tis the season!" to my husband. He's a born and bred Texan! He moved to Wisconsin about 11 years ago and he's never totally adjusted to our winters. After the first winter, he's hated snow and the bone deep cold. So every time it's really cold or the snow flies, I just tell him "tis the season!" I couldn't resist making him a card with that saying on it. lol With the help of my gypsy, I was able to lay out several colors of paper on my mat to cut everything except the words.
![]()
I used Winter Woodland for almost everything.
The snow man and woman were cut @ 4.5 with their layers. I also used a black pen and stickles on them.
The mittens were cut @ 2. I used my Gypsy and hide the scarf. I used stickles and gems to dress them up.
The hat was also cut @ 2 and I used pink stickles on that one.
"The magic of winter" was cut @ 3, although I tweaked it a bit to fit in the boxes the way I wanted it to.
"Tis the season" was cut from County Life (my favorite for fonts at the moment!) at .75.
The stamp shape behind the words came from Sentimentals and was cut @ 2x 3.75.
![]()
![]()
![]()
Thanks Bobbi Jo for having me as a design team member again!
Thanks for looking!
Tri Shutter cards look like they may be difficult to make, but they really are super easy. You start out with your card stock cut at 5.50 x 12. Next you start at 1 inch down from the top and 2 inches in and cut a line to the 10 inch mark. Do the same thing again only 1 inch up from the bottom. Now you score your card at 2, 4, 8 and 10. It should look like the photo below.
I decorated my card using two different patterned papers, but you can use only one if you like. I also like to have my patterned papers to be smaller than the card stock. That's also a personal choice, so the sizes you cut depend on what you want your card to look like. I also used my color box chalk to ink the outside of light colored paper.
You can see the green borders once I attached my paper.
I did the same thing with the darker patterned paper, except the inking.
Now it's ready to decorate! Around my house, all winter long and sometimes even into spring, you'll hear me say "tis the season!" to my husband. He's a born and bred Texan! He moved to Wisconsin about 11 years ago and he's never totally adjusted to our winters. After the first winter, he's hated snow and the bone deep cold. So every time it's really cold or the snow flies, I just tell him "tis the season!" I couldn't resist making him a card with that saying on it. lol With the help of my gypsy, I was able to lay out several colors of paper on my mat to cut everything except the words.
I used Winter Woodland for almost everything.
The snow man and woman were cut @ 4.5 with their layers. I also used a black pen and stickles on them.
The mittens were cut @ 2. I used my Gypsy and hide the scarf. I used stickles and gems to dress them up.
The hat was also cut @ 2 and I used pink stickles on that one.
"The magic of winter" was cut @ 3, although I tweaked it a bit to fit in the boxes the way I wanted it to.
"Tis the season" was cut from County Life (my favorite for fonts at the moment!) at .75.
The stamp shape behind the words came from Sentimentals and was cut @ 2x 3.75.
Thanks Bobbi Jo for having me as a design team member again!
Thanks for looking!
Labels:
Country Life,
Gypsy,
Jen L,
Sentimentals,
Winter Woodland
October 27, 2011
Fall Banner!
Fall is in the air or on my wall !
For this theme, I chose to make a simple banner using some of my favorite (but almost gone) Stampin Up designer paper.
The banner is cut from Country Life at 7.75". I attached the layers to the ribbon using some copper brads.
The letters are from Birthday Bash cut at 2.5". I inked the edges of the shadow layer with Marina Mist and used dimensionals to attach the top layer. I tied some brown bakers twine to buttons that came from one of my husbands old shirts and randomly placed on each letter.
The rosette is made from 2 strips of 1.5" x 11" paper that is scored every 1/2" and accordion folded. I wish I could show how you to actually finish making these, but there are lots of tutorials out there to help you better than I can :) I can tell you that I have found the only way to hold them together is to dig out the hot glue gun !
I added a brown corduroy button to the center while the glue was still hot... it won't be going anyhwere :)
I apologize for the pictures taken on my well used crafting paper... as you can see, I don't use a new one for each project. Some day I will be better at adding the photo taking into my project plans ... yea , right.... that would mean I actually plan my projects instead of winging it ... hehehe
Recipe is as follows:
Cricut Country Life - Banner cut at 7.75"
Cricut Birthday Bash - Letters cut at 2.5"
Papers from Stampin Up
Ribbon from Stampin Up
Button From Stampin Up
- Mindy
August 31, 2011
Candy Corn Galore!
Fall is in the air...the trees are turning gold, and nights are getting cooler. I love this time of year...I wish it lasted longer. Here fall comes and goes as fast as a bag of candy corn. Which brings me to our project of the week....Halloween banners. It's time to start preparing for all of the decorations needed throughout the season. I've never been much for the spooky, scary, part of Halloween so I went with something a little sweeter.
Yep you guessed it...candy corn. I cut the banner pieces from the Country life cartridge, then layered smaller banner pieces (triangles basically) to make the base of my banner.
I tore the very top edges of the white and orange triangles so that it wasn't a straight cut....candy corn isn't straight afterall. (I know because I think I went thru 2 bags while creating this one....only for inspiration of course.) I then placed an accordian rosette in the center so that I could attach my letters. I cut the letters from Blackletter at 2 in.
I also cut 2 jack-o-lanterns from gypsy wanderings at 2 in. To give them a little shine I used my heat embosser with some black embossing powder with a tiny bit of gold powder mixed in to it.
Then all that was left was attaching the letters, running the ribbon and hanging the banner. I used pop dots so that the letters would stand up a bit.
*recipe*
2 bags of candy corn (for inspiration)
yellow, orange, white and black cardstock
Gypsy and Cricut cartridges Gyspy wanderings, country life, black letter
ribbon
pop dots
heat embosser and embossing powder
possibly another bag of candy corn if the kids are around....Happy Halloween!
Labels:
Angie,
Black Letter,
Country Life,
Cricut,
Gypsy,
Gypsy Wanderings
August 27, 2011
Farm Time!
Hey there, this is Misty from The Daily Scrapper.
This is what I wanted to do this summer. Instead our summer was eaten alive by sports camps but if you really want to chill, some farm time is just the ticket. Fresh foods, fresh air, and loads of fun!!!
I had a great tutorial all about how to crackle you diamond glaze but due to computer issues I will have to share that part later. The down and dirty is you heat set the diamon glaze and let it bubble up. I love the crackle look it gives you.This paper line is Reminese At the Farm. I used the Country Life Cartridge and Create a critter. Lots of ink for the edges and some white gel pen work finishes off the look.
Have a fabulous Day!!!!
August 3, 2011
Family Reunion!
Good Morning! This is Jen from 3 Cats and a Bug
The theme this week for SweetSassyDiva's; DT is Picnic, which comes at a great time for me! Every year my family has a reunion at the end of July at Fox Lake. My Grandparents bought a place there about 40 years ago, so my family has been going there for a long time. My parents bought my Grandparents place just before they died and my husband and I bought a place two doors down about 5 years ago. It's on a small island, so not only is there fishing, but there's also a lot of wildlife to see, hence the animals in my LO. (I wasn't trying to "say" anything about my family! LOL)
I used 11 different carts for this project. The background paper is My Mind's Eye, the Penny Lane collection. The photo mats were left overs, so I'm not sure what collection they are from. I always use Core'dination paper, I think it cuts the best in my expression. I added glossy accents to the firefly's wings, black enamel accents to the watermelon and the grill, white enamel accents to the frogs and liquid pearls to the deer. All the cuts were just regular cuts, so I didn't take pictures of each step.
![]()
Country Life: the banner cut @ 3, the white letters were also the banner, but I used hide contour on the banner to get just the letters in the correct size without too much work. The "July 2011" was cut @ 2.
George and Basic Shapes: the photo mats in different sizes
MS Seasonal: the grass was cut @ 1 and welded together in Design Studio
Walk in my Garden: the caterpillar was cut @ 1
Animal Kingdom: the frogs (3) were cut @ 1
Kates ABC's: the bunny was cut @ 2.5 and flipped in DS
Doodlecharms: the fireflies were cut @ 1.5
Paper Dolls for Everyday: the grill was cut @ 8.25. The utensils were cut @ 4
Indie Art: the birds were cut @ 2
A Childs Year: the watermelon was cut @ 1
Cindy Loo: the deer was cut @ 4 and the squirrel was cut @ 3
![]()
The theme this week for SweetSassyDiva's; DT is Picnic, which comes at a great time for me! Every year my family has a reunion at the end of July at Fox Lake. My Grandparents bought a place there about 40 years ago, so my family has been going there for a long time. My parents bought my Grandparents place just before they died and my husband and I bought a place two doors down about 5 years ago. It's on a small island, so not only is there fishing, but there's also a lot of wildlife to see, hence the animals in my LO. (I wasn't trying to "say" anything about my family! LOL)
I used 11 different carts for this project. The background paper is My Mind's Eye, the Penny Lane collection. The photo mats were left overs, so I'm not sure what collection they are from. I always use Core'dination paper, I think it cuts the best in my expression. I added glossy accents to the firefly's wings, black enamel accents to the watermelon and the grill, white enamel accents to the frogs and liquid pearls to the deer. All the cuts were just regular cuts, so I didn't take pictures of each step.
Country Life: the banner cut @ 3, the white letters were also the banner, but I used hide contour on the banner to get just the letters in the correct size without too much work. The "July 2011" was cut @ 2.
George and Basic Shapes: the photo mats in different sizes
MS Seasonal: the grass was cut @ 1 and welded together in Design Studio
Walk in my Garden: the caterpillar was cut @ 1
Animal Kingdom: the frogs (3) were cut @ 1
Kates ABC's: the bunny was cut @ 2.5 and flipped in DS
Doodlecharms: the fireflies were cut @ 1.5
Paper Dolls for Everyday: the grill was cut @ 8.25. The utensils were cut @ 4
Indie Art: the birds were cut @ 2
A Childs Year: the watermelon was cut @ 1
Cindy Loo: the deer was cut @ 4 and the squirrel was cut @ 3
Labels:
A Child's Year,
Animal Kingdom,
Cindy Loo,
Country Life,
Cricut,
Doodlecharms,
Everyday Paperdolls,
George and Basic Shapes,
Indie Art,
Jen L,
Kate's ABCs,
Martha Stewart Seasonal,
Walk in my Garden
July 27, 2011
BBQ!
It's that time again. It's time for a new week of challenges. This is part 2 of the mix it up challenge. The idea was to come up with a single theme, and see what we could come up with. Our group came up with a BBQ theme, since it's summer. We also added that we needed to use bright/bold colors, and at least 3 cricut cartridges. So make sure to check back daily to see how many cartridges we can use this week. It only gets better from here.
I created a simple layout for my project.
This isn't the typical backyard bbq. We had been camping and had actually cooked the majority of our meals over the open campfire. We had such a good time. It doesn't matter where you are at, and how you are cooking when the food is good and the friends are even better. It was an amazing weekend, we even got to scare away a brown bear. (He thought the food would be good to.)
So for the details of my layout. The papers are expressions bright papers in yellow, red and orange....the apron is coordinations red.
I made all of my cuts at 4 inches.
"BBQ" come from the cricut lite, block party
the frames come from accent essentials
"Get cooking & apron" come from country life
"Family and Friends" come from Gypsy wanderings
The stickers are K Marcella Dimensional stickers, and a few self stick gems.
I used the frames for my journaling and left it simple since it was a camping trip. If you wanted to jazz it up a bit you could always pop the words off the page, frame the pictures in more than one frame, or add glitter ;)
So that's it for my layout....please come back tomorrow to see what is next on , and see how many cartridges we can use this week.
Labels:
Accent Essentials,
Angie,
Block Party,
Country Life,
Cricut,
Gypsy,
Gypsy Wanderings
November 16, 2010
Thankful Banner!
I was one of the lucky ones that was able to attend Provo Crafts 1st on-line Cricut class. It was awesome and can't wait until they have more of them. We were given the cut files for our Gyspies, but I do not own the Sentimentals cartridge so I used Lacey Labels for the centerpieces instead.
note: if you click on the picture it will enlarge it.
Recipe
DCWV patterned cardstock from the Autumn Harvest pack
Orange and brown cardstock
Light brown crepe paper
Brown ribbon
Bountiful Harvest glitter from Martha Stewart
Banners & Letters are cut from Country Life
Centerpieces are cut from Lacy Label
Thanks
Rebecca
You can see more banners that the SweetSassyDiva Designer's created by clicking here!
- SweetSassyDiva
Subscribe to:
Posts (Atom)


