MyFreeCopyright.com Registered & Protected
Showing posts with label Snow Angel. Show all posts

January 9, 2012

Snow Cute!

This week the challenge at Sweet Sassy Diva is "Winter Blues".  Even though I live in Southern California I love using snowmen, snowflakes and penguins on winter layouts.  This layout was made using my Imagine and the Cricut Cart Snow Angel.  I love the  cuts on this cart.  The background paper is from a Recollections Christmas stack I got at Michaels which was the perfect blue background.
I collected pics of my two oldest granddaughters wearing hats.  The ones on the right are all made by my oldest daughter. 
Here is the double page layout  
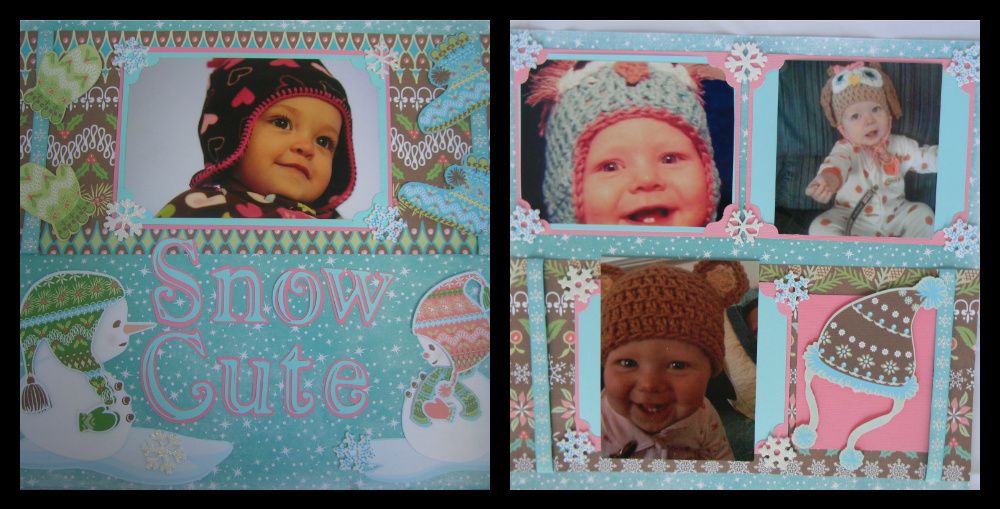
Closeup of first page.  The title Snow Cute is from Winter Wonderland  Cricut Cart and cut from colored cardstock.  The brown background mat is from Snow Angel cart printed paper. Cut 6 " and used other piece on 2nd page.  Mittens and booties are pop dotted.  Snowflakes on corners are precut from a package.  
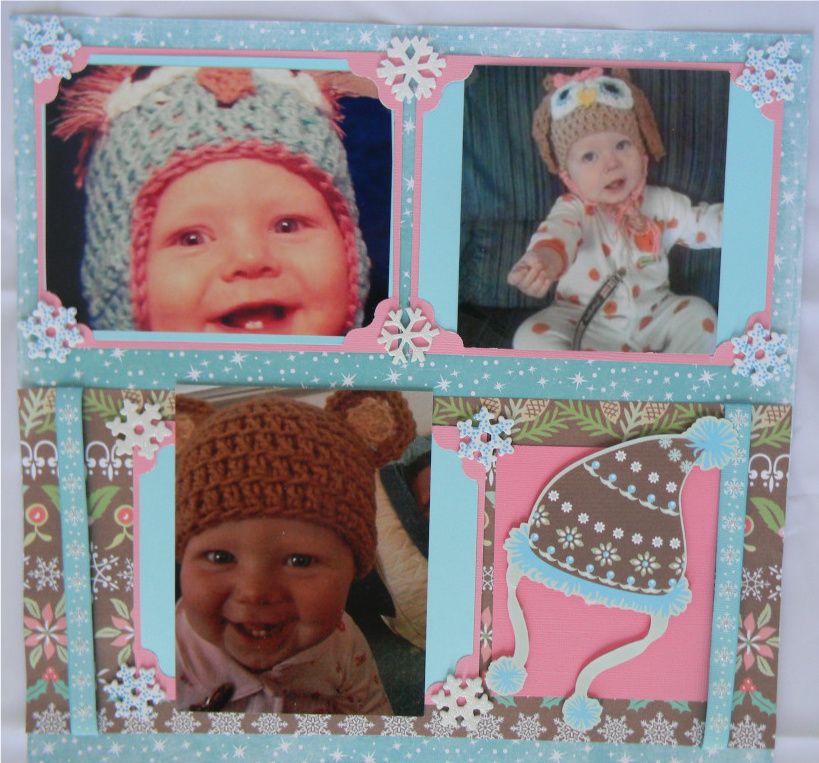
Closeup of 2nd page
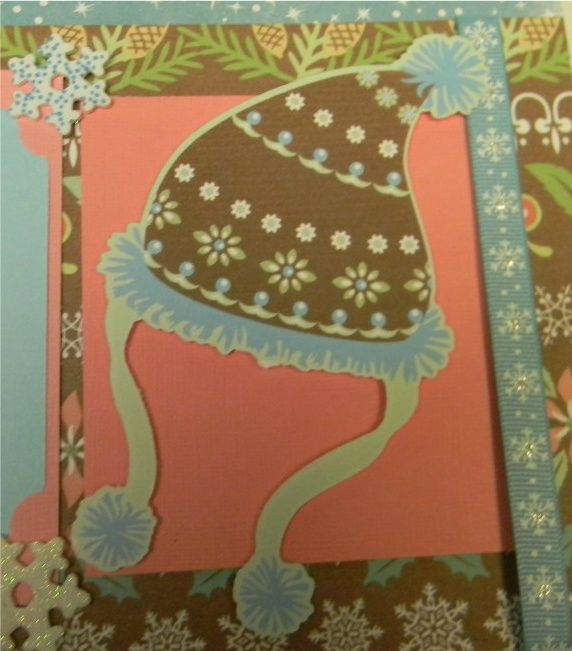
Closeup of hat, ribbon, and snowflakes 
The cuts as I said were made on the Imagine and I did them in pieces 
so I could pop dot the hats and scarves.  For my mats I used a EK corner punch.  
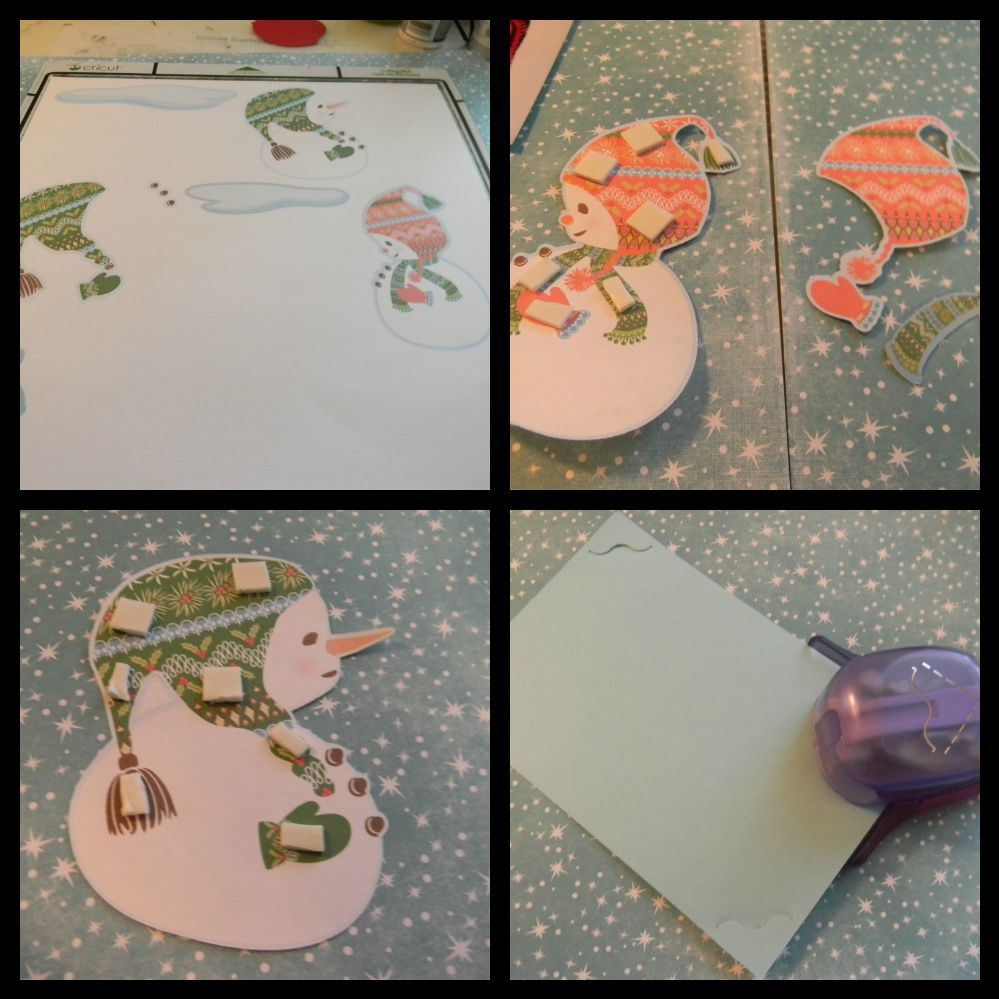
then I glued everything on the page and added ribbon and snowflakes.  
Hope you will come back this week and join all the Design Team for their take on "Winter Blues" challenge.  Happy Craftin!
- Suzanne

October 30, 2011

Holiday Note Pad!


This Holiday Note Pad was made using the Imagine and the Imagine Snow Angel cartridge.


I started by printing a full sheet of the snow flake paper on page 39.
This is then cut down to 10 3/8” x 12 “
Score and cut  according to the following diagram:
Fold the bottom flap up to the inside and attach the sides with a good adhesive. Attach the memo pad to the right inside with strong adhesive. Fold the top along bith score lines and attach with adhesive.


Using the shapes that come loaded on the Imagine, choose the square and fill with the bonus content found on page 28. Size at 8.5 inches and print on white card stock. Cut to 8" x5 1/16" and cover the front. I put Crystal Stickles on the snowflakes.


The house on page 26 is cut at 3.5" with all the layers. Liquid Pearl and glitter gel pens were used to add accents to the house. It was attached with dimensionals.


The snowflakes on pages 18 and 19 were cut at 1.6" with all the layers. Red Stickles were added and they are attached with dimensionals.


The closure is cut at 3.5" x 1.25 " from the same paper. The corners were rounded with a corner chomper. The clasp is a magnet from Basic Grey. I added some cotton for smoke from the chimney, red twiner and red seam binding along the edge. I sponged all edges with Stampin Up Bashful Blue.


On the inside, I used white gel pen to add stitching lines.


Supplies needed:
Imagine
Imagine Snow Angel cartridge
White 12 x 12 paper
5 x 8 note pad
Strong adhesive - I used red line tape
Basic Grey magnet
Twine
Seam binding
Stickles
Liquid Pearl
Gel pens
Cotton ball


I had so much fun making this project. I hope you like it.


As always, thanks for stopping by :)

- Mindy