MyFreeCopyright.com Registered & Protected
Showing posts with label sugar and spice. Show all posts

November 30, 2012

Sample Project Highlights and Cricut Cartridges for Sale!

I was organizing some of my cricut cartridges and I noticed I had some duplicates as well as some that I just thought was time to sell. 

If you are interested in any of these, please email me (by hitting reply on your email subscription to this blog) or comment on this link with the title of the cartridge that you are interested in.  I will need your email contact information.  Note: I cannot be responsible for lost or errors on behalf of blogger or any email nor ISP.  

Payment is by paypal only and the product will only ship out after the funds are fully deposited. 

Many of these are rare, exclusives, hard to find and/or retired.  I have photographed them in sets of two but, they are available individually.

These also work in all of the cricut machines including but, not limited to the baby bug, original, cricut create, cricut expression, Anniversary Edition Expression 2, Expression 2, Cricut Imagine, Cricut Cake, Martha Steward Cricut Cake, and/or the cricut mini. 

You can also use these with Cricut Design Studio, Cricut Craftroom, Jutebox or even just straight in the cricut machine(s).


B is for Boy Cricut Cartridge* $30.00 plus shipping

Click here!  for sample project and free tutorial not included in the sale.

SOLD Sugar and Spice lite Cricut cartridge*

Click here! for sample project and free tutorial not included in the sale.


Carousel cricut cartridge* (see below) $60.00 plus shipping

Click here! for sample project mini album not included in the sale.

SOLD Cricut Everyday cricut cartridge.** exclusive (see below)

Click here! for sample mini album project not included in the sale.
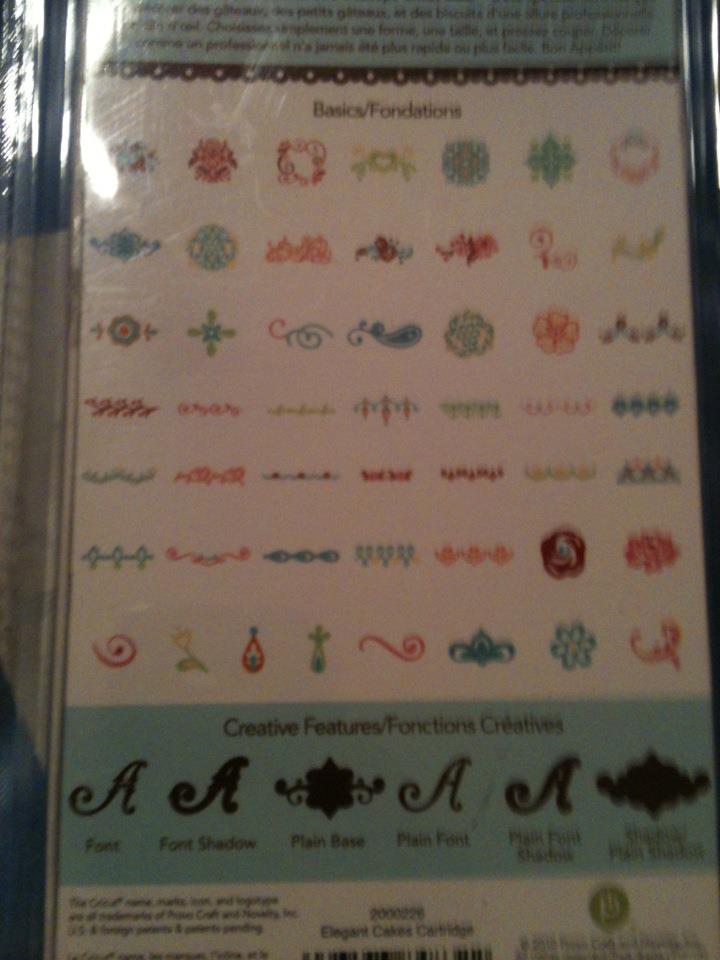


Elegant Cakes Cricut Cartridge not just for the cricut cake machines.  It cuts out amazing cuts for all cricut machines as do all the carts I am listing. $24.99 plus shipping

Click here! for a sample mini album project not included in sale.


sample layout not included in sale:


click here to see tutorial!

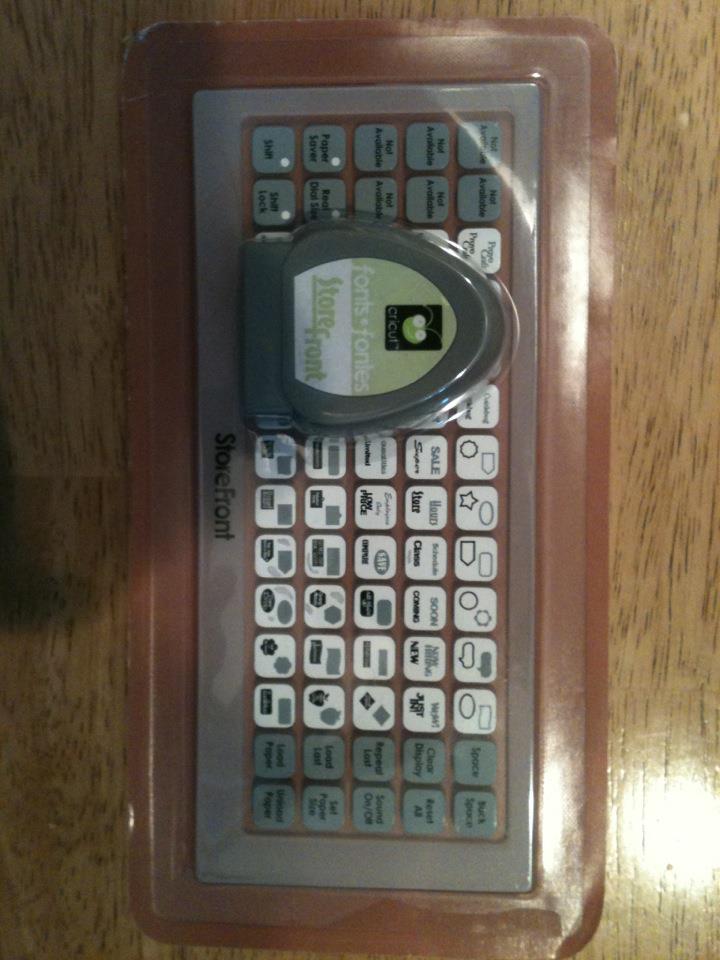
EXTREMELY RARE! Cricut Storefront cricut cartridge $79.99 plus shipping.  This was only given as a sample during CHA etc.  This is the one that has the beloved Cricut cuts etc. 


Jubilee Celebration Cricut Cartridge $26.00 plus shipping

click here! for a sample project using cartridge not included in sale.

Doodlecharms cricut cartridge $31.00 plus shipping

Click here! for a card  sample using cartridge not included in sale.
Click here for 20+ projects sample using cartridge not included in sale.


SOLD "Just Because" Cards cricut cartridge or Just Because Cards cricut cartridge


Click here!  for sample card using cartridge not included in this sale.


Robotz cricut cartridge $24.99 plus shipping


Preserves cricut cartridge $24.99 plus shipping

Click here! for sample project layout using cartridge not included in sale.

Jubilee Celebrations cricut cartridge $26.00 plus shipping  (yes, I do have more than one copy)


Savory Cricut Lite Cricut Cartridge* $24.99 plus shipping

Bloom Cricut Lite Cricut Cartridge* $24.99 plus shipping


SOLD Shall We Dance? Cricut Cartridge great for ballet for a little girl or all sorts of genre.** exclusive (see below)

Click here! for a sample project using cartridge not included in sale.

SOLD French Manor Cricut Cartridge ** exclusive (see below)

Click here! for sample card using cartridge not included in sale.


Cricut Imagine best friends cartridge *** (see below)

Click here! for a sample layout using cartridge not included in sale.

Cricut Imagine Kate's Kitchen cartridge or Kates Kitchen cricut imagine cartridge *** (see below)

Click here! for a sample card using the cartridge not included in sale.

Cricut Imagine cartridge snapshot: everyday only works in the cricut imagine **** (see below)

Cricut Imagine cartridge Heirloom only works in the cricut imagine **** (see below)

Click here! for a sample card using the cartridge not included in sale.


Please share this post on facebook and any other messageboards or such
To see what these carts do, please click on the cartidge links under this post in the Labels section or on my blog on the right hand side is a list of projects by cartridge.

*Note: these were originally available at walmart but, it seems it is no longer available. Don't let these slip from your fingers.

**This is an exclusive cricut circle cartridge only available to members paying for exclusive membership to the cricut circle.


***Note: the cricut imagine art cartridges only work in the cricut imagine for print and cut, print and/or cut only.  However, you can also use them in the cricut expression 2 on cut only feature.

 ****Note: the cricut imagine paper cartridges only work in the cricut imagine.


September 24, 2011

Changing Seasons.....

This week's challenge was a fall theme. Fall means back to school, and as a homeschool mom I am the one who gets to come up with our bulletin board ideas. However we don't have a bulletin board as such, so we make do with poster board when needed. This year I'm incorporating things for my 3 year old as part of school, and so that means more hands on. I also wanted to give the older kids a different perspective on seasons. The fact that with each passing season, time is moving forward....so there sprang my idea of a calendar/clock for the seasons. (That is what my 10 yr old has decided that it is called.) This project literally took me some time. I am so thankful for my gypsy and the weld function....and that I can load up several images from different cartridges at one time. I can't imagine having done this one without it. It's a very simple poster, but it took a lot of time welding, layering, and then some...so here we go...
This is how I laid out one of my sheets for cutting. This is the one for all of the little symbols that I am putting around the clock. This is another reason I love my gypsy...I can lay things out according to the screen on my mat, and not waste paper. I get so much more use from scraps then I ever have. As you can see on this one I have all sizes laid out.
Another tool I used was my heat embosser...another one of those things I love. I had cut out the title of my project on some ugly paper that just didn't do it for me. With the help of some stampendous ink and embossing powder it really stands out...which is good or it would get lost.
After getting everything cut, and starting to lay it all out I realized that I had forgotten a circle. I grabbed my creative memories circle cutter and had one if just a few seconds. (I'm thinking this one should have been on tools.)
Finally here are all of my pieces ready to start placing.
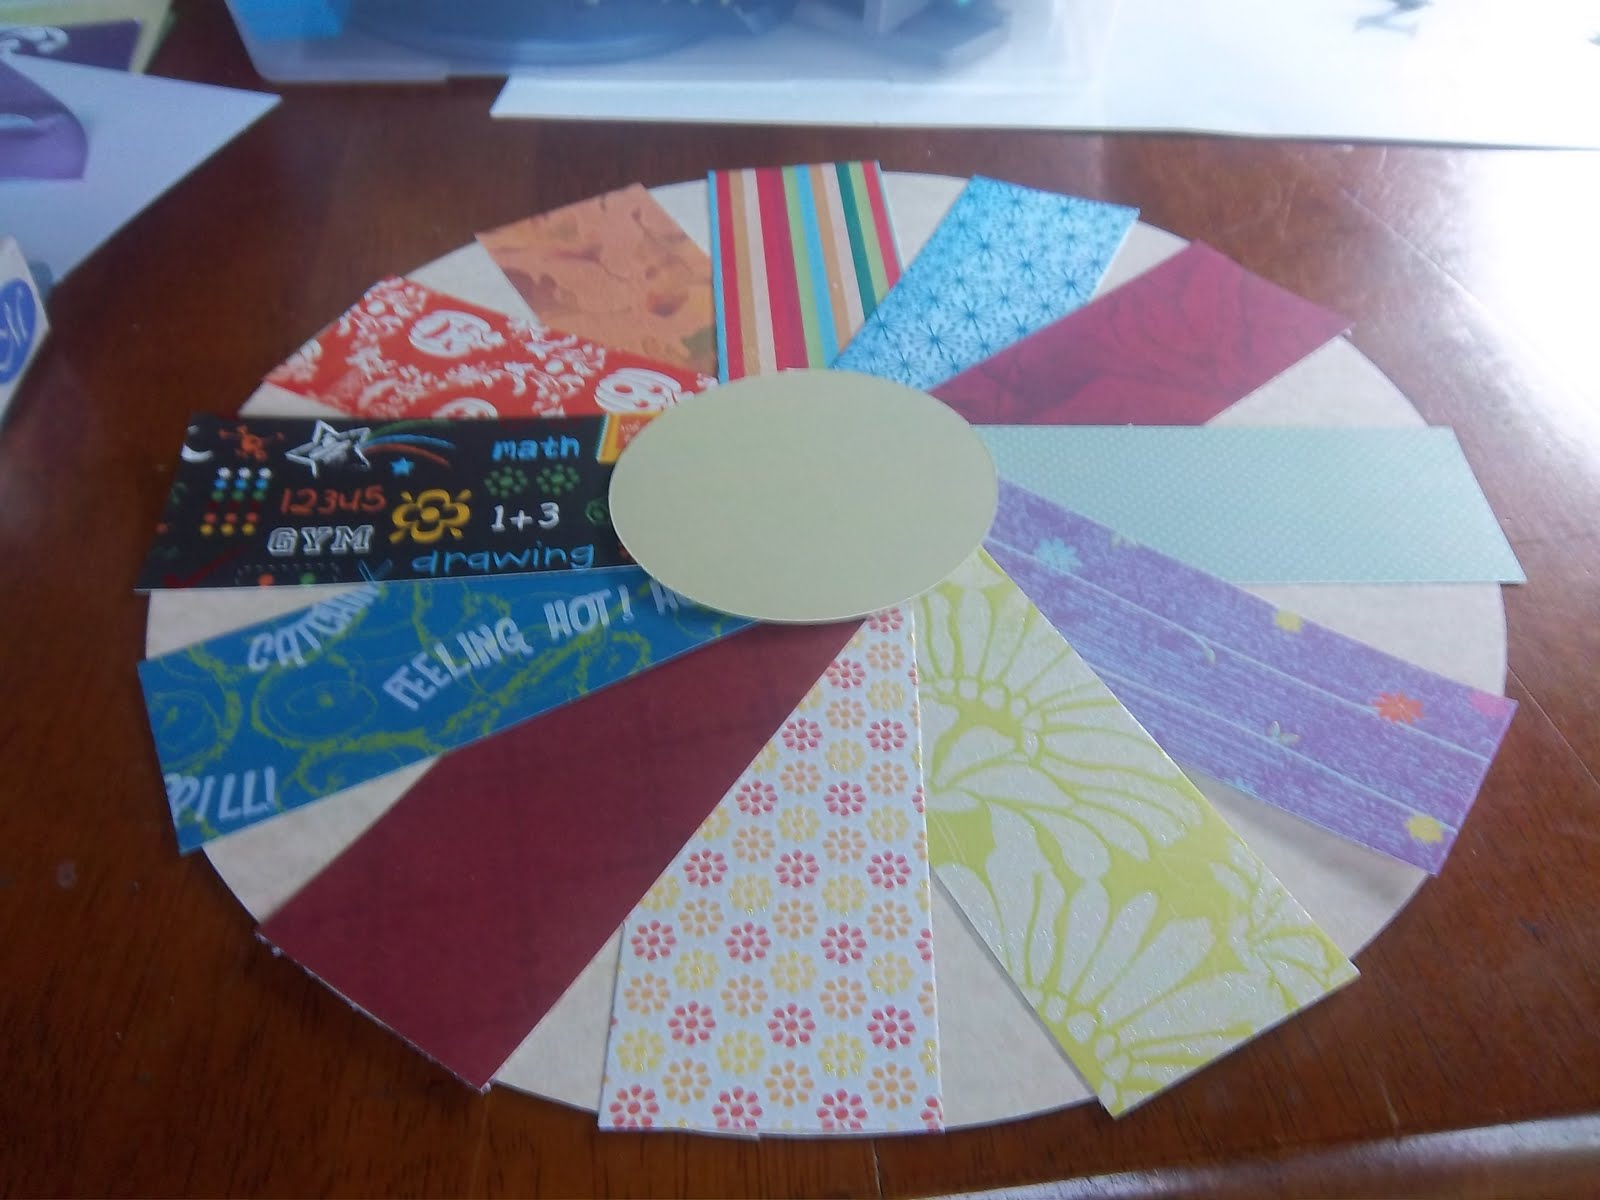
I started with the clock face. I cut out 2 inch strips in colors I thought would represent each month and glued them around the circle. I then added the small circle to the center of the clock to cover the edges.
I embossed all of the months and the title, glittered the numbers, and some of the symbols. After it was all dry I laid it out on the poster board. It doesn't look fancy, but it shows the idea of what I wanted for the kids to realize, that seasons, and months as they go by are time passing by. I want them to enjoy what each one brings, and not keep wishing them away. So each month has some symbol of something to look forward to. I also used the landscape scene from camping critters to give an idea of what the world outside looks like. Here is my finished project and then I will give the whatnots on the pieces.
Ok here we go I hope I don't miss anything:
Cricut cartridges:
Plantin schoolbook for the numbers, title, and months (welded with the gypsy)
George and Basic shapes for the large circle (clock face)
Camping Critters for the landscapes.
Gypsy wanderings for the seasons, seasons shadows, and jack-o-lantern
Create a critter for the turkey
Doodlecharms for the stocking, snowman, valentine, flower, sun, ice cream, and school bus
Sugar and Spice for the kite and umbrella
Independence day for the flag banner
Creative memories cutter for small circle
Stampendous embossing powders, and clear stamping ink
heat embossing tool
glitter glue
a brad for the clock arm.
Have a great day, thanks for looking, and remember to enjoy each month, each season, each day for that matter, because it is all passing time. You can't get it back.....Angie

Be sure to enter the SweetSassyDiva Design Team Call!

July 14, 2011

Buttons for Elephants!


Ok I must come clean! I have been trying to get us a circus themed project for a few months now so when this Mix~It~Up came out and we had a chance to pick our project I jumped all over trying to talk the other girls into doing something circus. I just love the idea and atmosphere that comes along with a circus. The wonderment in a child's face. The smell of popcorn mixed with cotton candy. The bright colors and glitzy costumes. Whats not to love? The idea for my card changed a few times before I settled on this. I had actually just read 'Water for Elephants' by Sara Gruen so I had to have an elephant on my card. I actually did a picture tutorial like I normally do but unfortunatly I somehow deleted all those pics. OOPS! Oh well the world has worse things to worry about ;) ~*Jen*~

~*Recipe*~
~*Green cardstock from Core'Dinations
~*Other misc pieces of cardstock
~*Elephant from Sugar and Spice Cricut cart
~*Card shape from Lacy Labels Cricut cart
~*Buttons
~*Sharpie
~*Curling ribbon

June 20, 2011

Tea Party Celebration!

Hi there! Its Kim from Ricketts Cricuts! Our challenge this week from SweetSassyDiva is to create a project using a Cricut Cartridge that starts with the first letter of our first name! I was super excited because I immediately thought about Kate's ABC's!!! I love this cartridge! Its just too cute! I decided to make a Tea Appreciation Banner for all the parent volunteers at our school saying Thank you! Forgive my pictures... I took them on my whiteboard in the classroom.

Here it is:
The letters were cut at 5 inches.
The tea cup was cut from Kate's ABC's.
Teapot is from Kate's ABC's
Completed Banner!

The pink scalloped rectangle is from the Sugar and Spice Cricut Lite cartridge. The patterned paper is from an English Cottage Stack and worked perfectly. It was also cut out from Sugar and Spice. The letters, tea cups, and tea pot are all cut from Kate's ABC's! I hope you enjoy this. I had a lot of fun making this.

May 15, 2011

Gift Card and Gift Bag!

The request for this week was to use a kite in our design. Since I had to make a birthday card for a sweet little girl I figured I would be able to use it there.


This was the first mat for cutting. I loved the colors for everything. All of my cardstock is DCWV from different stacks. I love being able to use odds and ends from previous cuts.
I started the layering process after all cutting was done. The grass is actually a coordinations paper that I tore, and then inked the edges to make the horizon stand out. I cut out the little boy and girl bugs from Nursery Rhymes in white and then colored their shoes and clothing with markers. The kite is from Sugar and Spice with a dmc embordiery floss for it's string. The sun is from Doodlecharms. I also cut out a Happy Birthday for the inside of the card using Gypsy wanderings. To finish the card off I added some self stick flower stickers on the grass, and then decorated a gift bag to go along with it.
*recipe*
Coordinations and DCWV cardstock...misc. patterns and colors
Cricut cartridges, Doodlecharms, Gypsy wanderings, Nursery Rhymes, Sugar and Spice
DMC Embordiery Floss
Pop Up Dots
self stick flower shaped gems
green
ink pad, markers
(for the gift bag I used doodlecharms for the ladybugs and flowers, plantin school book for the grass, green ribbon, buttons with self stick gems in the center or the flowers...a plain blue bag turned into a cute little flower garden)

April 9, 2011

Tri-Fold Man Card!

My first project and I'm so excited.  I've never made a card like this one and it took me a few times scoring and cutting to get it how I wanted it.  For me I have to have some one or something in mind for my crafting to actually get it finished.  This card is for my brother who is going thru some difficult times and I wanted to send him a pick me up.  So  I gathered up my supplies and got started.....

I laid it out on my gypsy....I feel lost without my gypsy....I don't know how I ever used a cricut without it. Then I picked out my papers, and frilly stuff......
I cut and folded my card. (This took more than one try, but I got it!)
Then the fun part started, decorating it.  I used my favorite rounded corner punch, my paper cutter, and my cricut...
Then all that was left was to piece it together.  Granted I changed things around and didn't use things I cut, but that is normal for me.  Planning something for me is the hardest part.  I love to dive into something and then pull this and that out and go from here to there.  So needless to say my card isn't what I had pictured it to be in the beginning, but I really like how it turned out.
*my recipe*
cricut cartridges:  wildlife, caligraphy, sugar and spice
DCWV cardstock....misc.
corner rounder punch
self stick gems
glitter glue