MyFreeCopyright.com Registered & Protected

June 25, 2011

Smile!

Hey there. This is Misty over at The Daily Scrapper. I made the Tea Pot Card on Every Day Pop Up Cards. I know I know It does not start with M but M is a pretty popular letter and so is L my middle name and last name. LOL So I went with E because my middle name is LEE. Plus it is my favorite letter.
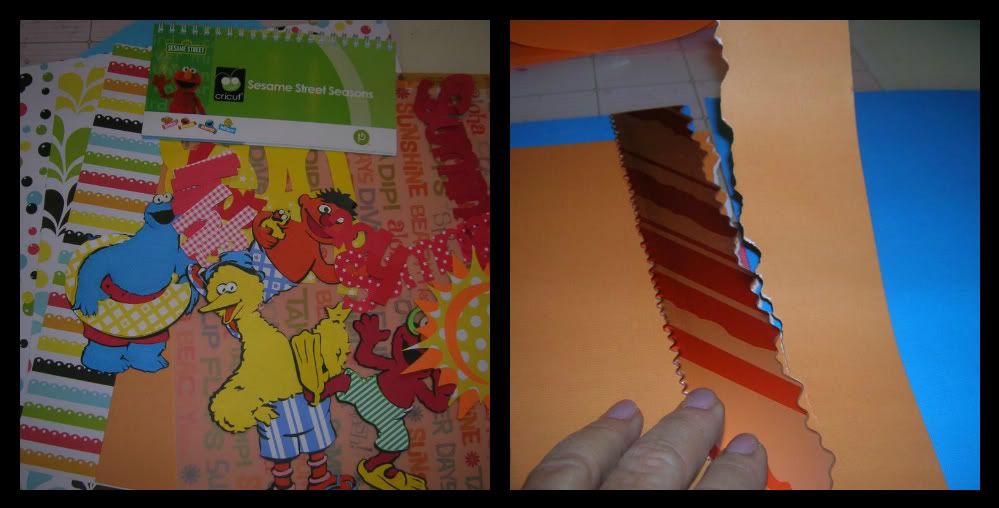
The paper is all from a 6x6 Bazzil stack.
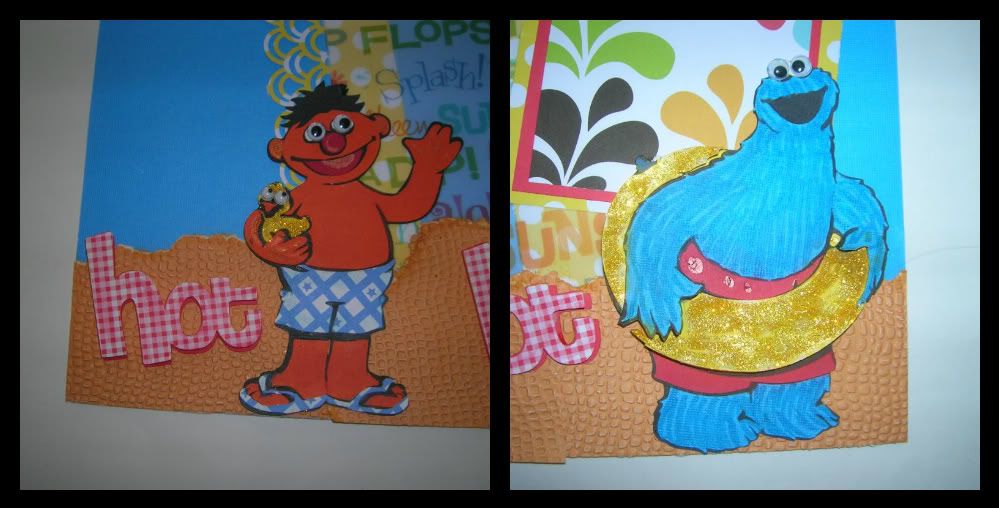
Here is the finished card front.
The front is a straight forward card front but I took a few pictures to try to explain the pop up part in the inside. I went with the word SMILE because my card is not an upright card and the tea cup is set for a stand up card.
Here is the pop up portion cut at 4 inches. I used the pop up feature and this is the shift option. Then you fold it at the indentions. When you cut it you will see a small indent on each leg. Score it at that point for all 6 legs.
Hold the card at a 90 degree angle and glue the legs at the score portion to the card top and bottom. I had to fold mine in a bit more because it was too tall when you close it. So rather than cutting another one, I just folded the legs a bit higher up. :)
Then hold down the card to make sure it closes properly and allow the glue to dry. I like the Mono liquid for these because it holds soooo well.

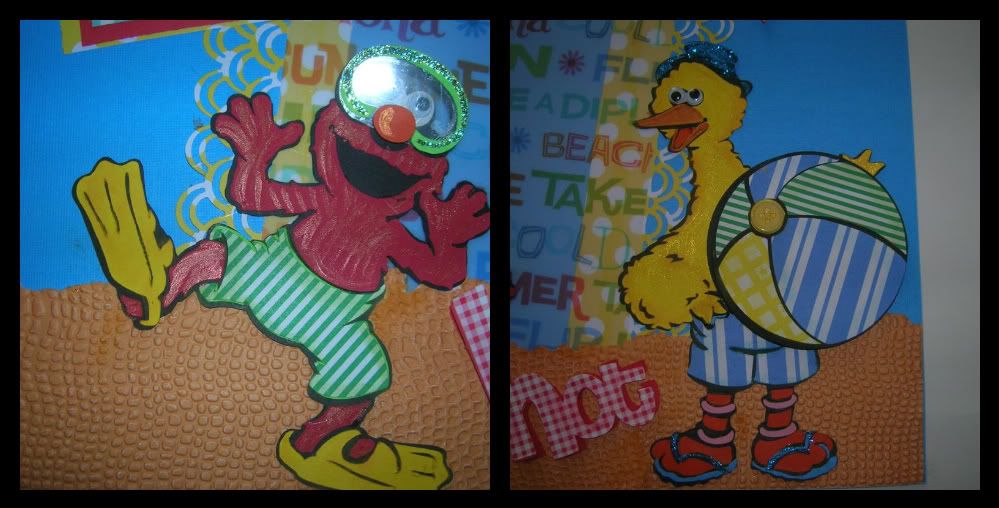
Here is what it looks like standing up and a bit open. You can see the pop up portion starting to pop up.

Here is the card opened up.
I hope you like this project. These cards are a bit tricky so use some junk paper and play around a bit the first time. They come out VERY cute!!!! Have a SUPER day!!!

HOT HOT HOT Summer!

Hi everyone this is Suzanne from  Cricutcraftingrammyblogspot. 
 For the Design Team challenge this week at SweetSassy Diva we were asked
to use a cartridge that started with the letter of our name.  I chose
Sesame Street Seasons for two reasons.  One I hadn't used it yet and two I
knew it would have Summer cuts for a fun layout.   The patterned paper
I used was a huge stack I bough a couple of years ago when I first got my E from
Me and Big Ideas.   
 I first cut out all the characters I wanted to use.   All
the cut sizes are below  the pictures. I then took cardstock and tore
it across Fiskars edge and embossed it with a Cuttlebug folder.   I did
this in pieces and overlapped using the embossed and deembossed sides to give
different texture.  
Next I laid out the vellum I got at the local LSS.  It is called Beach Fun
by American Traditional Designs.  I then punches out an edge in yellow
polka dot paper with a wide MS punch and glued all these pieces down.

Next, I got out my chalk, Smooch ink, and Stickles I thought I might use.

Here is the close up of Ernie and the Cookie Monster.  If you look closely,
you can see how I chalk around cuts, used Stickles and Smooch Ink.  I love
how using Smooch Ink gave the characters the look of fur, etc. 
For the cookie monster, I pop dotted the inner tube.  I didn't like the way
his paws looked so I cut them out with an exacto knife to pull them out over
tube.  I also used googly eyes for all the characters and even the
little duck Ernie is holding.  
In addition, for Elmo I used plastic from one of my cart boxes to give it the
look of a real snorkel mask.  
I cut out the beach ball for Big Bird to hold, trimmed around his wings to make
it look more like he was holding the ball.     
 Each word is cut out one time in pattern paper and two times in plain
cardstock.  I then pop dotted the words  on two layers.  I also
used chalk on the edges of words.   The last thing I did was fill the
center of the sun with buttons.  I have seen this on projects in magazines
and always thought it was cool so I thought this was a great project for this
idea.  
Cut sizes:
Big Bird 7 ", the other characters 5 ", Summer word 1.75 ", Sun word  3.5
", hot word 2 " ball 3 ". Sun 5 ".

Hope you liked this project and tutorial.  Let me know if you have any
questions and wishing you all a wonderful fun filled Summer.

June 24, 2011

Queen Bee!

No unfortunately I didn't get my hives yet, but I did make an adorable birthday card. I've been looking through my card folding magazine and seen this accordian fold that screamed make me when I saw it. So after doing some resizing on my gypsy....I started cutting and piecing together. It's a super simple card, and I enjoyed making it for one of my friends daughter's birthday.
The base of my card is 4 3/4x 20 1/2. I used the citrus stack by DCWV. I cut two strips at 10in. (Next time I would cut one at 10 1/4- 10 1/2 in order to account for gluing them together.) The blue strip is folded at 5 in, the yellow at 10 1/4, 12, 16 1/4 and 18 in. I glued the first fold onto the inside of the blue piece,and the others folded to make the accordian part of the card. I then rounded the corners with my corner punch.
Then I went to my gypsy. I used my PAISLEY cartridge to cut out almost the entire card. I love this cartridge, it is so girly, and I have a lot of them around this house. My cuts are as follows:
queen 1/5x4
bee and layers 3 1/2
crown 3
flowers small 1 larger 1 1/2
then for the sentiment I used the celebrations cartridge. It's your day at 1 1/2, happy birthday at 3 in.
After everything was cut it was time to assemble the card.
One of the best things about this card is all of the cuts were made from scraps...which continues to show me why I keep a box of paper pieces when hubby thinks it's trash ;)
I added some buttons and self stick gems to glam it up a bit. The little bee is a button from Fabulous Finds. It took me a bit of time arranging and rearranging before gluing everything down. I wanted the bee's head to reach the crown, and yet look like it was flying when the card is opened. I used zots pop dots to add dimension to the bee and the flowers. The center of the flowers is a button with a larger self stick gem.
I then glued "It's your day" under the crown, but also hidden by the bee when the card is open. "Happy Birthday" was glued to a 4x4 in square and then placed on the inside fold of the card. I think that it turned out really cute for a great "Queen Bee"
I hope this inspires you to get creative with folds. I'm looking forward to trying different folds, either with paper or for the cards. One last pic of it open from the side and then I'll "bee" off ;) (had to go there)
*recipe*
DCWV citrus stack papers
misc. scrap papers
self stick gems
buttons
Paisley and Celebrations cartridges
Zots pop dots, glue


Bee....sure to check in all week to see what new cartridge we will be using!

June 23, 2011

Life's a Party!

Hi Everyone!!  It's Liza from Hoo's
Crafty!
   This week on SweetSassyDiva we were asked to make any
type of project using a cartridge not already tagged on the blog and it had to
start with the same letter as our first name.   I was able to pick
from a few that had not been used yet, but since I love a party...I picked Life's
A Party.


A friends daughter had a baseball birthday party and I wanted to make something
special for her.   One of my favorite cuts on this cartridge is the
birthday hat {found on pg 65}.   It's a simple cut that can be dressed
up so many different ways.  The possibilities are ENDLESS!


Colorbok cardstock
 Fit To Page to determine the size of the hat {8.25"}
Before gluing it together, I went to the sewing machine for a zig zag stitch at
the bottom
I cut the number from this cartridge also {3.75"} both the shadow and base cut.
I used a white pen for some faux stitching on the number as well as navy ink for
the edges.

The baseball was cut {1.5"}, assembled, and glued to the top of the hat to tie
in the theme of the party.
I cut ribbon at random lengths, tied in the center and placed into the center of
the hat before rolling the hat up.

Lastly, I used a hole punch to tie ribbon to the sides of the hat.


Thanks so much for checking out my project today. 
Stop by Hoo's Crafty to see
other projects I've been working on lately.  

Be sure to check back on SweetSassyDiva each day to see the amazing projects
from the Design Team.


June 22, 2011

Sock Monkey Love!

This week we were asked to make a project with a cartridge that was not listed on the SweetSassyDiva blog. I knew right away I wanted to use the B is for Boy because of the cute and fun sock monkey! I love using qwirky little things on cards that I know will bring a smile to the recipients face. I made this card for our little neighbor boy :) As I am typing this, I am perfecting the art of 'cram'. We are packing up to leave to go fishing in Valdez and I am trying to get the kids fed, laundry done and everything packed and ready so we can leave in the morning YAY!! lol ~*Jen*~

~*Recipe*~
~*B is for Boy Cricut Cartridge
~*Patterned cardstock
~*White Gel Pen
~*White twine
~*Blue Diamonds Core'dinations cardstock

Graphically Speaking....Me & You Together!

Hello all, this is Tina Gale and I'm thrilled to be back again with a layout for the sweet sassy diva design team. This week my challenge was to work with the Graphically Speaking cart. I love this cartridge and have used it a lot for my sons photos. It has some great phrases and cuts for teenage boys! I decided to challenge myself and use it for something other than guy stuff and I'm so happy with what I came up with. I bet most would never guess I used GS for this layout at first glance. 


These photos were taken at our church on Valentines Day weekend by friends. We had a fabulous service about marriage and then everyone renewed their wedding vows and had wedding cake after the service. It was such a great time.
I have to tell you about the huge cakes in the background as well. I've donated a cricut to our church's decorating department and all the flowers on the cake was made with it. Remember you can always click on the photos to enlarge them and get a better look. I think they did a fabulous job with their cricut and the George cart!!
A close up of the title. Together did not have a shadow but I needed it to pop off the page so I glued it to a piece of cardstock and then just trimmed around it real quick. I also pop dotted it off the page.
 The border is made from 2 1/2" squares of patterned paper matted with cardstock. I had these fabulous embellishments in my stash that I used to add some bling to the page.
I added yellow rhinestones to the antenna to help make the butterfly pop and pop dotted it off the page. I also added a tiny pink heart to the end of the swirl.
This is the first time I can remember that I did not pen and ink up my cuts but I think it works for this layout.


The sizes of all the cuts are as follows.
me & you - 2"
Together - 3/4"
flower border - pg. 33   1 3/4"
butterfly - pg. 57    2 3/4"


I hope you enjoyed my layout today and stop by my blog to see more wonderful projects.
Hugz
Tina Gale

June 21, 2011

Kick up your heels!

Good morning and let me tell you that I am so excited about my latest toy!

I wanted to share a project using the new Cricut Expression 2. All this week on http://sweetsassydiva.com we are posting projects using all different carts. I chose a newer cartridge that is preloaded on the E2 called Cricut American Alphabet. It is one of 4 that come ready to use.

I used a paper stack my Erin Lee Creative called Cowgirl Up. The cowboy boot paper coordinated well with the boot cut on page 27 of the handbook. And as I hit a really good deal on the paper and received the stacks recently, you know that I just had to play with it!

Aren't the boots on the cardstock just so cute!


I did have to flip the icon on the e2 because it just didn't feel right that the boot was facing the opposite direction.

I decided to flip all the cuts and chose 3.5" to cut all the layers out.

What's nice is that as you prepare to cut your paper, there are drop down menus to select your speed, pressure and depth on the E2. I used 80# cardstock so, I selected the option heavy cardstock.


To assemble the pieces, I used my zig pen for the detailed cuts. Plus, liquid adhesives work better with this paper stack.

I decided to do a note card. The base is a finished 4x4". It's easy to make your own card bases. For this one, take a piece if cardstock and cut down to 4x8". Next, take your scoreboard and score at 4".

Next, I decided to do another cut using the same cartridge.


I decided to cut the two shadow pieces as you see above.

The great thing is that I can easily line up my cutting fields by adding carriage returns and brackets that will give spaces.


Then, if you click on the icon on the lower right hand side that looks like a house, it takes you to the next step.

As you see below, I chose two circles. It will now cut each in their corresponding quadrant.


I have a tutorial that goes more in depth on using the E2 along with an informative video at http://sweetsassydiva.com

I used the printed cardstock in the upper left hand side and the scrap piece of dark teal paper in the lower section. You can see it's the same piece that I used for the boot shadow layer.


After the two pieces were cut, I used my ATG scotch tape on the teal layer and placed the scalloped cut on top. It sandwiched the coordinating stash ribbon.


I tied a bow and cut the edges on a diagonal slant.

I adhered the boot to the card and added faux stitching using my white signo pen.


Next, I reached for my stamp stash. I added a sentiment from Unity Stamp Co. "for You".


I hope you enjoyed the E2 project and be sure to check out the rest of the projects that the Sweetsassydiva design team have been working to excite you at http://sweetsassydiva.com

Thank you Pam for allowing me to share my passion with the Tuesday Treats followers!

I hope that you decide to check out my blog and I would love to see you.

SweetSassyDiva

Posted from my iPhone