MyFreeCopyright.com Registered & Protected

September 23, 2011

Fall Treat Pillow Box!

Happy Fall Yall! Tina from tiggersscrapplace, here again with a fall gift box. Fall is definitely in the air here. We've had some really nice crisp, cool days. Of course summer is not over yet because warm weather is supposed to return this week. I made some pillow boxes for a CTMH gathering I held last week and they turned out soo cute I decided to do a fall one. These are the perfect size for a small gift or some candy corn and peanuts to fit inside. Yum, my favorite fall treat!


Details:
pillow box - Wrap it Up cartridge 6", inked with chestnut roan chalk ink
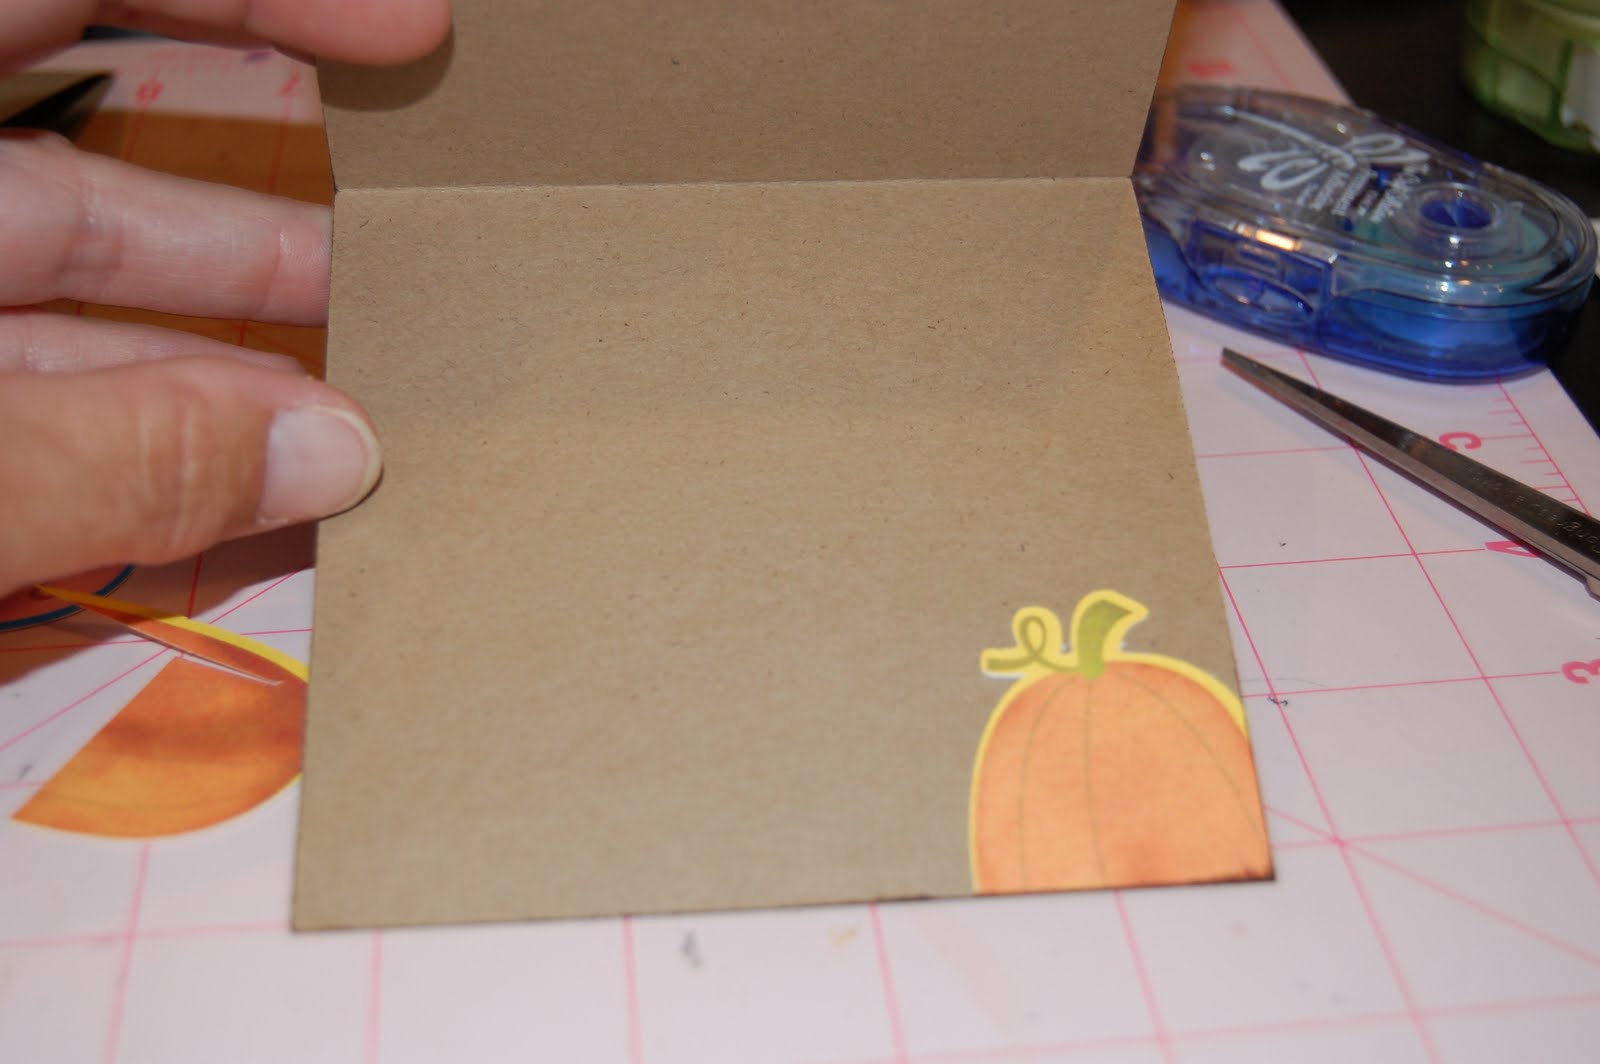
I used my gypsy and the hide contour button to hide the detail cut out of the center of the box so I could have a plain box.
pumpkin - Thanksgiving cart 2",added some stickles for some bling
leaves - Thanksgiving cart 2", cut from ivory CS and then I inked with green, orange, and yellow chalk inks.
scroll - Accent Essentials cart 2", cut from chipboard and inked green


I hope you enjoyed my little gift box today and make some yourself to give as gifts. Be sure to check back all week for more fall items from the design team and I'd love for you to visit me at my blog for more great projects as well.
Hugz
Tina Gale

If you would like to order the cricut cartridge or this stamp set, please send an email to Click Here! and I will send you an invite to my CTMH party.  There are some freebies until the end of this month as well as a stamp of the month set.

The winner of the 911 Challenge is entry #5!  Please contact me Click here! Congratulations!!! You have until Monday or a new winner will be selected.

The winner of the comments draw from last week was.....

Amy said...


Very nice fall card and great tutorial! I am already a follower :)Amy

Be sure to email me ladies!  Congratulations!

September 22, 2011

Pillow box!

Hi! Its Kim from Ricketts Cricuts! This week for Sweet Sassy Diva we are designing Autumn projects! I just got my new Art Philosophy cartridge and just had to use it! Every cut on my project is from the Art Philosophy cartridge. I LOVE Autumn! Its by far my favorite season! I love seeing all the colors change and the cool crisp mornings! I decided to make a pillow box!

Here it is:
I used my GYPSY to see my sizes of the pillow box and leaves!
Placed my papers and cut them accordingly!
I assembled the pillow box and added some Twine from the Twinery and my leaves!
I added an acorn and some pearl pen! 

I hope you enjoyed the pillow box! They are great to fill with a treat for family and friends! 
Make sure and come back each day for more Autumn inspiration from the Sweet Sassy Design Team! 
Hugs,

Kim

If you would like to order the cricut cartridge or this stamp set, please send an email to Click Here! and I will send you an invite to my CTMH party.  There are some freebies until the end of this month as well as a stamp of the month set.

September 21, 2011

a day of thanks...


Hi ~ Lori here from ScrappinMyStressAway.  Today is my day at SweetSassyDiva's and I made a simple Autumn card.  I say simple, but I am not a card maker and I tend to make them harder than they seem!!! 
I uncovered my Imagine and took out my Enjoy the Seasons cartridge.  In order to prevent waste, I try to print and cut several pieces at once.  I used the haunted houses for another project.  I put the pumpkins and gourd in my que as one image.  I then broke a second image into layers (the same size as the first image) and printed and cut them both out.
Here is the paper after I printed and cut.
I used the stamp "a day of Thanks" from Close to My Heart sentiments stamps.  I practiced on the layer piece of the banner first.
I used pop dots to layer the small pumpkin and gourd onto the base.   I used 2 pop dots together on the left side of the gourd to even out the layer.
Here they are all layered up!
I cut out a 4x8 piece of brown kraft cardstock for my card base.  I trimmed some green paper from my scrap stash to 3.75x3.75 and inked the edges with Tim Holtz Vintage ink.  I tied a bit of brown twine on the right side.
I took the remaining pumpkin and adhered it to the bottom corner of the card.
I trimmed it and inked it a bit.

I added a little bow with green twine to the stem of the gourd.  I hope you have a wonderful Autumn!!


If you would like to order the cricut cartridge or this stamp set, please send an email to Click Here! and I will send you an invite to my CTMH party.  There are some freebies until the end of this month as well as a stamp of the month set.

September 19, 2011

Back to School!

Hi everyone this is Suzanne from Cricutcraftingrammyblogspot.
The challenge this week for the Design Team at Sweet Sassy Diva was to design
 a project for Autumn.  Well being a teacher for 33 years I always
think of Back to School and apples.  I know now school starts early in
August for some areas but for us it always started in  September.  I
always did a big apple unit with my first graders in September too.  
So for this two page layout I used my Recess cart which I hadn't tried yet.

This is how I lay out my mats to cut each character. This mat was for the
schoolhouse. 
All cuts from Recess:
Bus2 1/2 ", School 4 ", Back to School 2 1/2 " Back pack, book stack and crayons
2"
Kids all cut t 3 "
I had a stack of School paper and I thought this page would be great for
borders.
For the letters I cut them out in white and bright colors.  I then glued
the white to the black piece and pop dotted the colored letters.  The white
makes the letters stand out better. 
I glued my mats and border strips. 
Then I took my cuts and chalked, added embellishments and used Glossy Accents
and  Smooch ink to highlight. Here are some closeups so you can see them.

I will be saving this layout for a few years until my oldest granddaughter is
old enough to go to school but I love these little characters.  Hope you
enjoyed the layout and invite you to come back everyday this week to see what
the other Design Team members have created.  Also stop by my blog and see
some of my other creations.  Hugs and keep on craftin.
--


Be sure to enter the SweetSassyDiva Design Team Call!

September 18, 2011

Happy Haunting!

This is Jen from 3 Cats and a Bug. This week here at SweetSassyDiva's the DT is honoring the first day of Autumn (September 22!). Besides watching the leaves change color, Halloween is the next best thing! My kids are grown now, but I still remember all the fun I had taking them trick or treating. I still love watching all the cute kids come to the door. Next year will be even better watching my son with his baby, although there won't be any going door to door for several years yet. Ok, I got a bit off track there, so back to my project! LOL

I made a shape card from the Pumpkin Carvings cartridge using Design Studio. I used the owl cut @ 5, a rectangle shape cut @ 1/2 (from George and basic shapes) and another owl cut @ 5 and welded them all together. On the second owl (on top) I used the hide contour to hide everything except the outside shape. I also cut 2 more owls, again @ 5 using the hide contour to hide everything except the owl on one cut and on the second one (not shown) I hid everything except the outside cut. I cut the last one on brown patterned paper. I also cut the Happy Haunting @ 1.5 and hid the outside shape.


I used Flower Soft on the branches and stickles for the Owl's eyes and beak. I used a white gel pen to add faux stitching to the outside of the oval. I glued the brown patterned paper to the backside of the front of the card. Then I glued down the Happy Haunting.


On the inside of the card using MS Seasonal cart, I cut Happy Halloween @ 2.22.


Visit my blog at 3 Cats and a Bug to see more Halloween cards!

Be sure to enter the SweetSassyDiva Design Team Call!

September 17, 2011

Scrapfest 2011

We are at the scrapfest this weekend up at Mall of America.

They have a lot of make and takes if you purchased a badge for $22.00. They also had classes for an extra charge per class.

A wonderful added bonus over and beyond the make and take, some are offering an email sign up sheet where you get a little extra something. Some items were paper or ribbon.

Here are some pictures of the booths and the wonderful creations offered.

If you are here, perhaps it gives you an idea of the booths you would like to visit. If you are not here, be sure to attend next year.

Imaginisce


We made a tag using the irock, itop and Bon Voyage paper.


Making memories


Tombow


McGill Paper Blossoms


Authentique


Complete!


Lifestyle crafts


Stamping Bella


We used stamps, colored pencils and water brush....


to make a small note card.


American Crafts


Coupon book


Some more variations:


Smash


Little journal book and picture to smash!

And of course...pink!


Ek success


Gift box

Maya road


Ribbon embellishment flower or pin


Or below on a card.


They do two a day. These are Saturday's projects.


Fancy pants


Cards


Prima


Friday 6x6


6x6 layout. This one was not completed but, gives you an idea.

Saturday 6x6


Reminisce


12x layout


Echo park


Card


Bobunny


We created a 12x12 base layout.


Then, they gave a shopping list to complete it.


Completed layout:


Sizzix


Card


Coordination paper and Sizzix die.

Simple stories


We r memory keepers


Notice that we used the cinch!


Mini notebooks


Little yellow bicycle


12x12 layout


They had a two hour wait in line on average to make this one.

Coordinations


Graphic 45


Bazzil


12x layout


7 gypsies


Mini album or wall hanging

Epiphany crafts


Doodlebug


Card


Stampendous


Wall decor


Here are the make and takes at a glance...


There are 31 booths. Some of them are doing 2 different items each day. I suppose in theory that you could keep going around to them all over again. Although some of them had a couple hour wait depending in the attendance or popularity of the booth.

Workshops


There were a lot of classes and the boards display the projects. Below is an example.


Sneak peek on some Classes
Tattered angels


Book

Tim holtz $65

2 hour class of 70+ attendees


YouTube Video


Graphic 45


They also had a class on le cirque.

I hope this gave you a bit of an overview.

They will be there tomorrow as well. If you're in the area, check out the mall of America. You never know who you might meet! Perhaps, even Tim Holtz.


Also, be sure to check out the challenge this week on http://sweetsassydiva.com and enter for a chance to win some prizes.